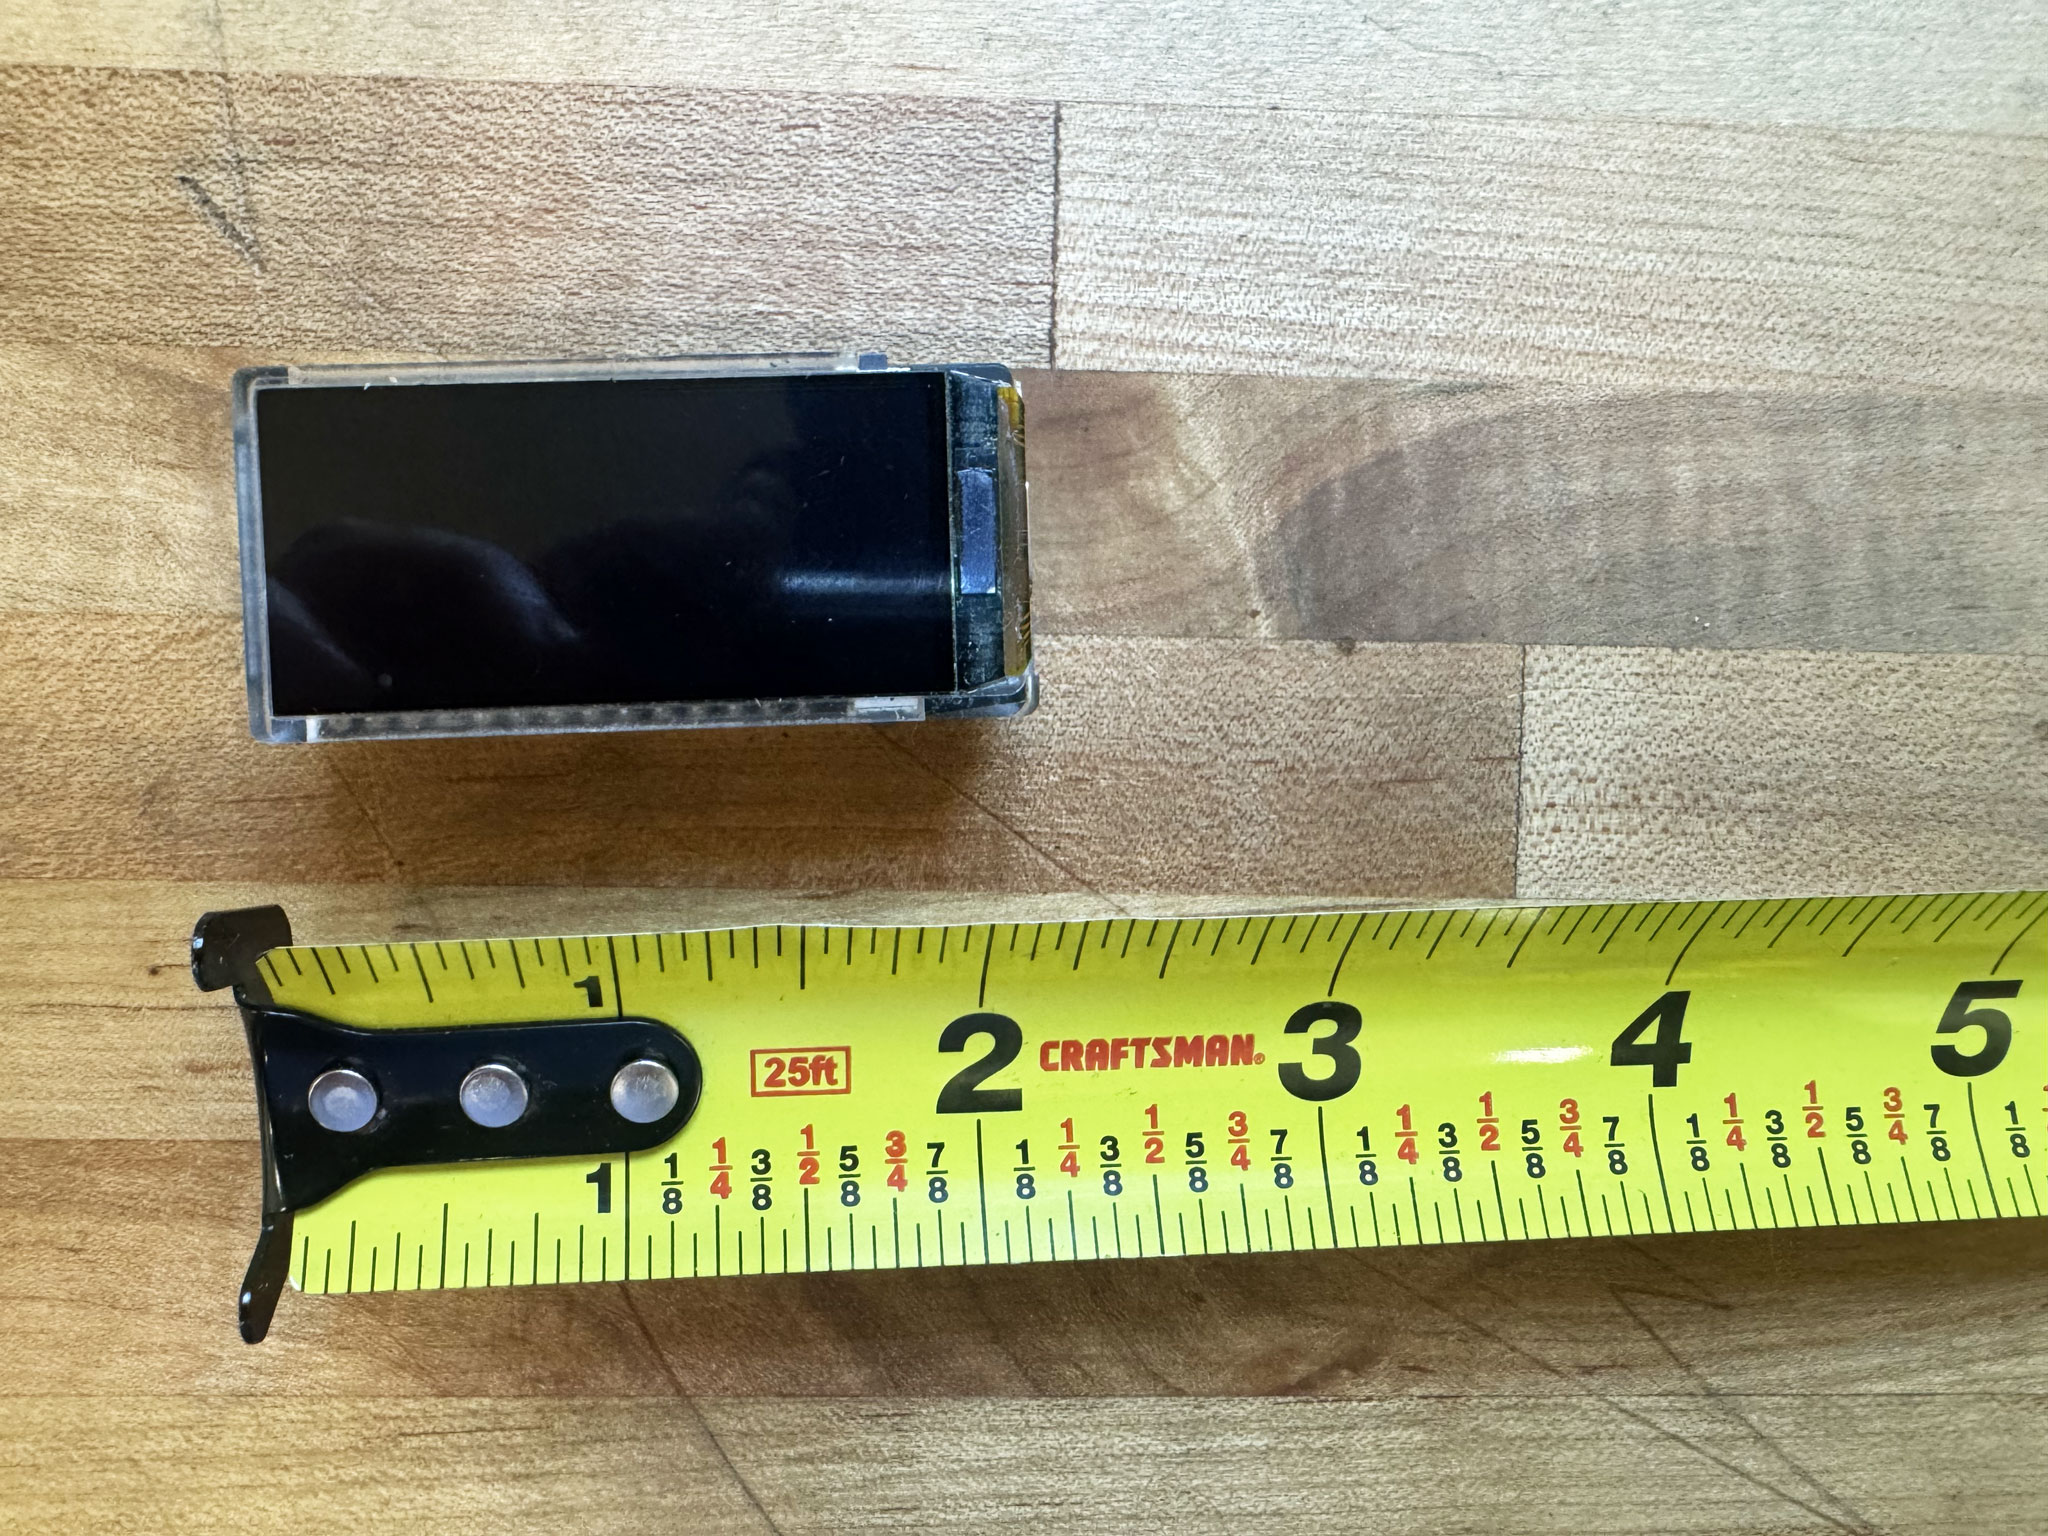
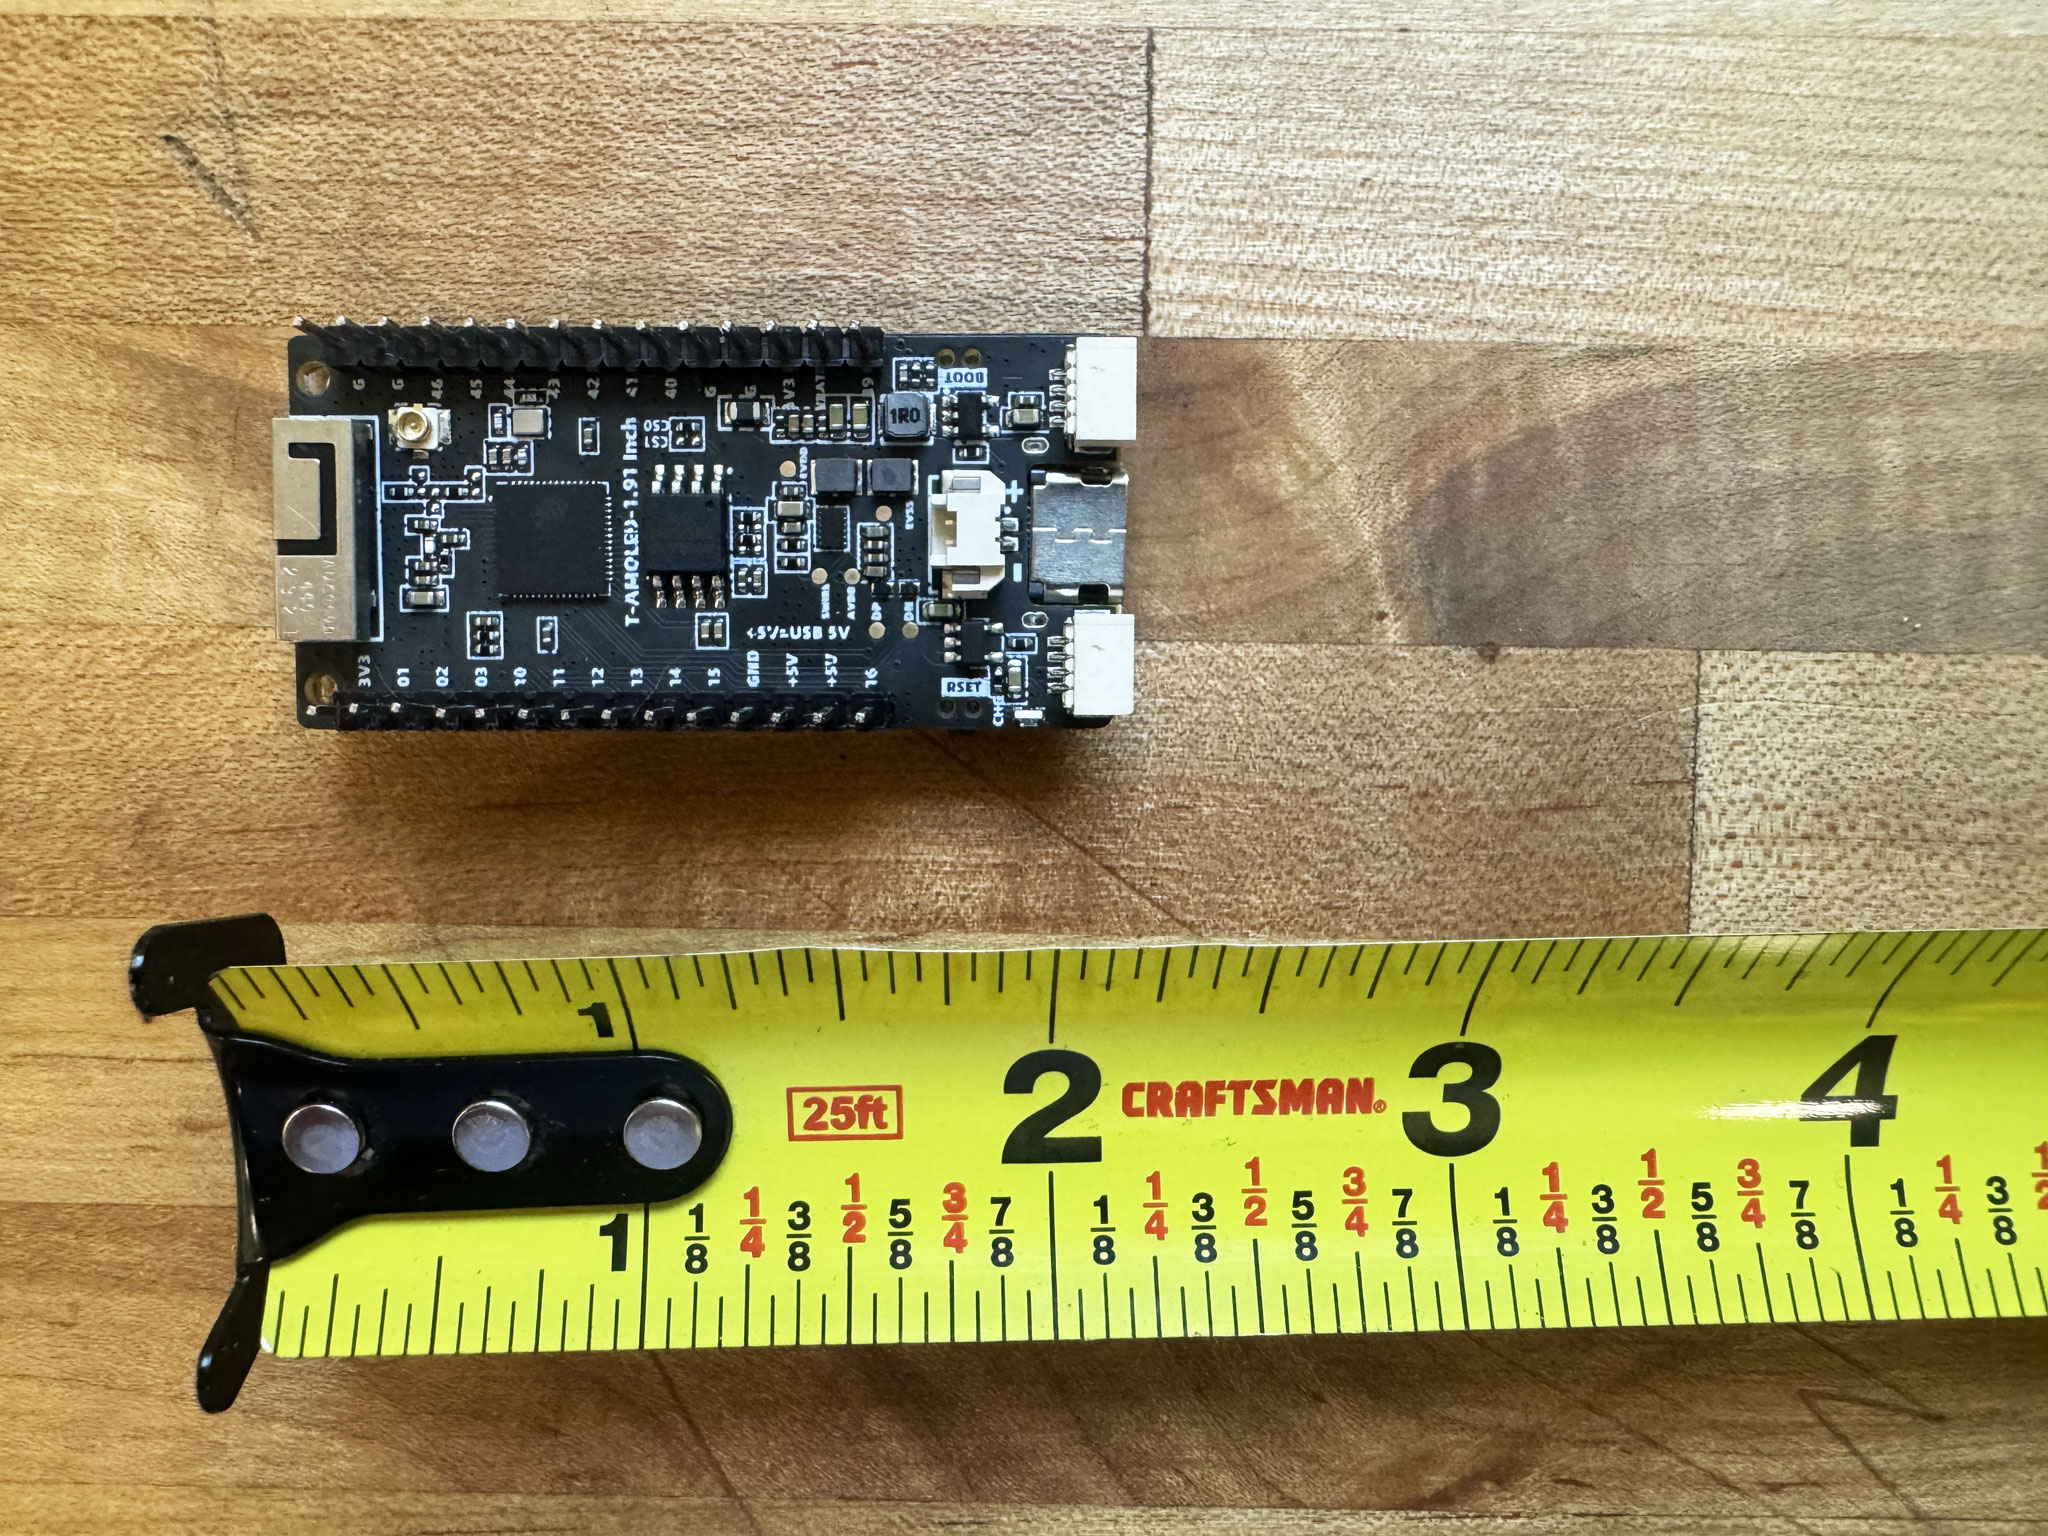
AMOLED 1.91″
536×240No touch
LILYGO T-Display S3 AMOLED. Native USB, no touch.
Flash official Pixelcade Sidekick firmware directly from your browser over USB — no software install required. This is a backup option for machines that can't run the Sidekick desktop flasher tool in Companion; if that already works for you, keep using it.
LILYGO T-Display S3 AMOLED. Native USB, no touch.
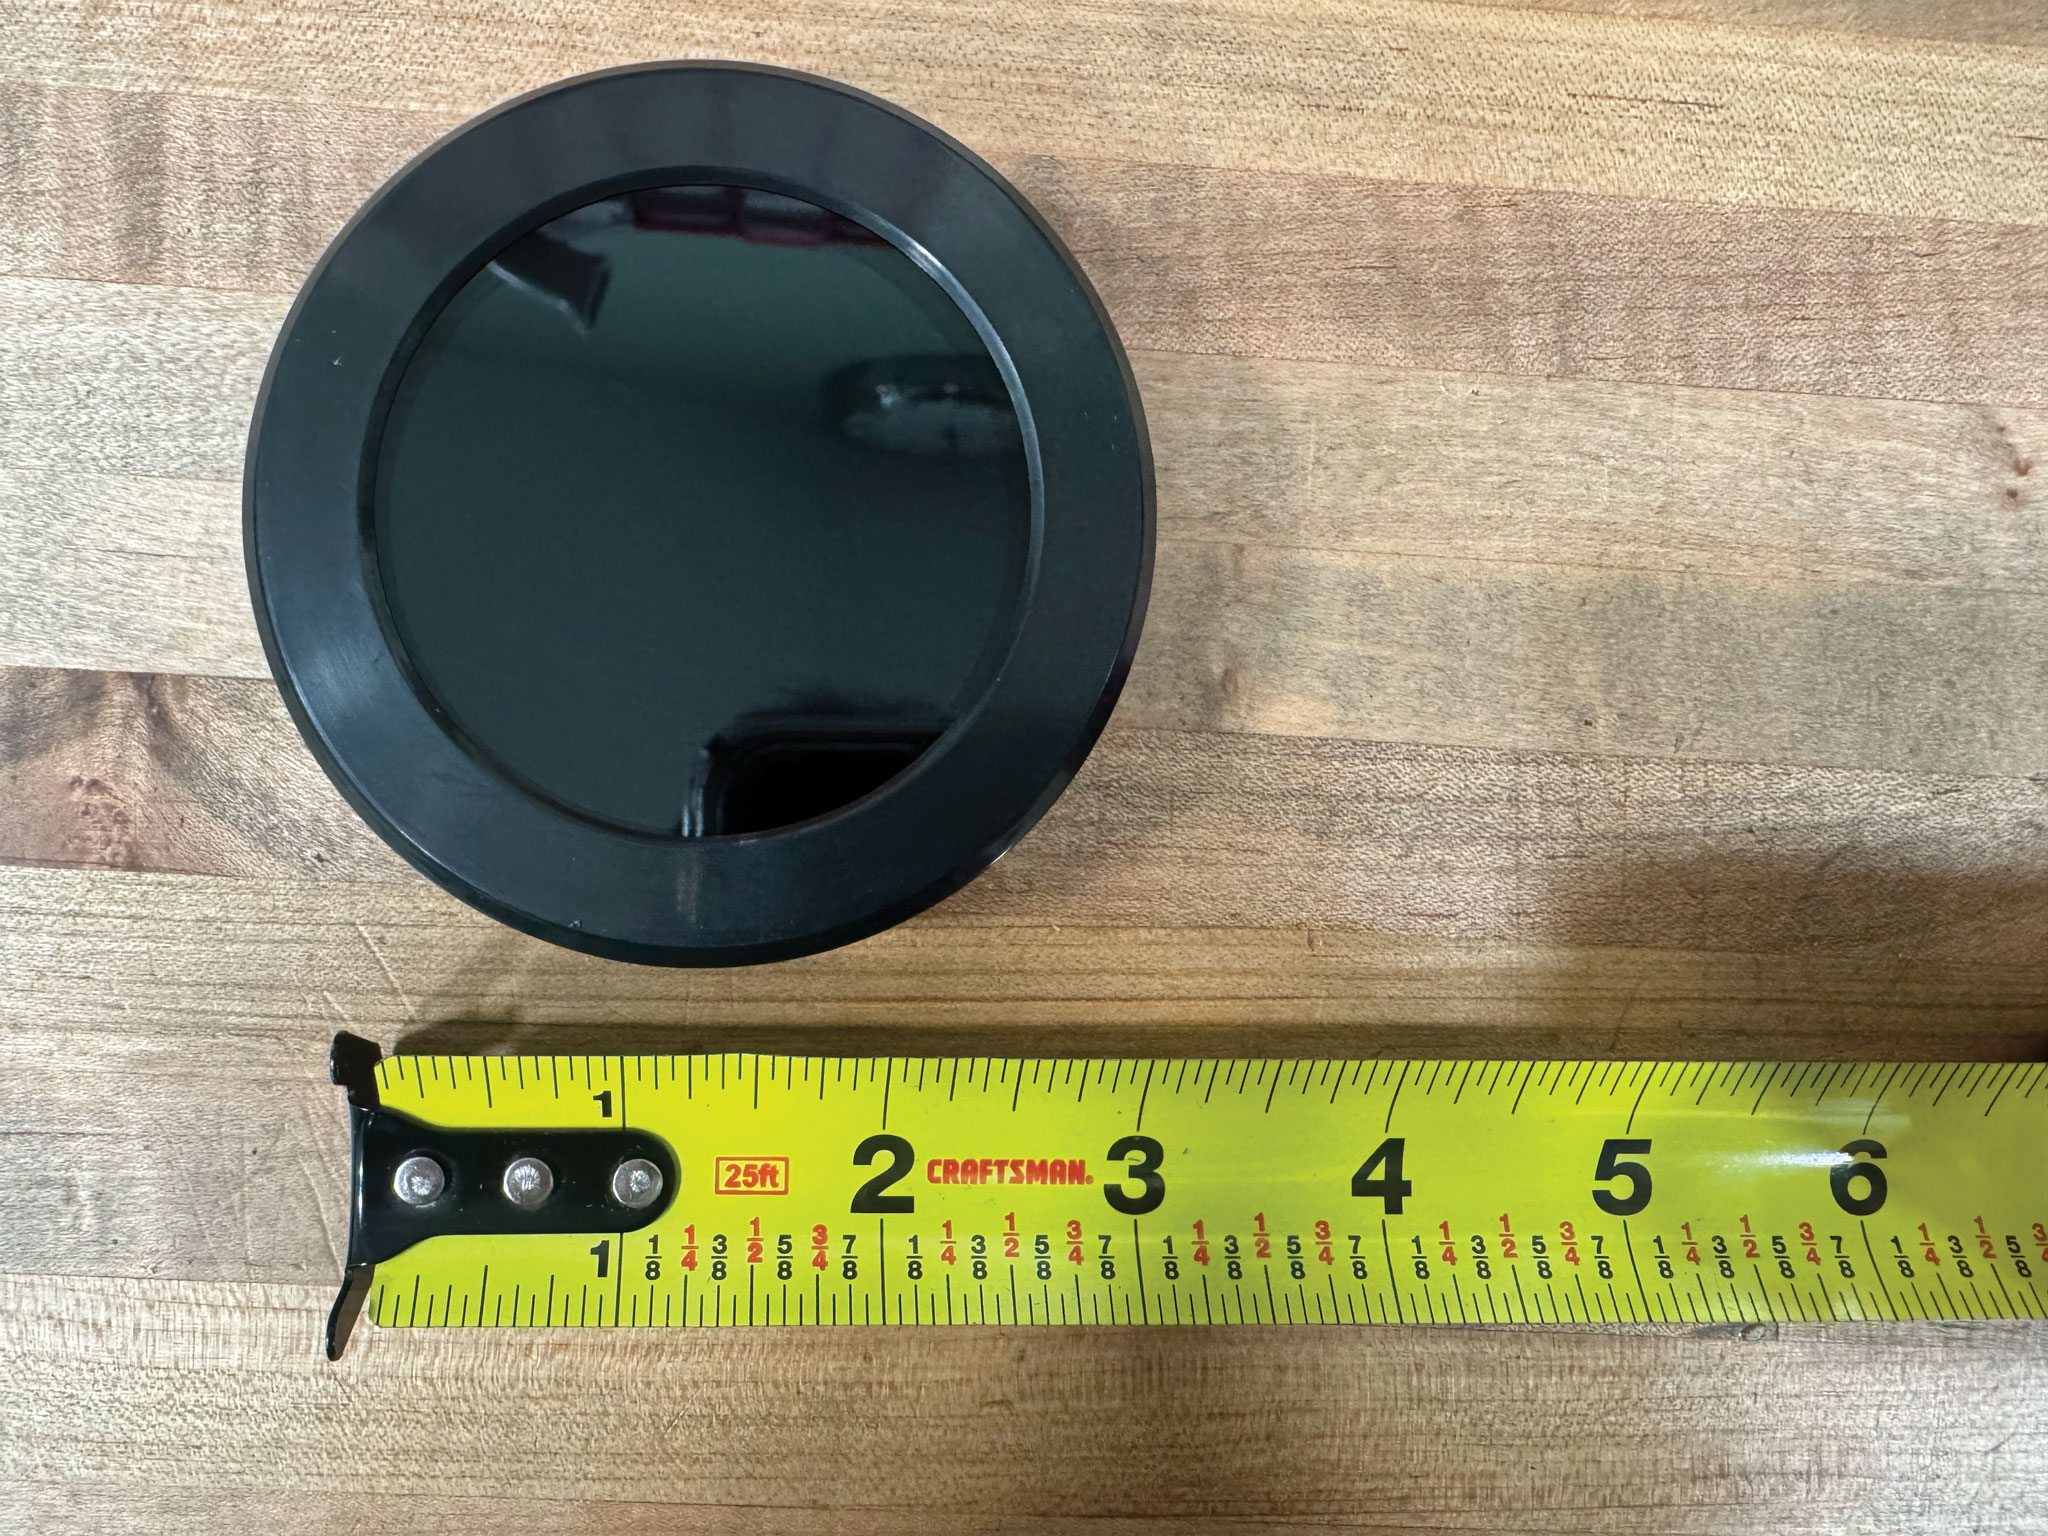
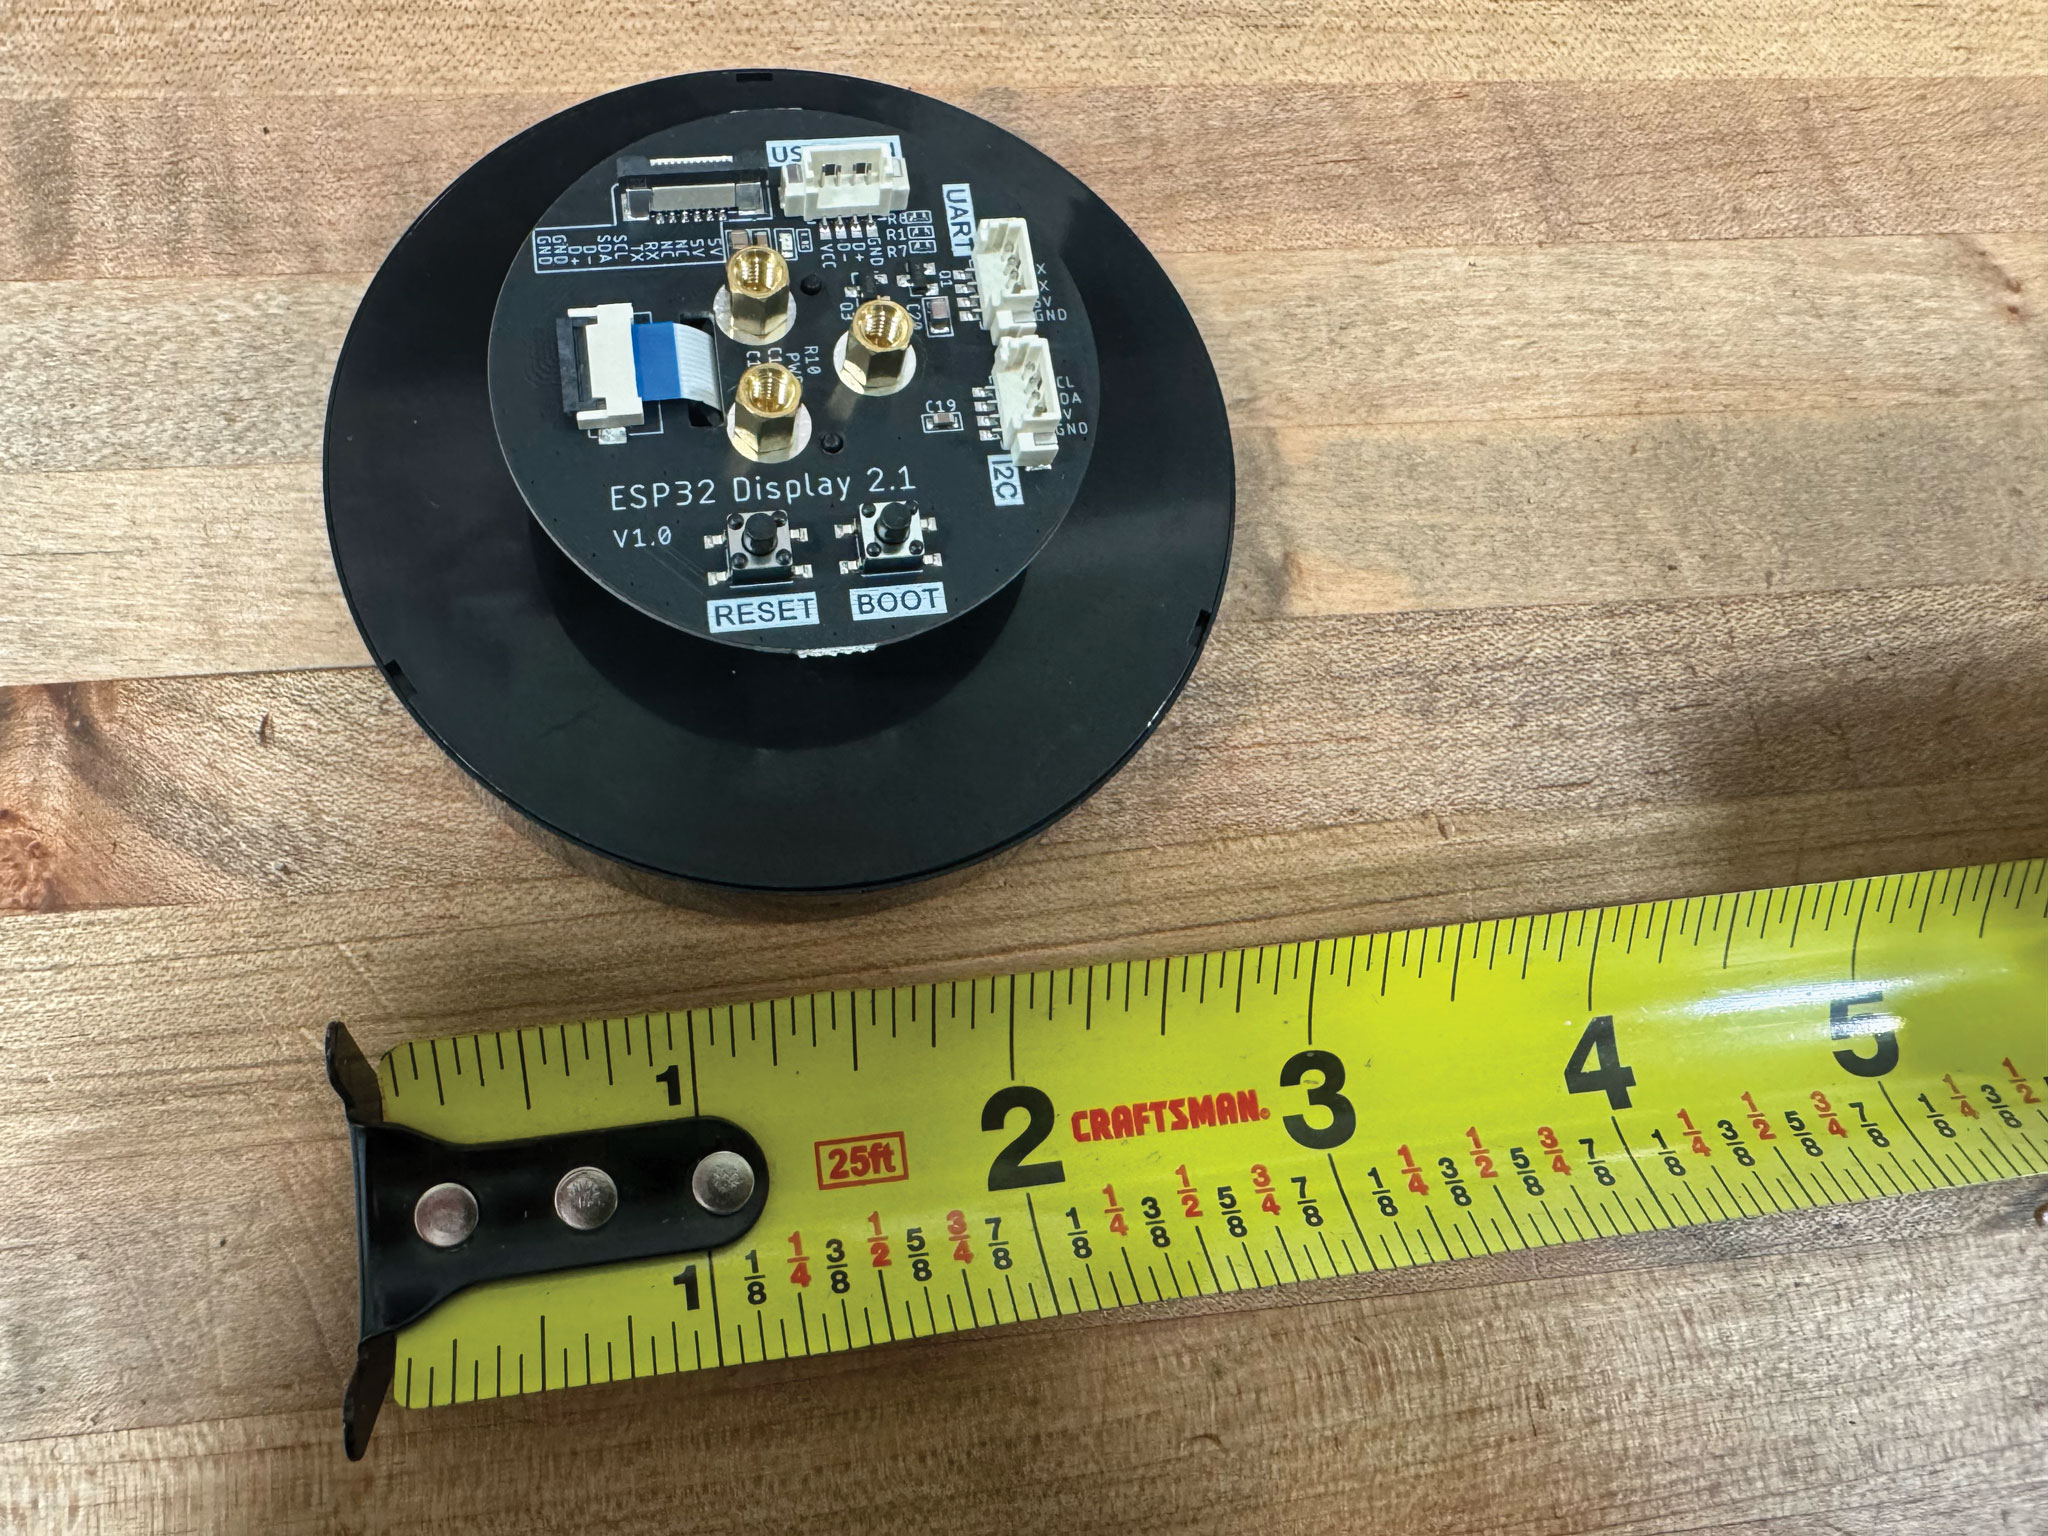
Elecrow CrowPanel 2.1″ rotary display (ESP32-S3) — capacitive touch, no calibration needed. WiFi works but is flaky on this board; USB is recommended. Connect its USB-C port; the small connectors on the back (power, UART, I2C) aren't used.
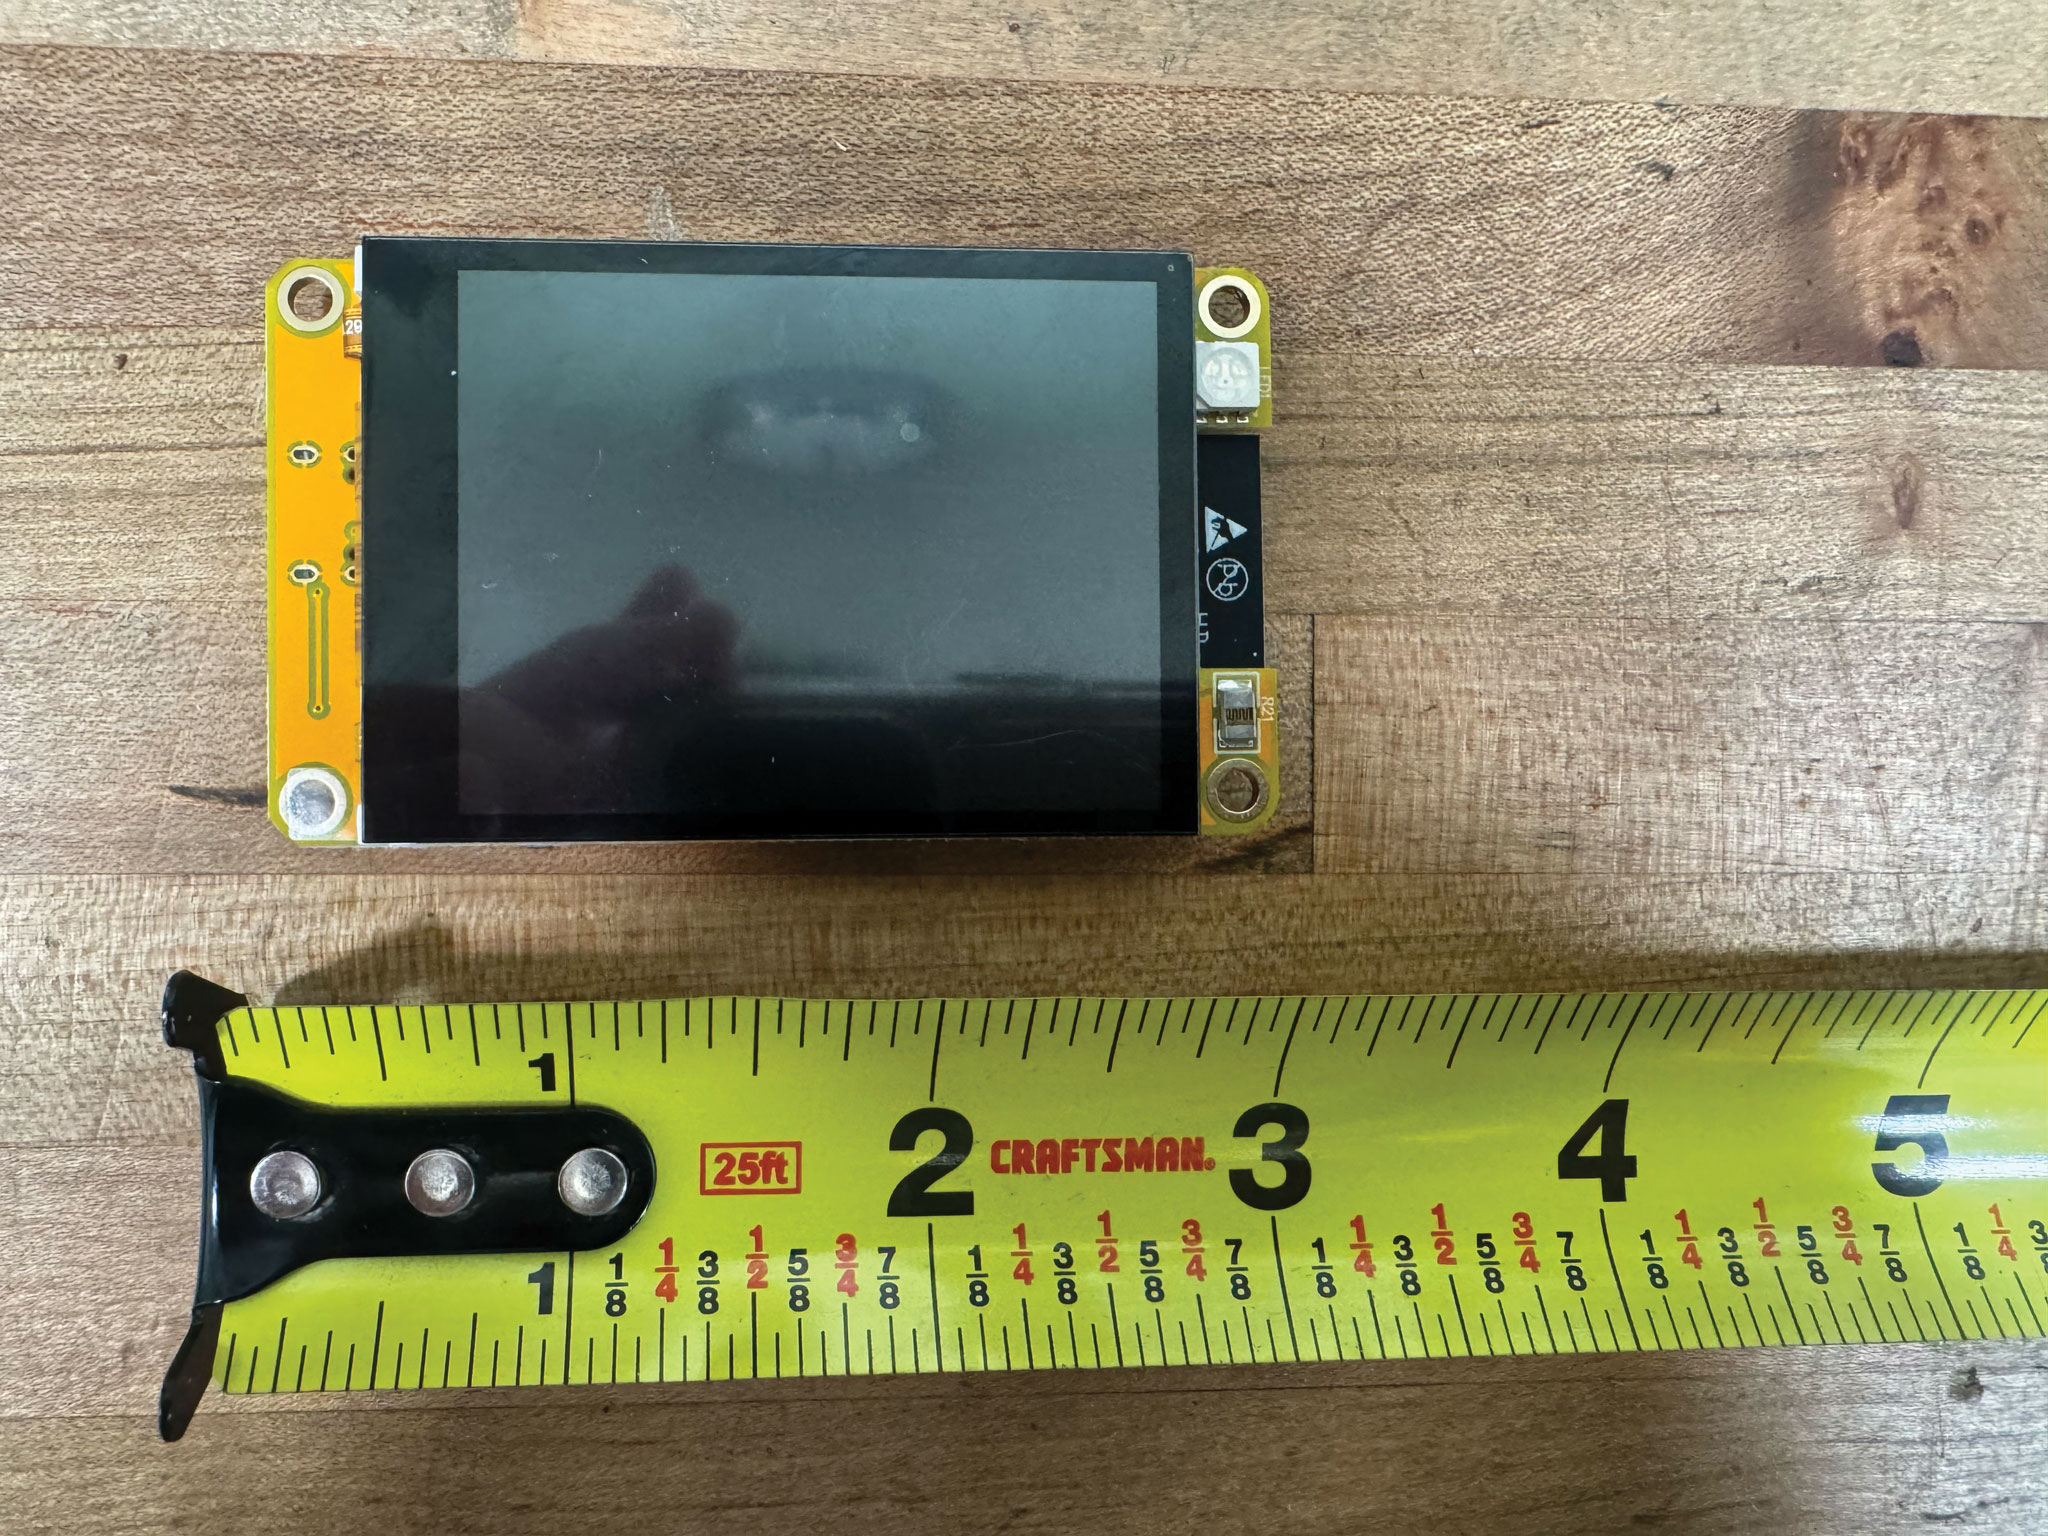
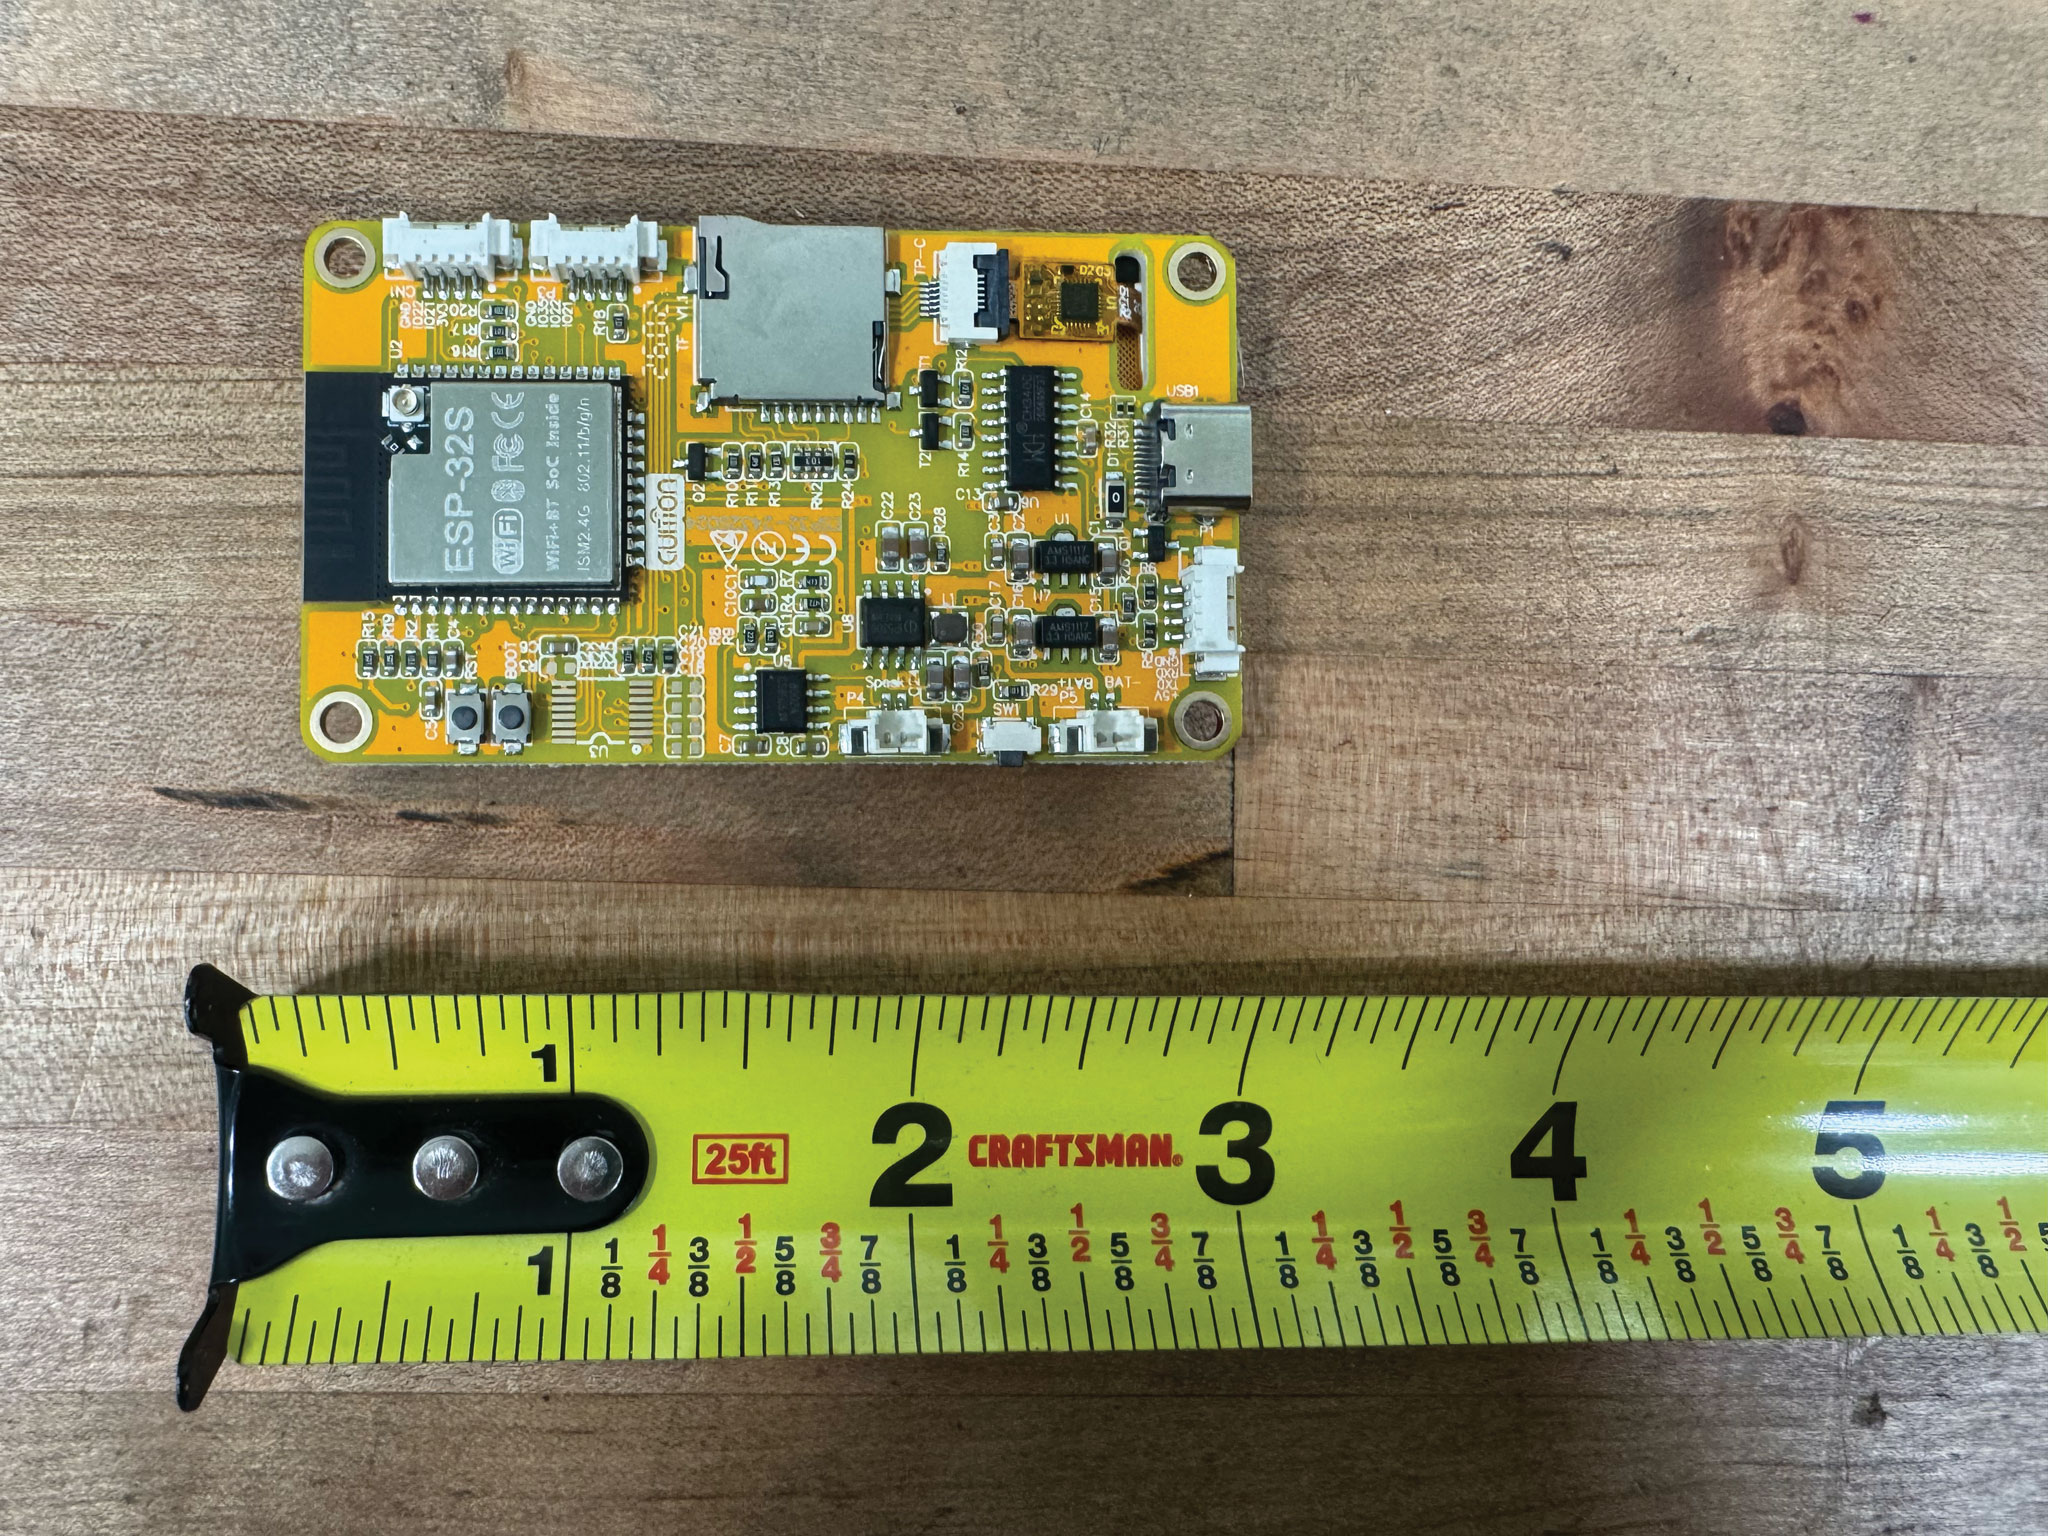
Sunton ESP32-2432S024C (check the silkscreen) — CST820 capacitive touch, no calibration needed.
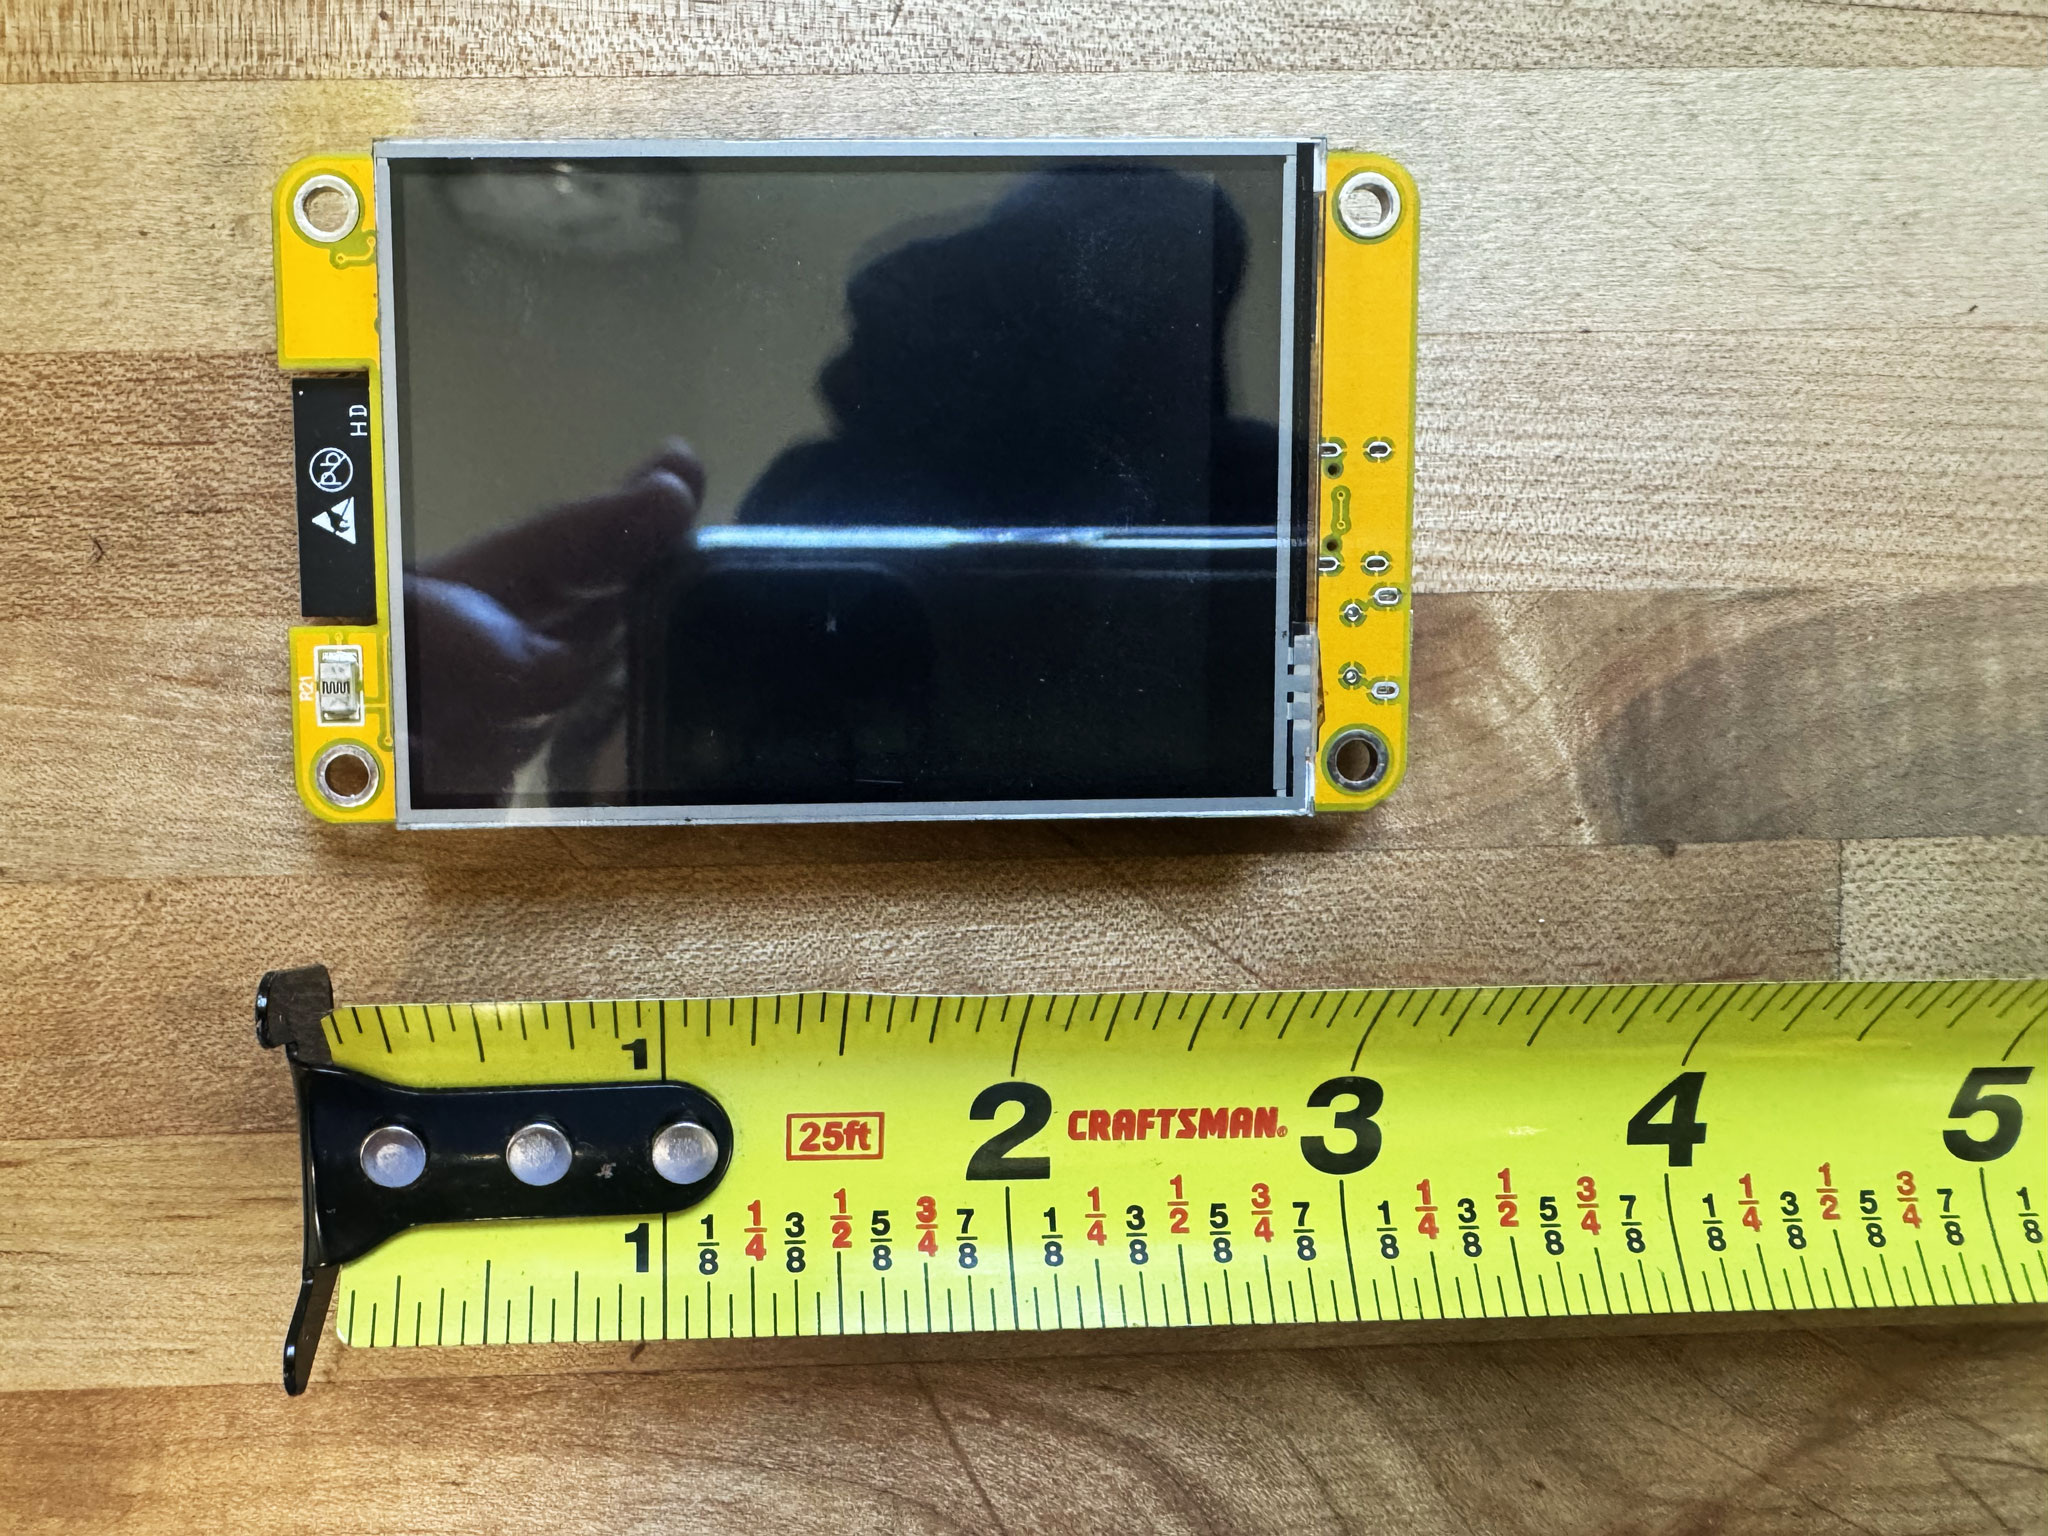
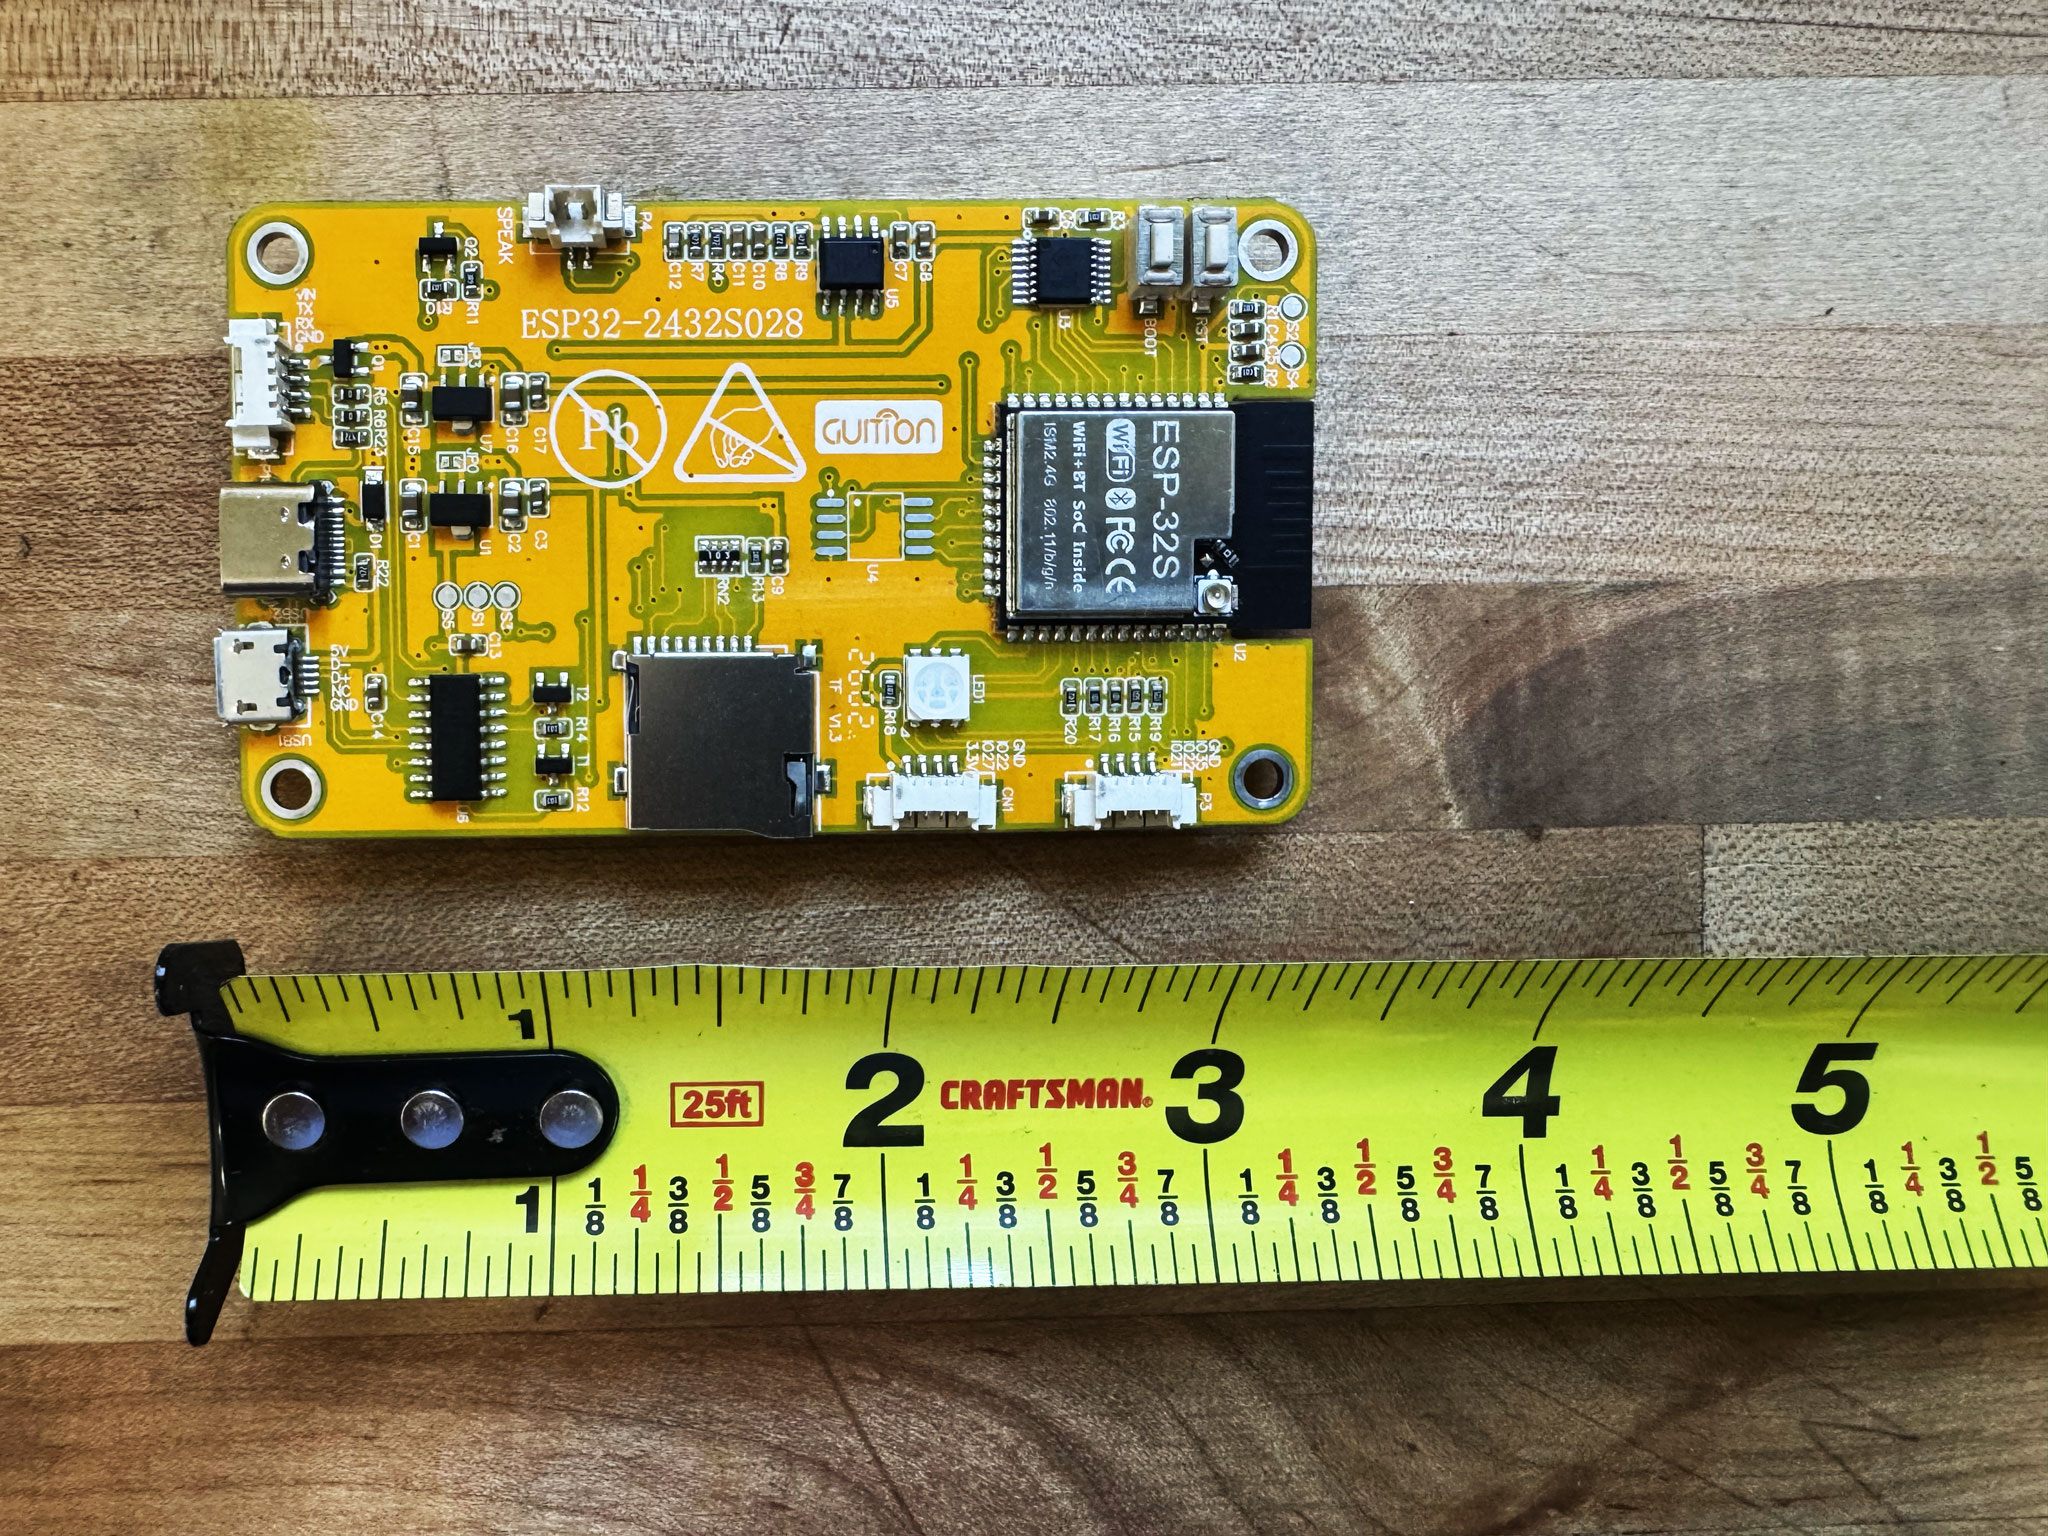
ESP32-2432S028R (“Cheap Yellow Display”).
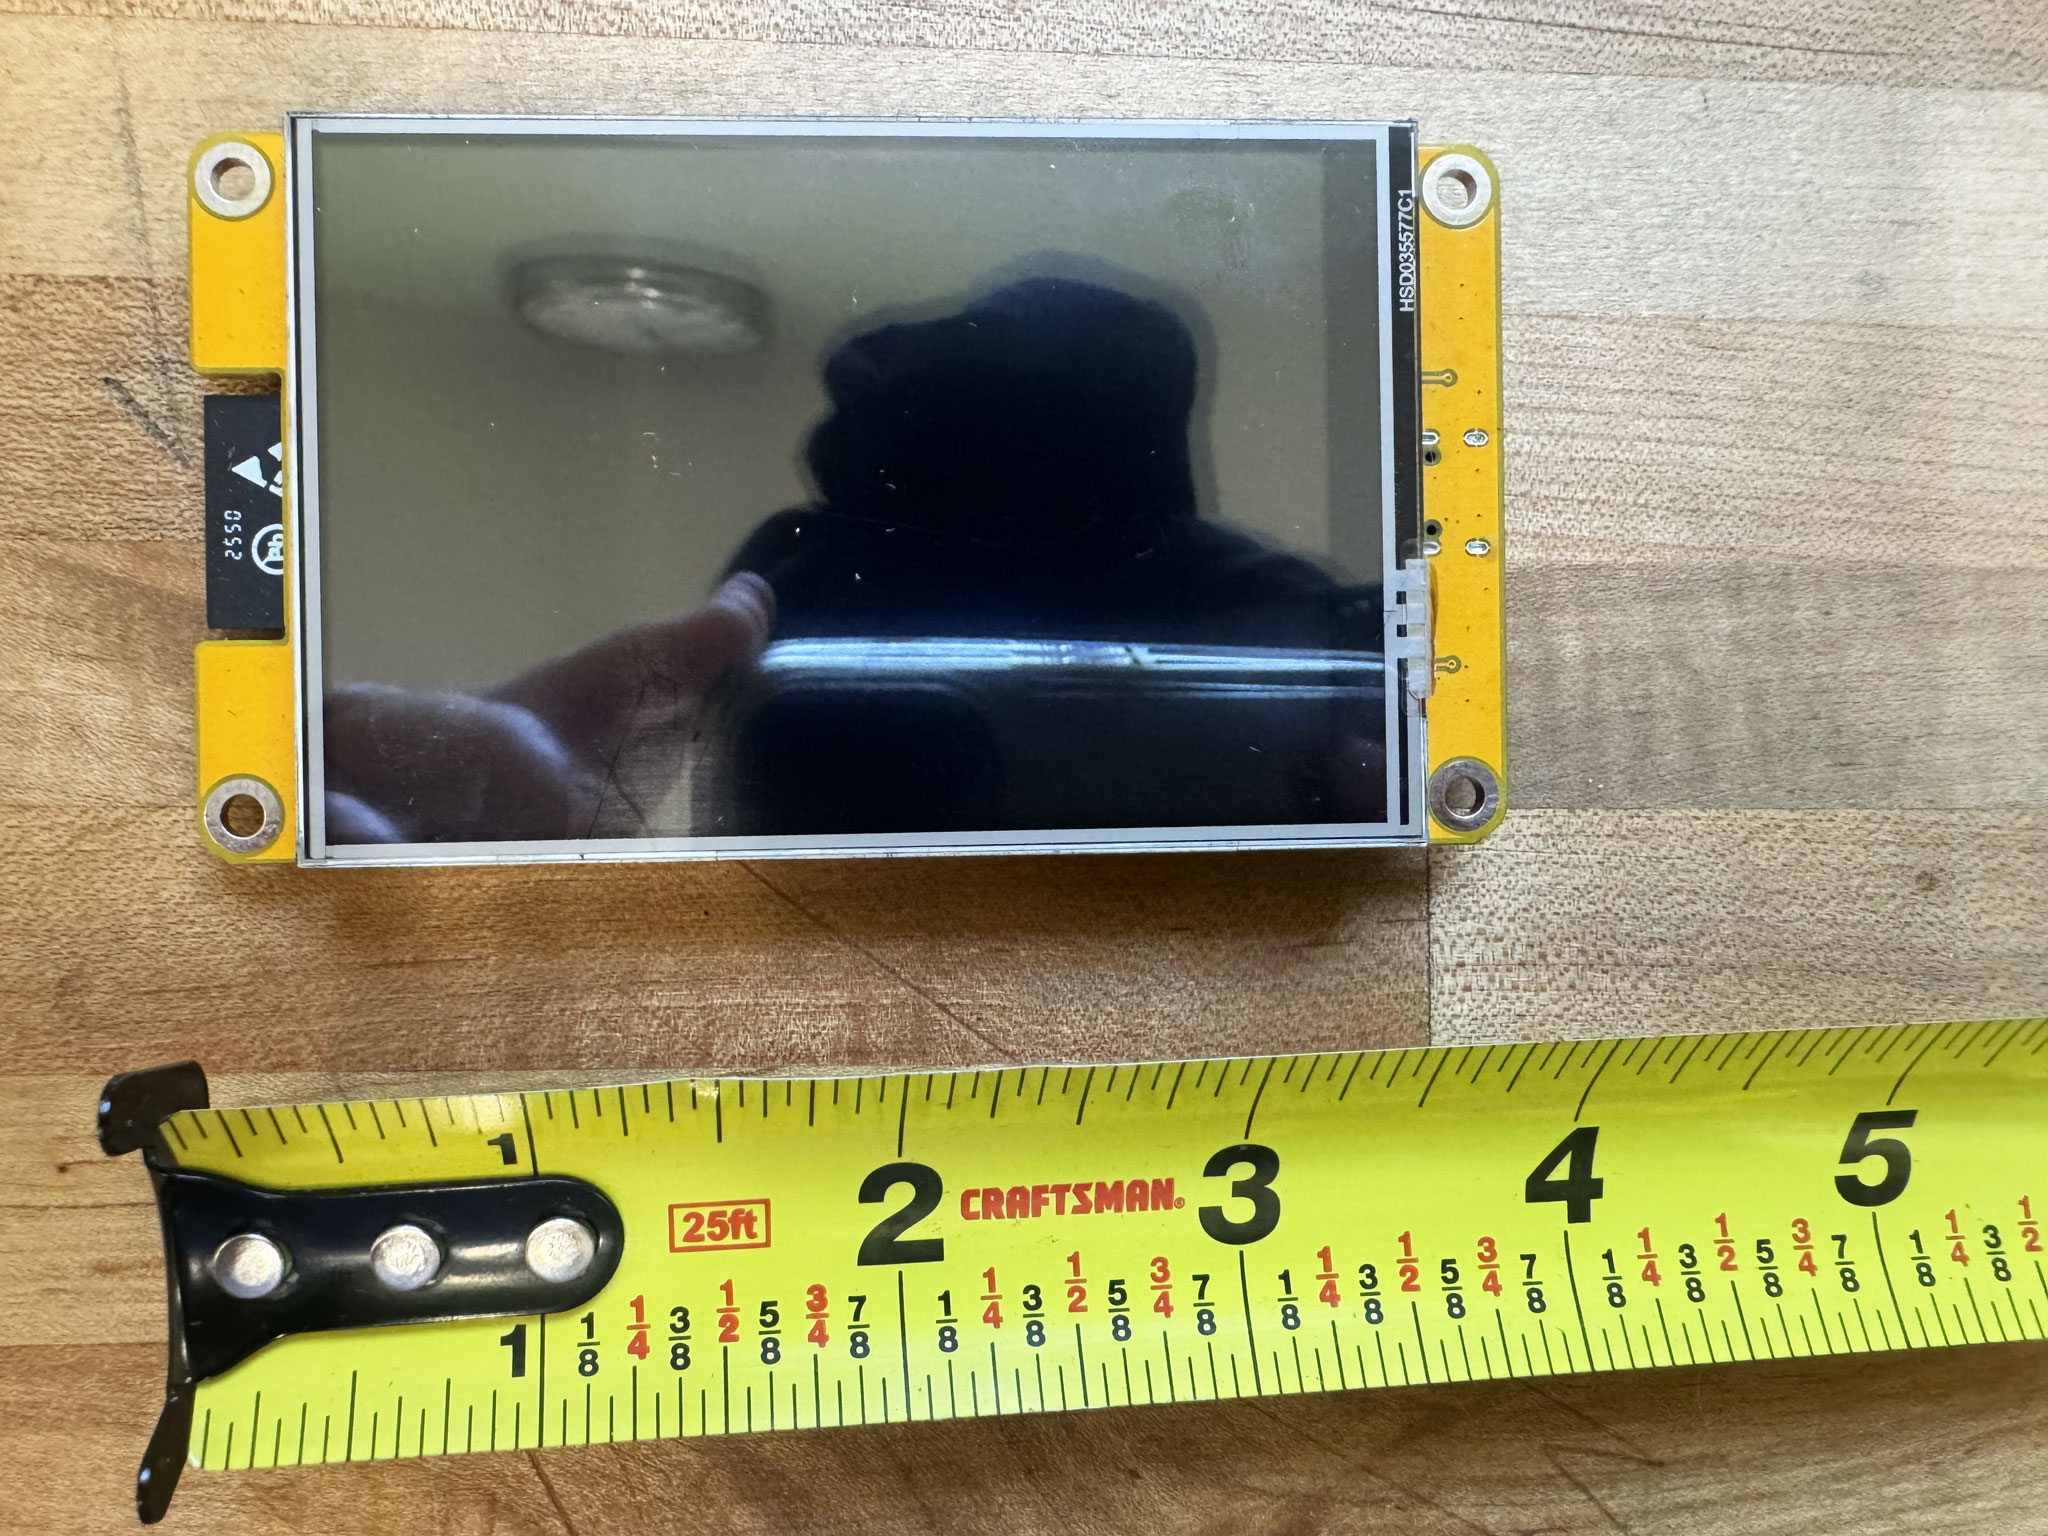
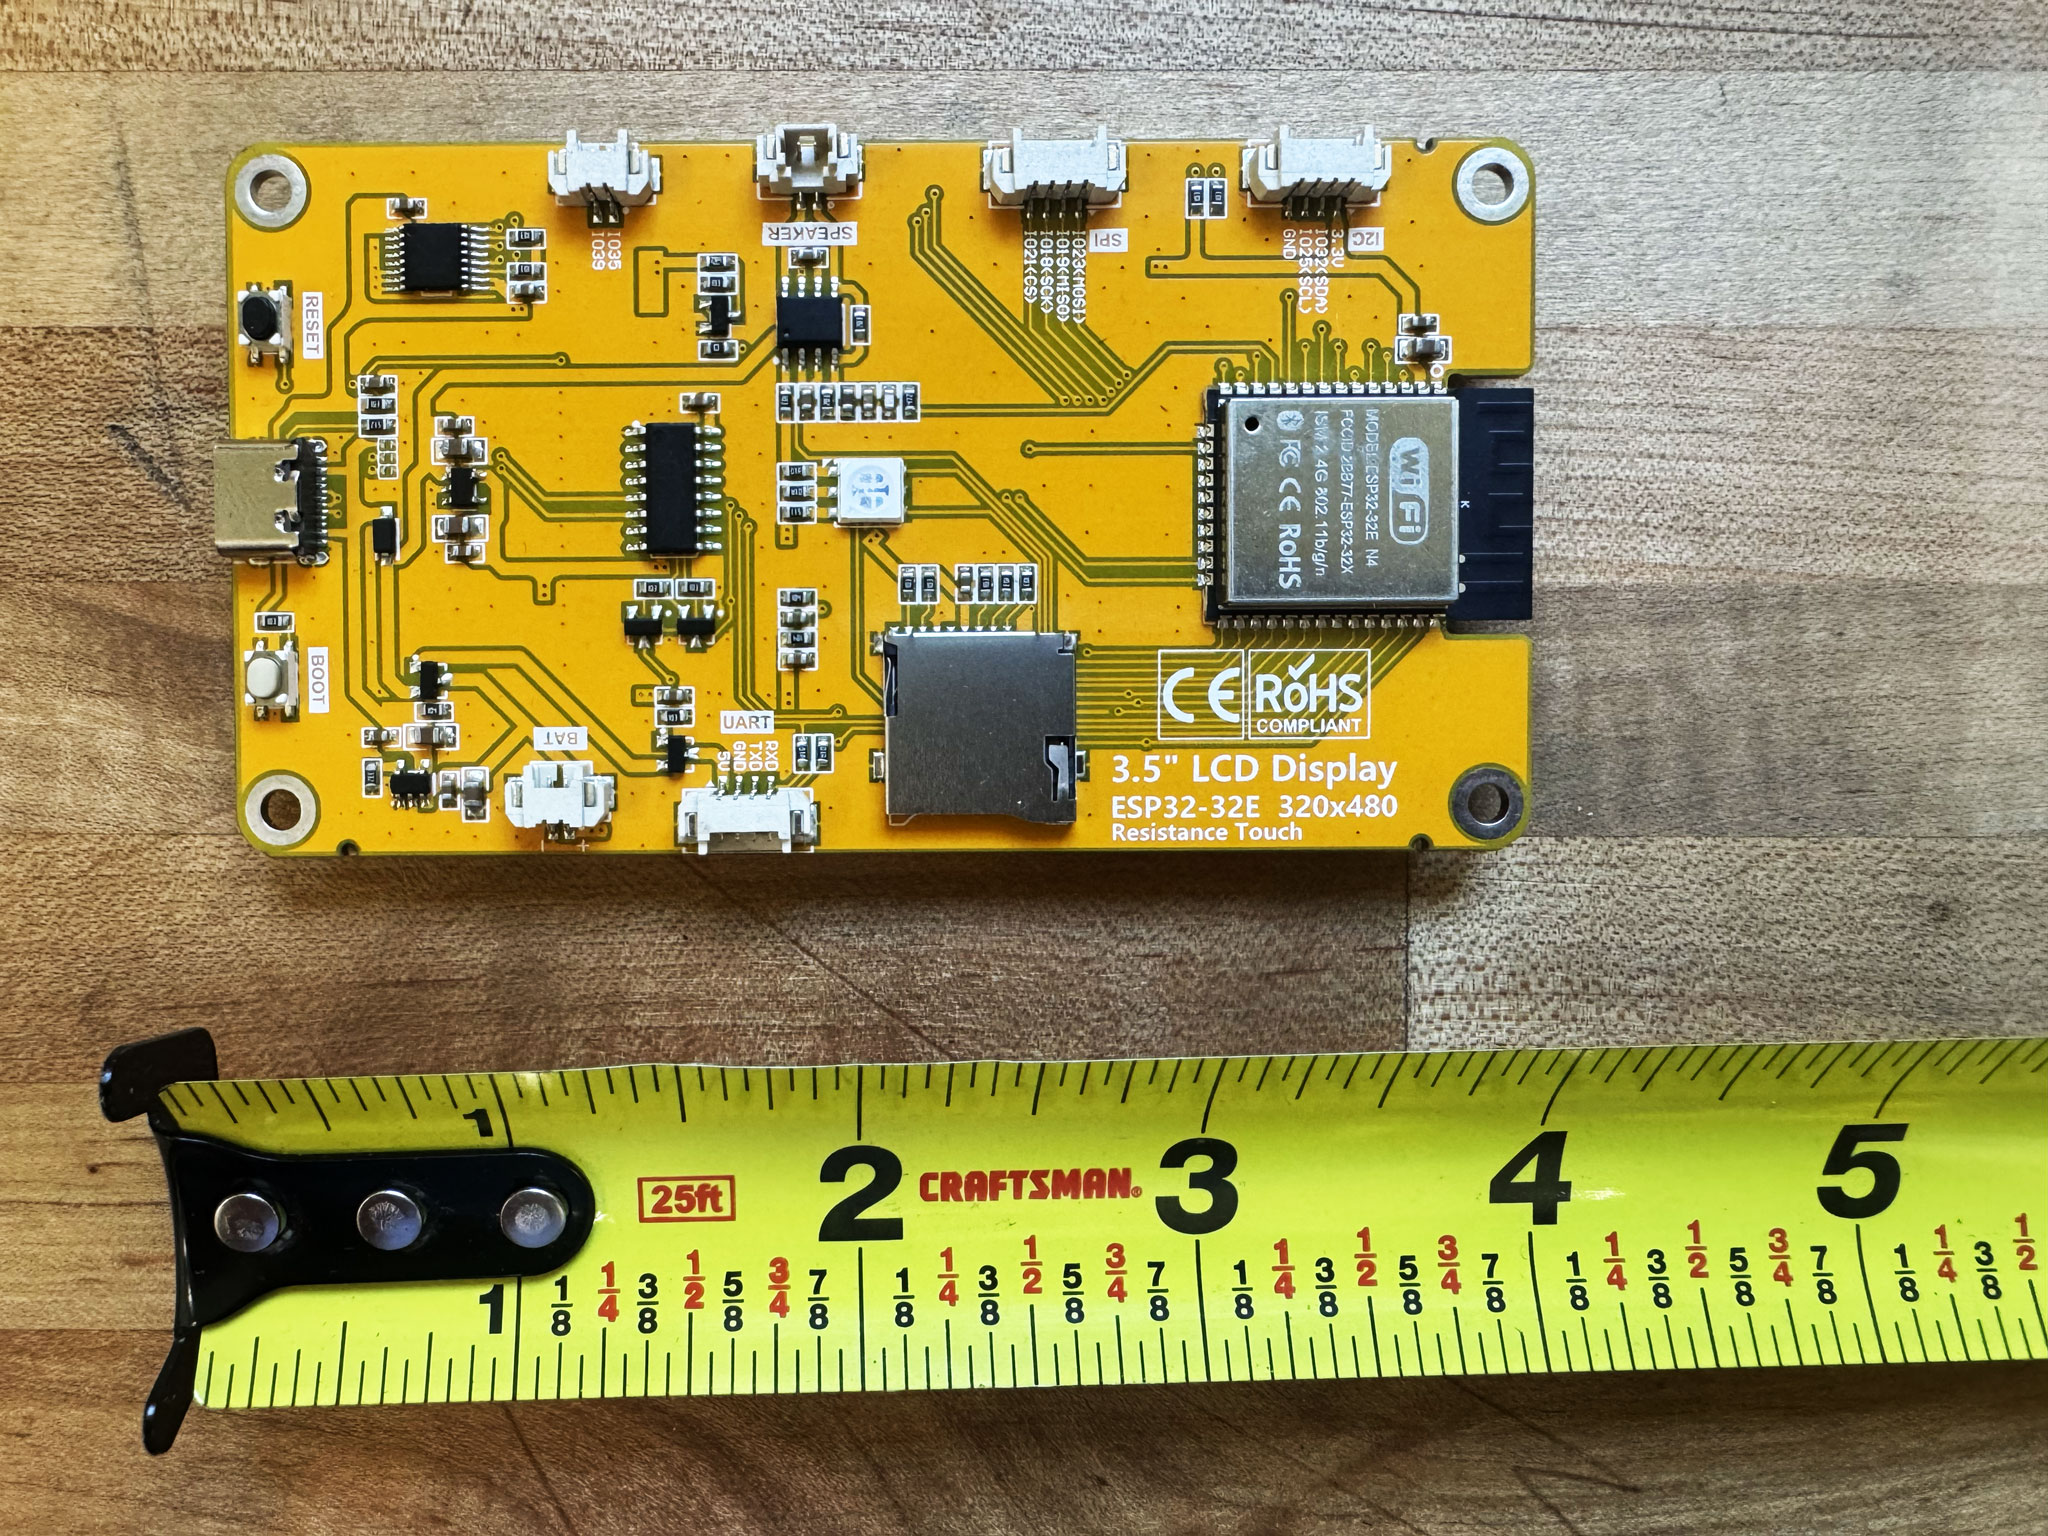
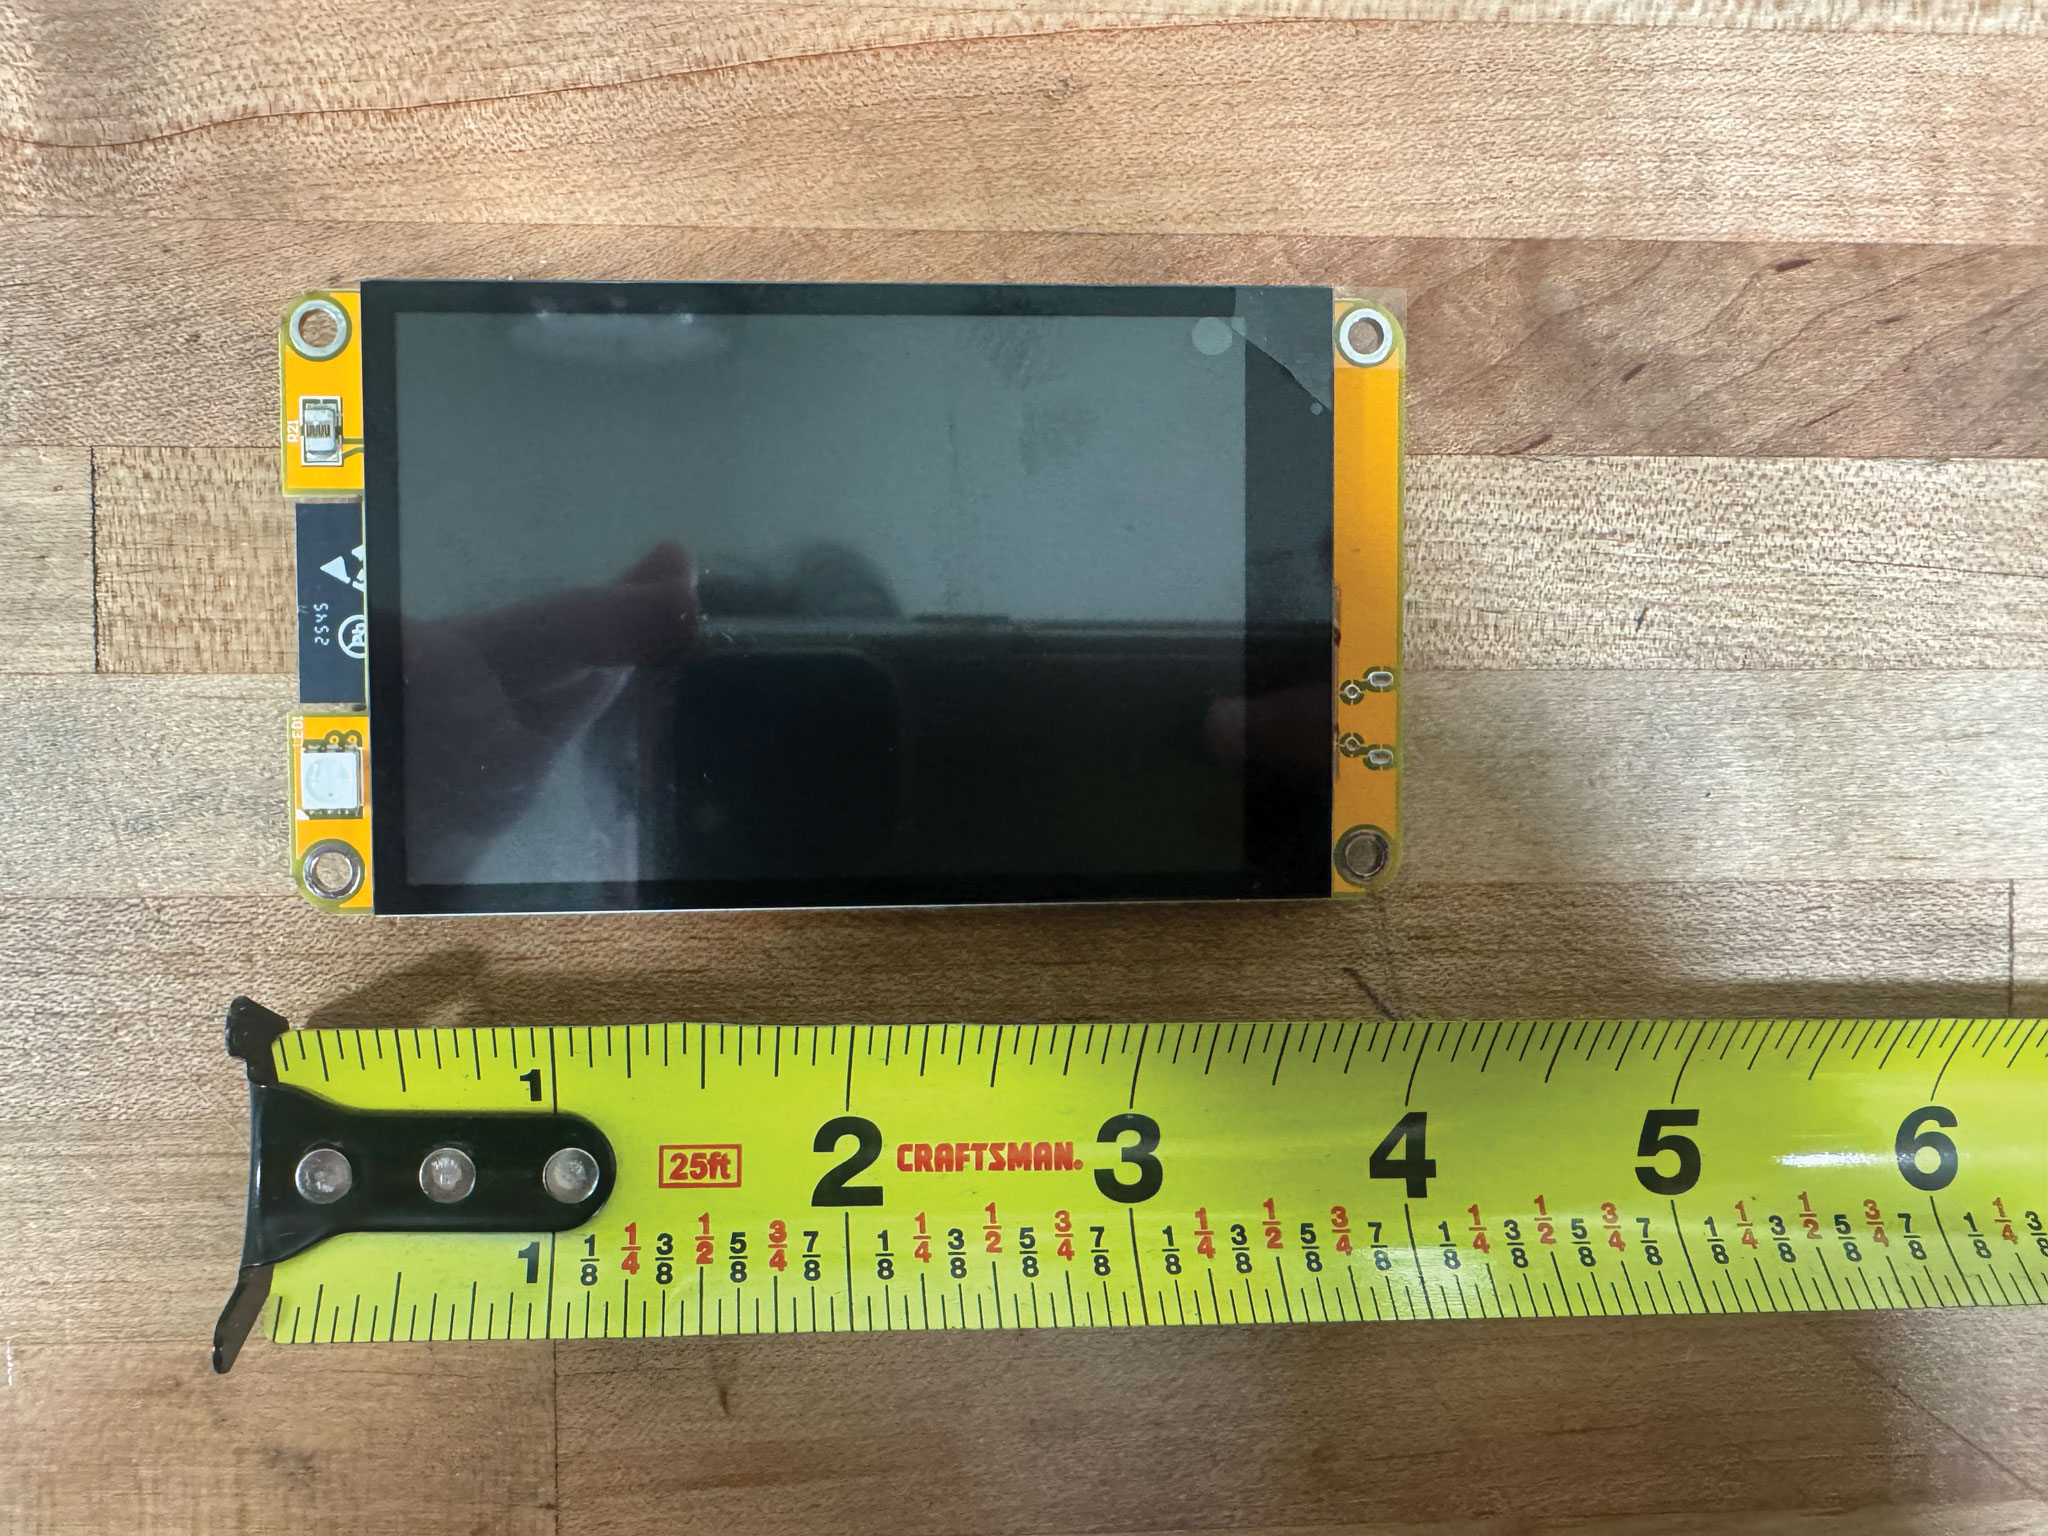
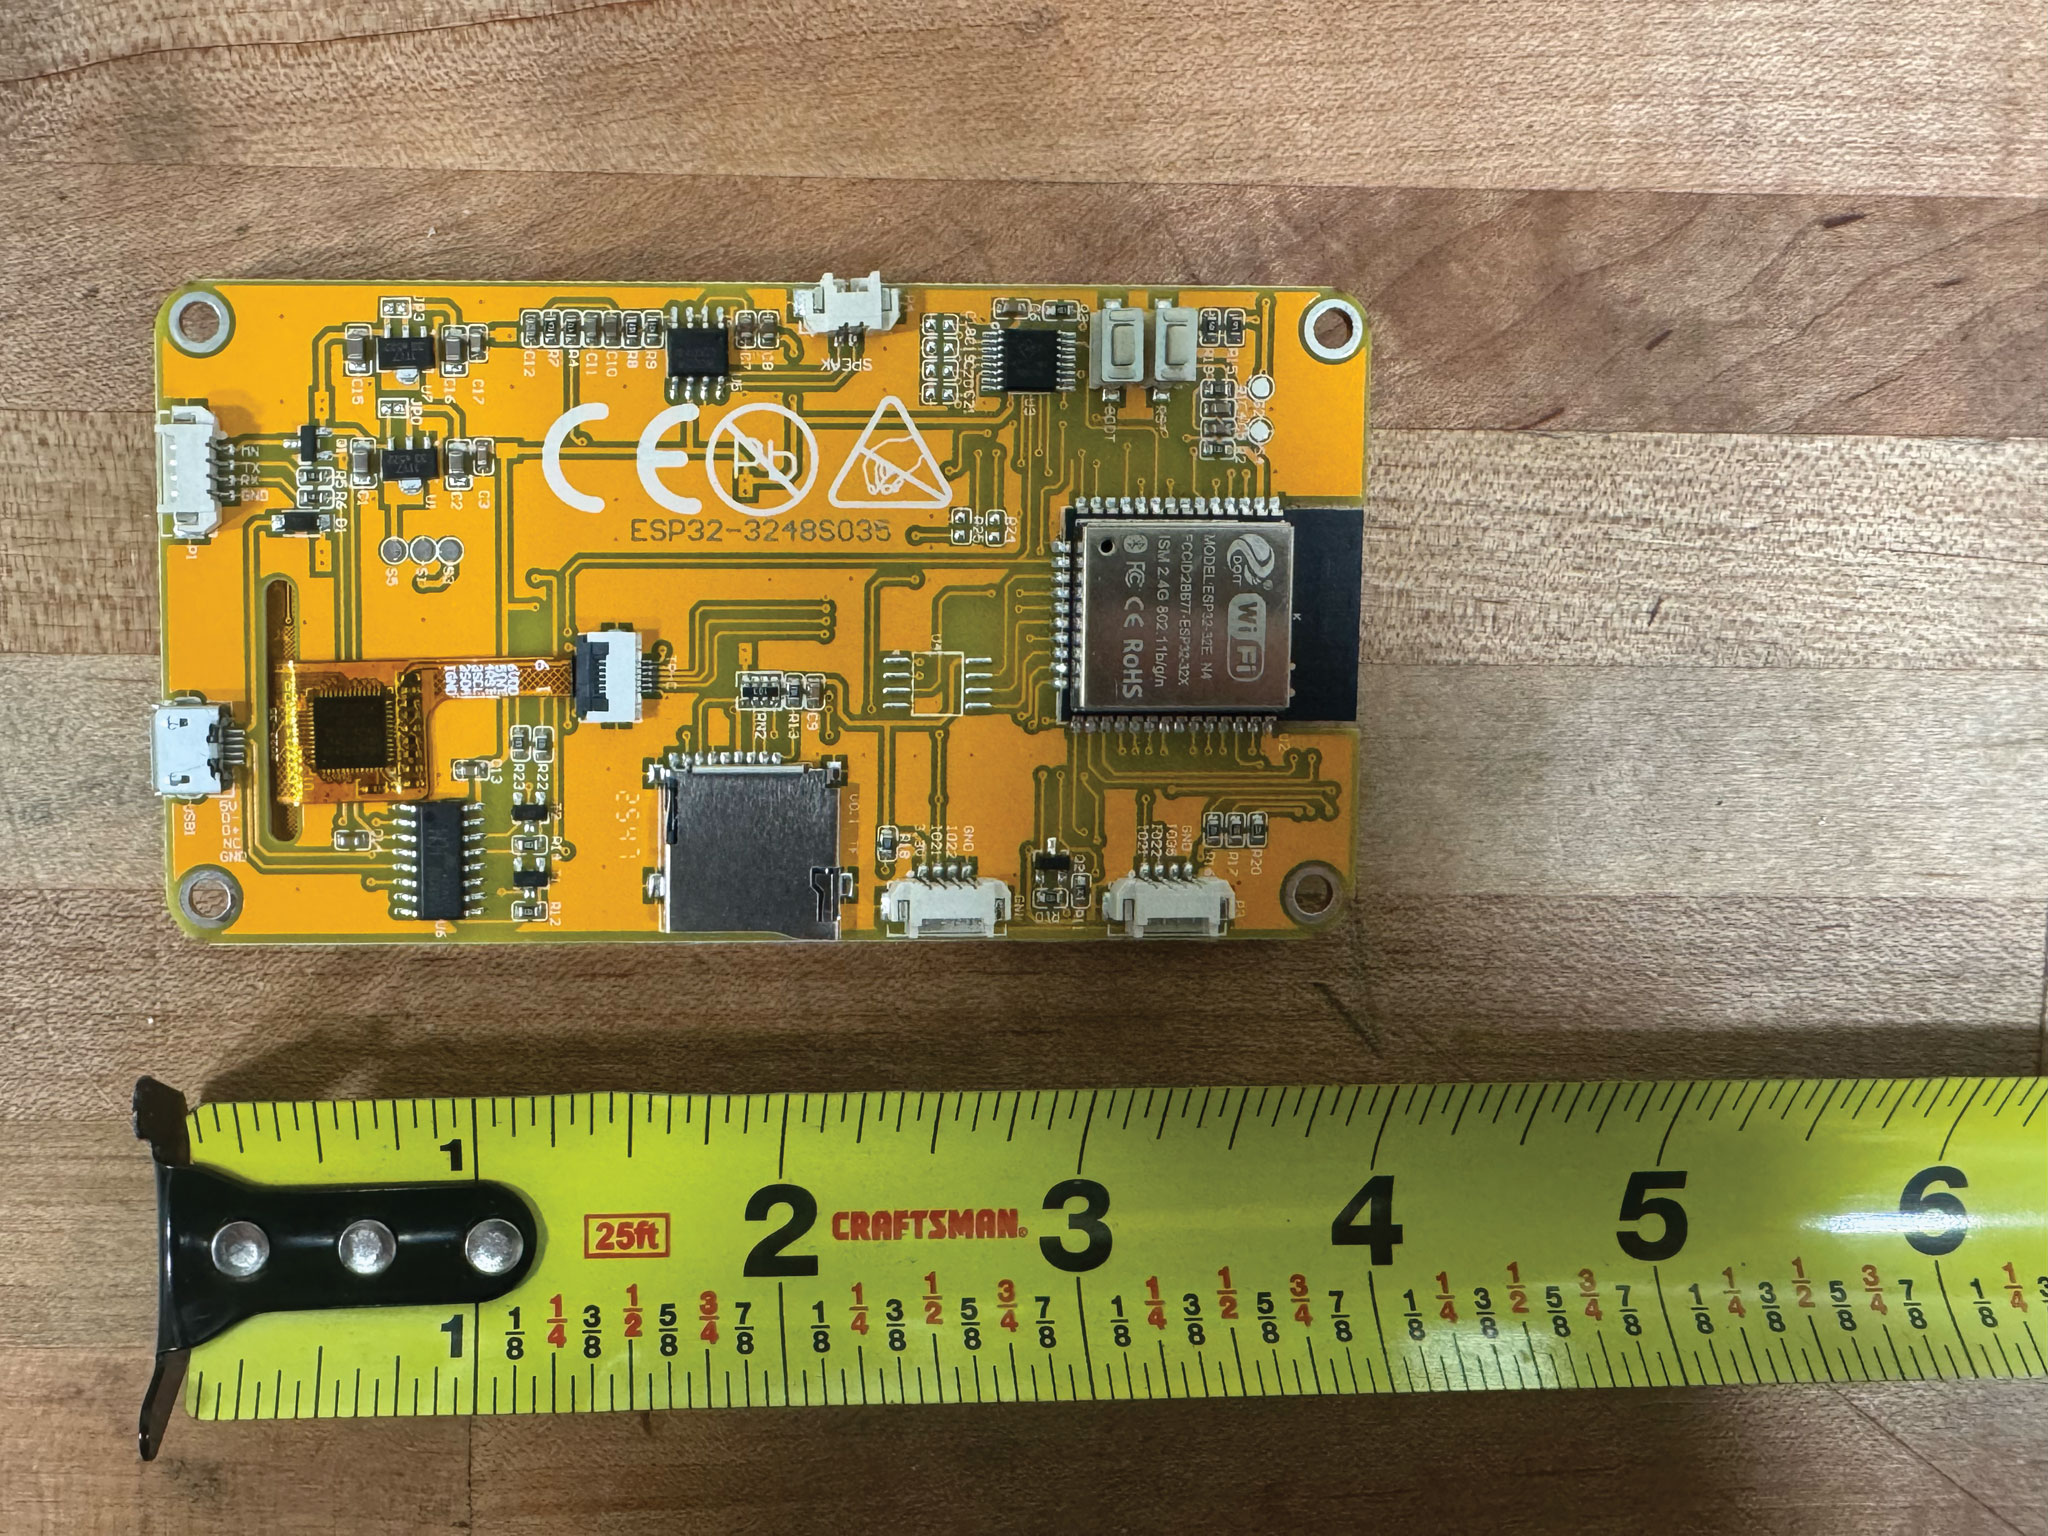
ESP32-3248S035R — silkscreen ends in “R”. XPT2046 resistive touch — needs a one-time calibration.
ESP32-3248S035C — silkscreen ends in “C”. GT911 capacitive touch — no calibration needed.
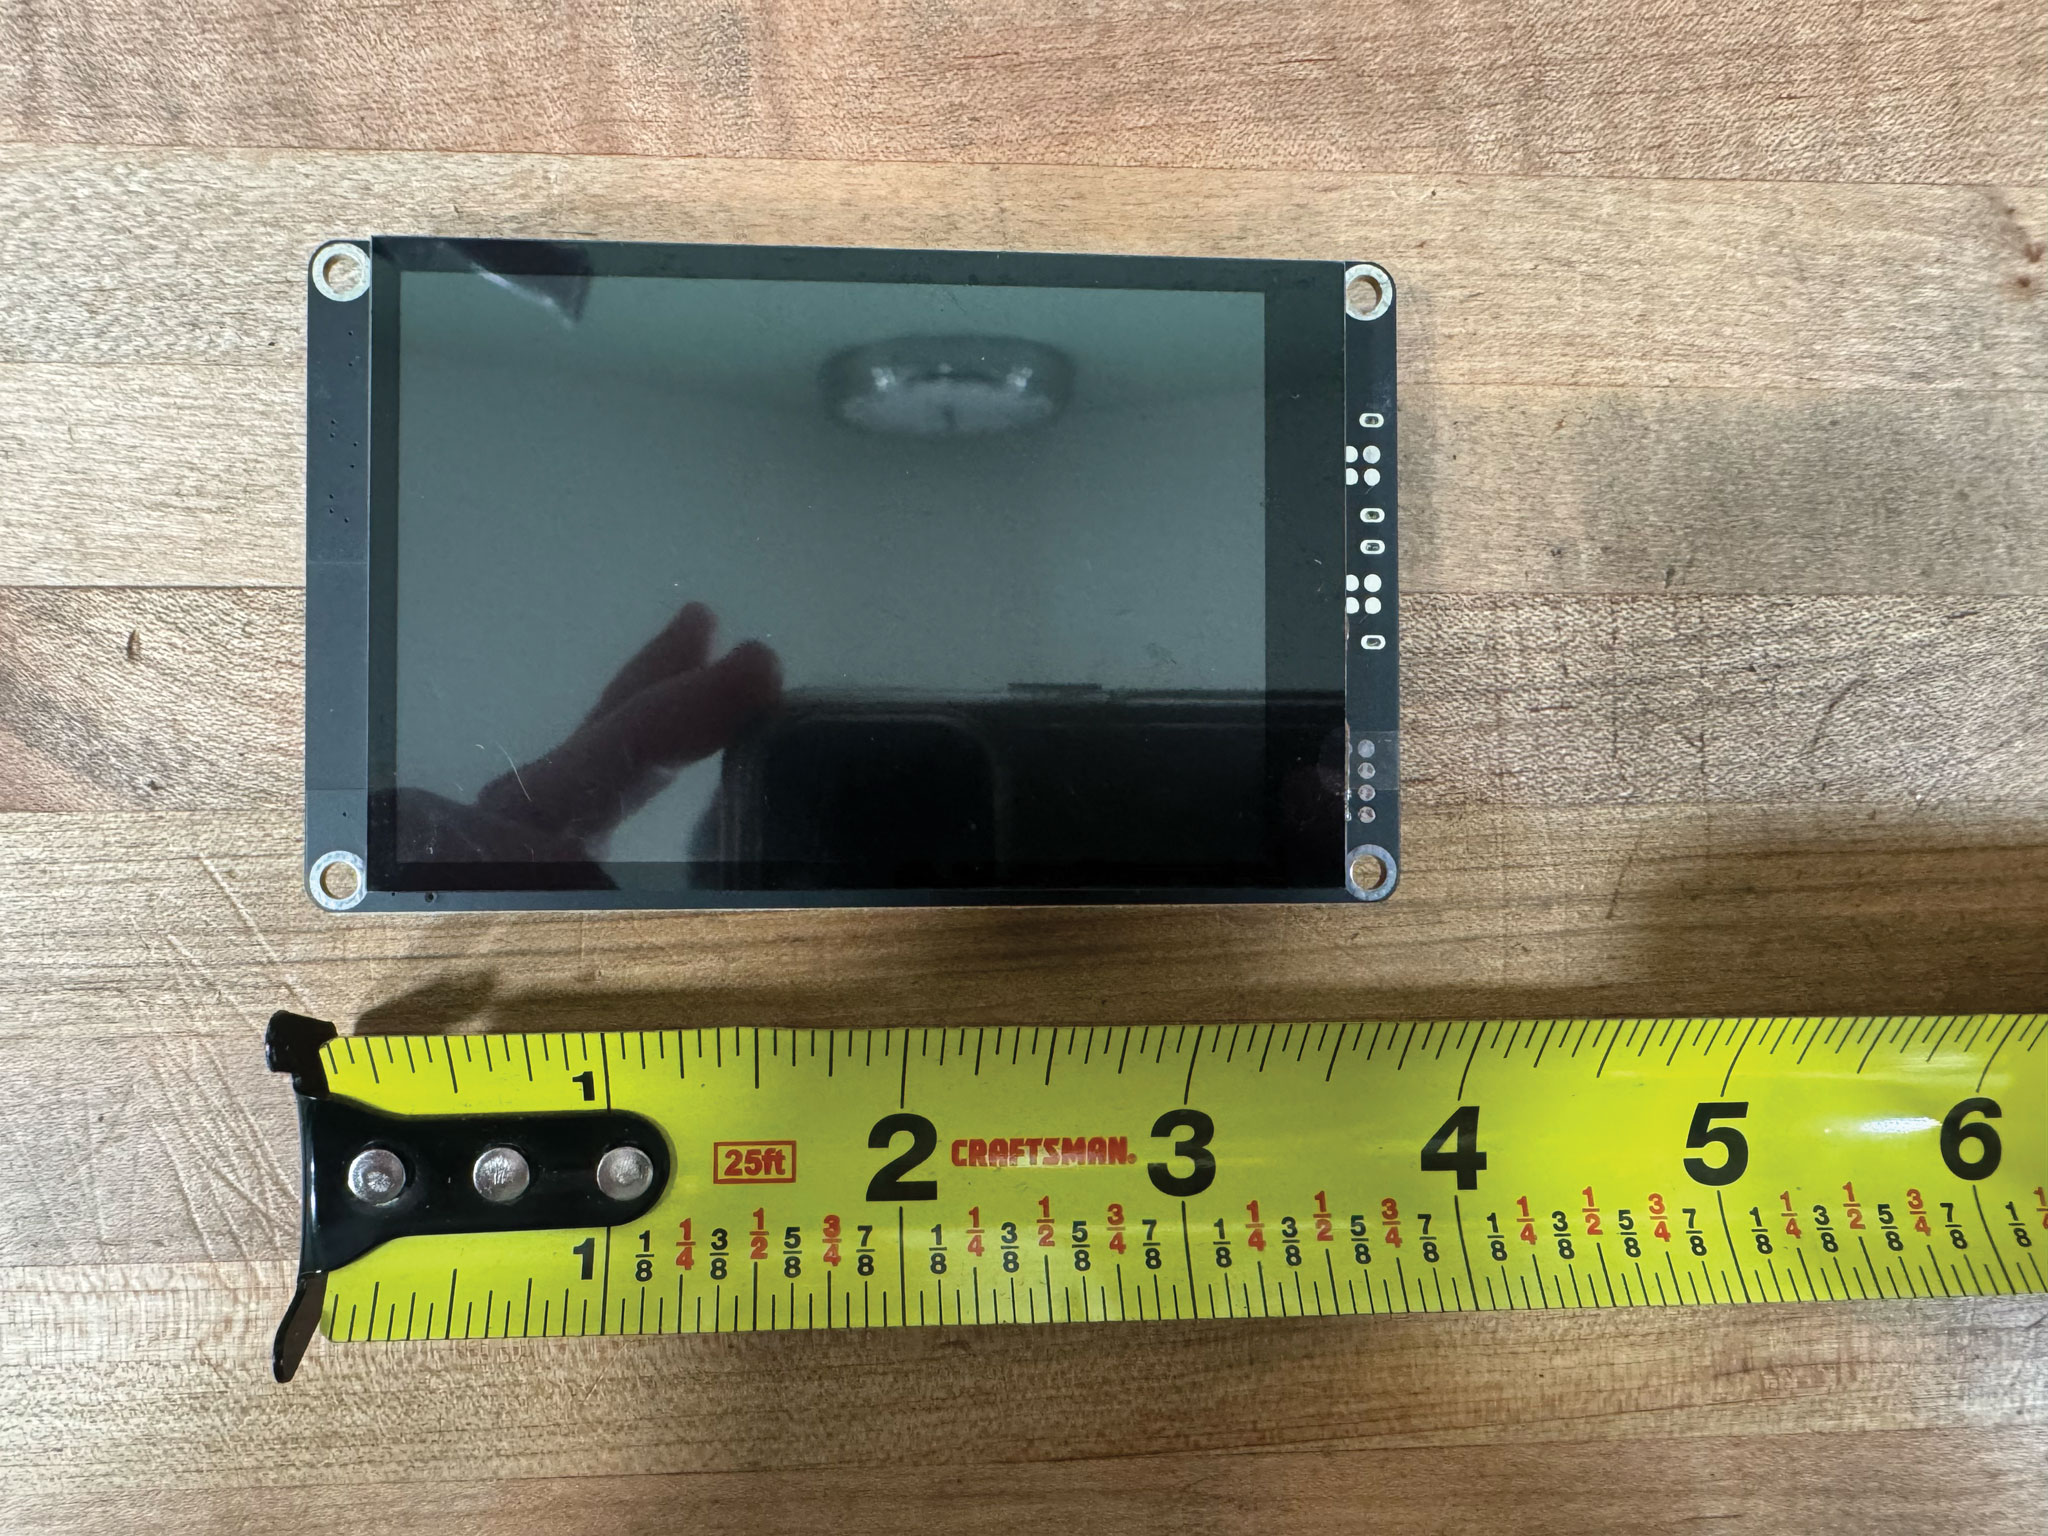
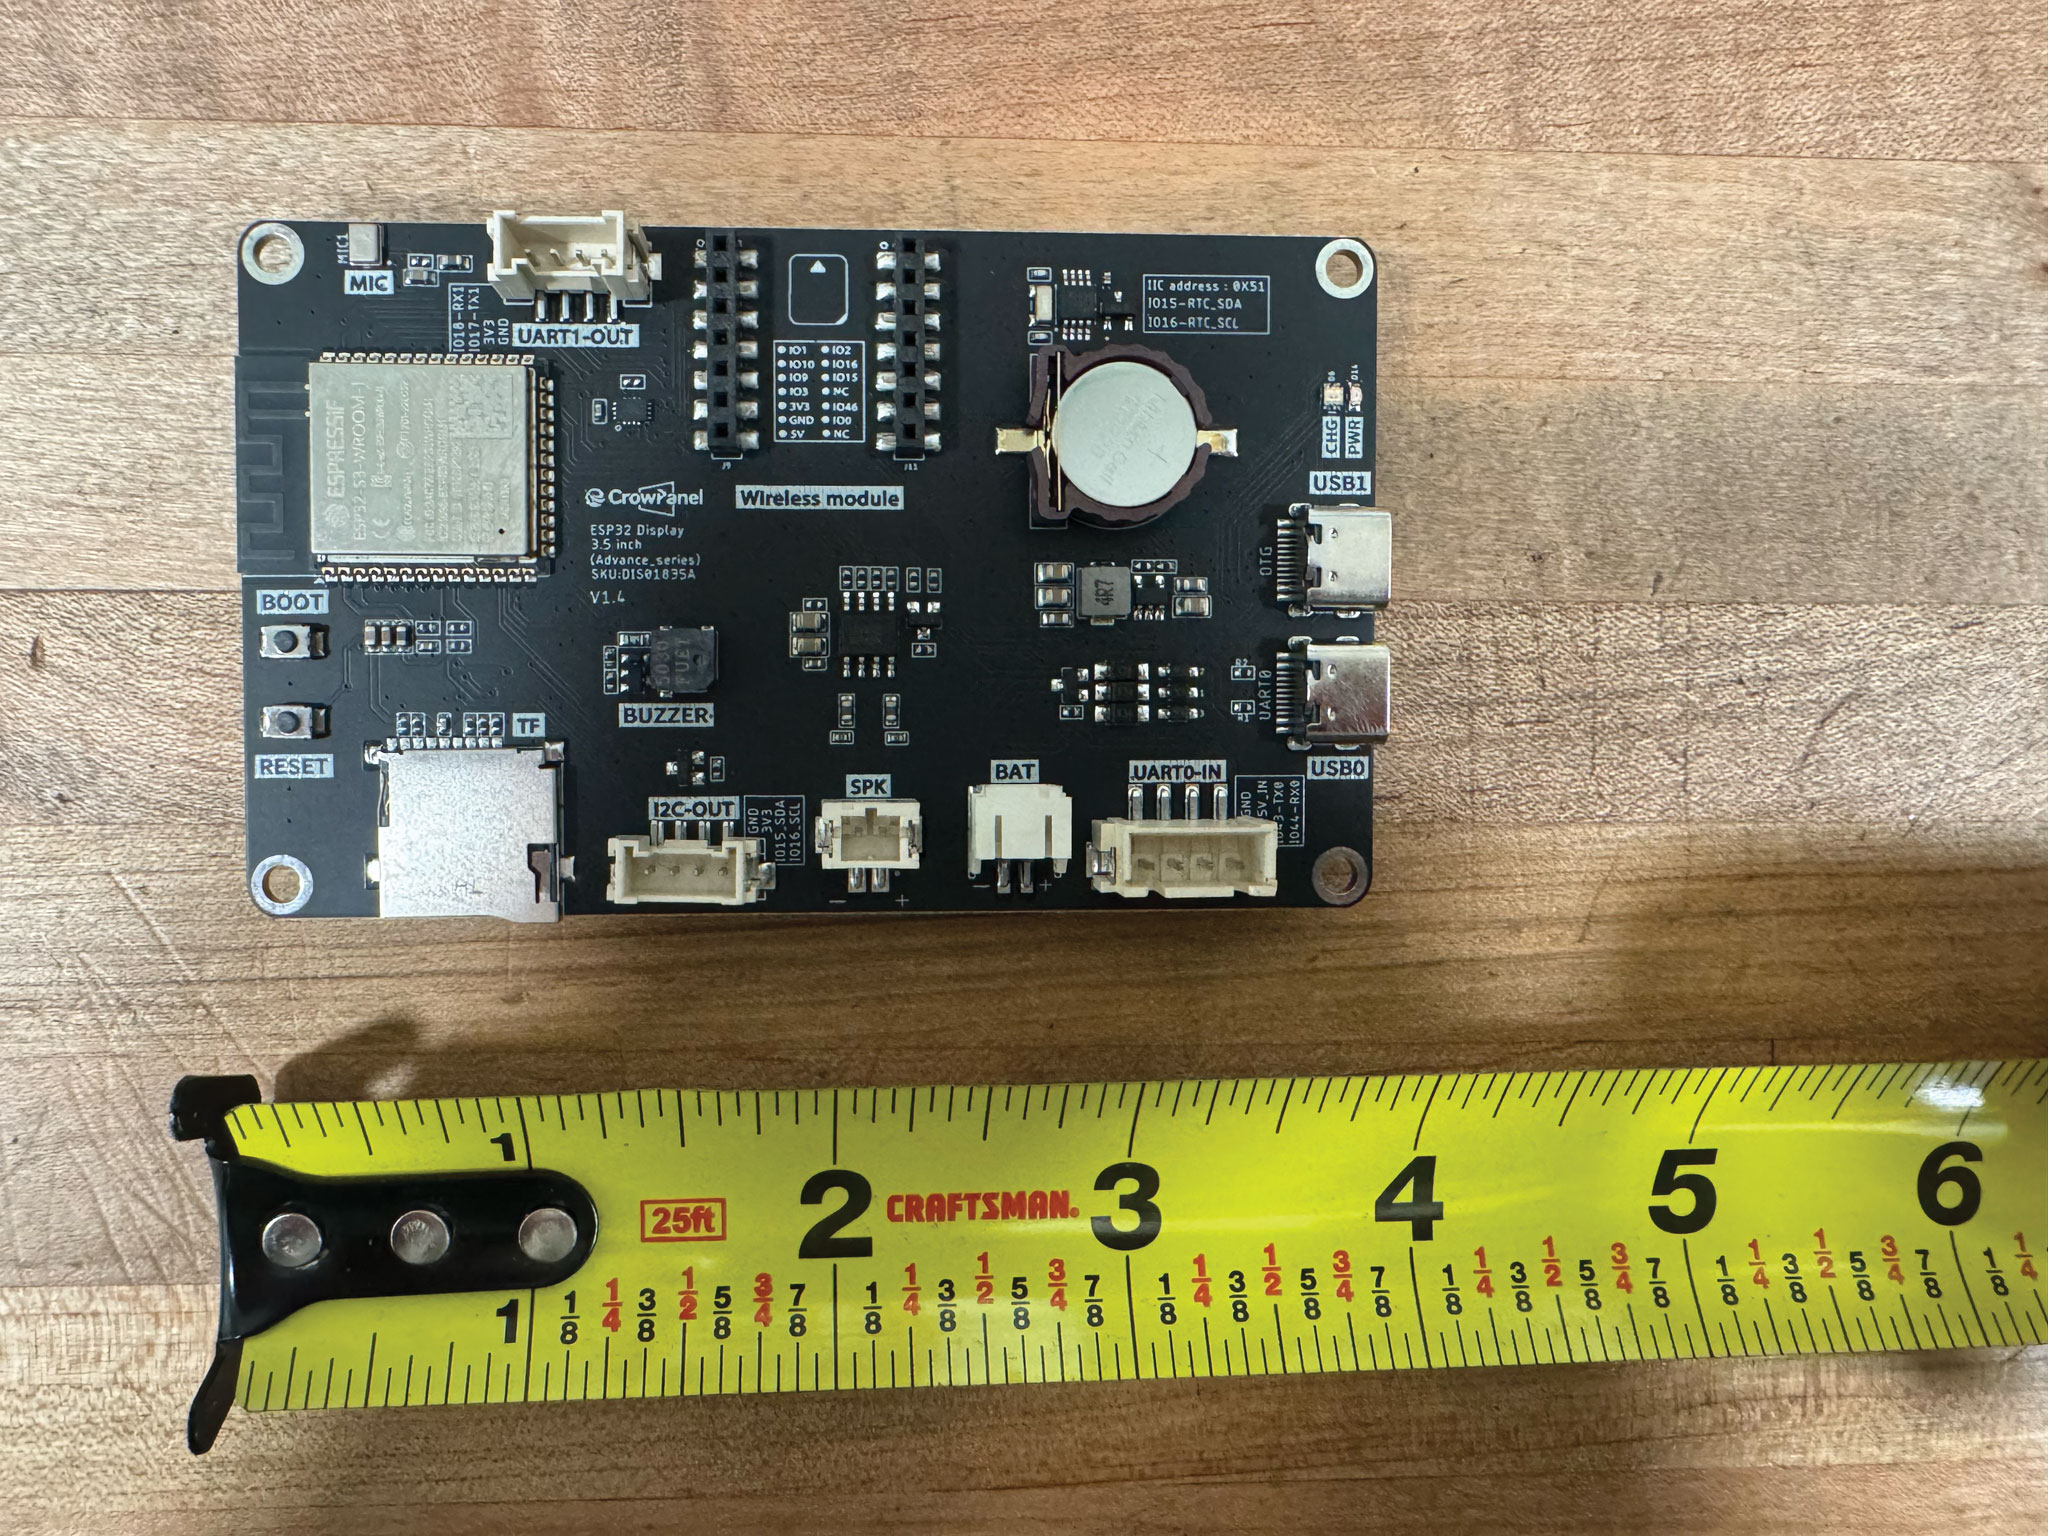
Elecrow CrowPanel Advance 3.5″ HMI (ESP32-S3) — GT911 capacitive touch, no calibration needed. Connect the port labelled USB1 / OTG (not USB0 / UART0).
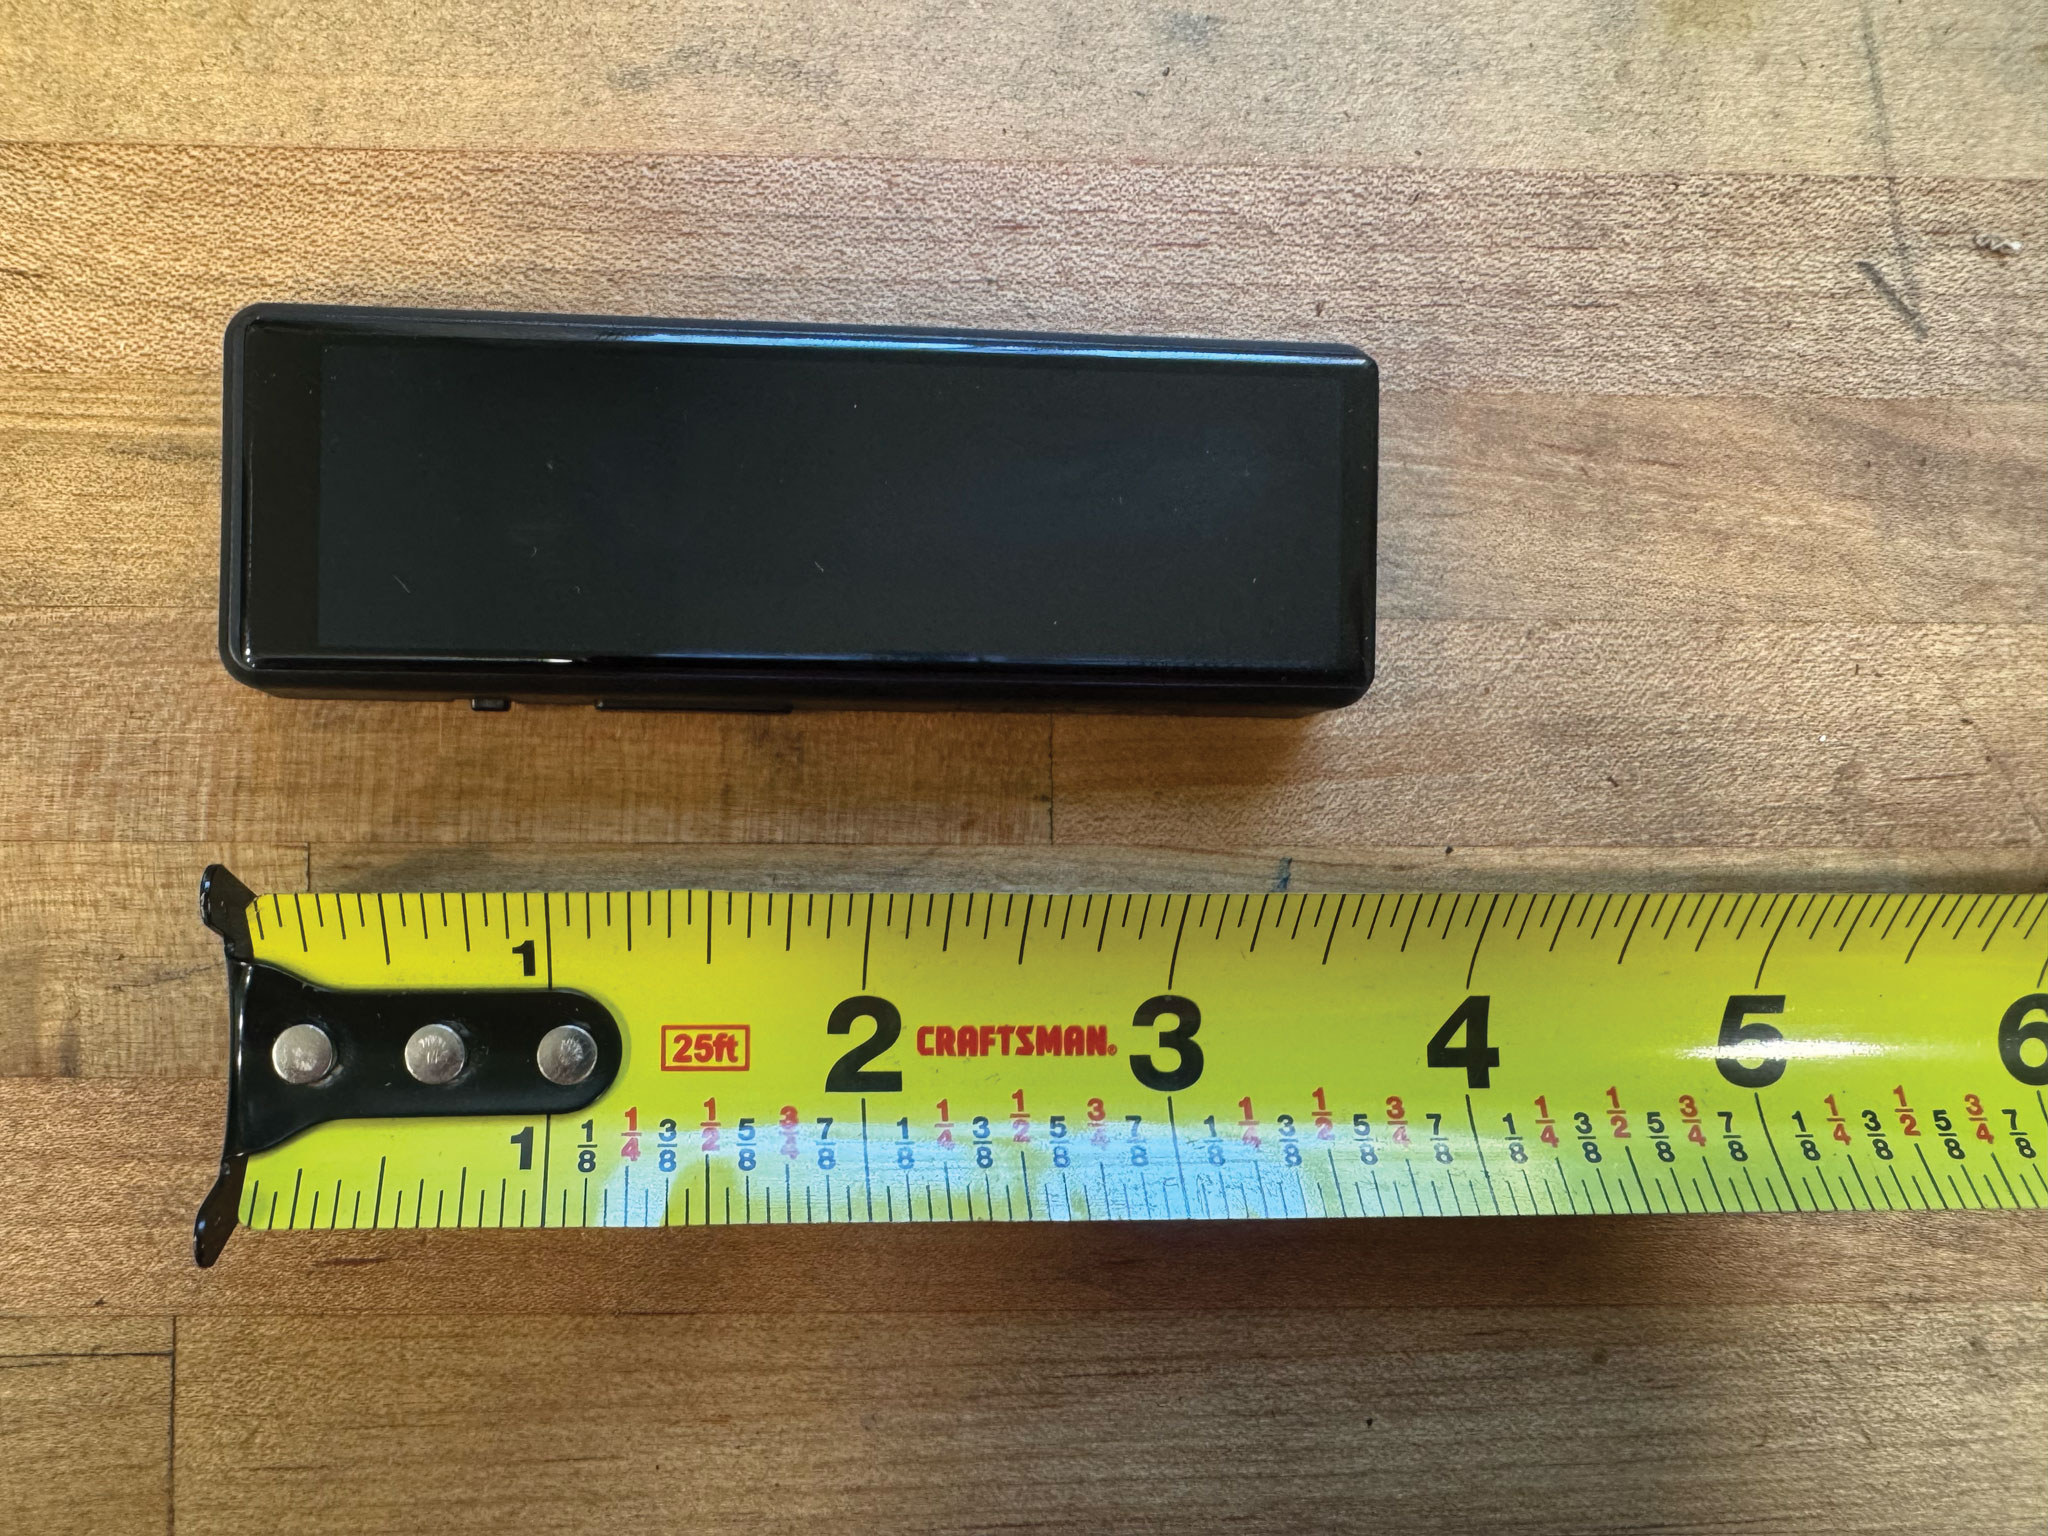
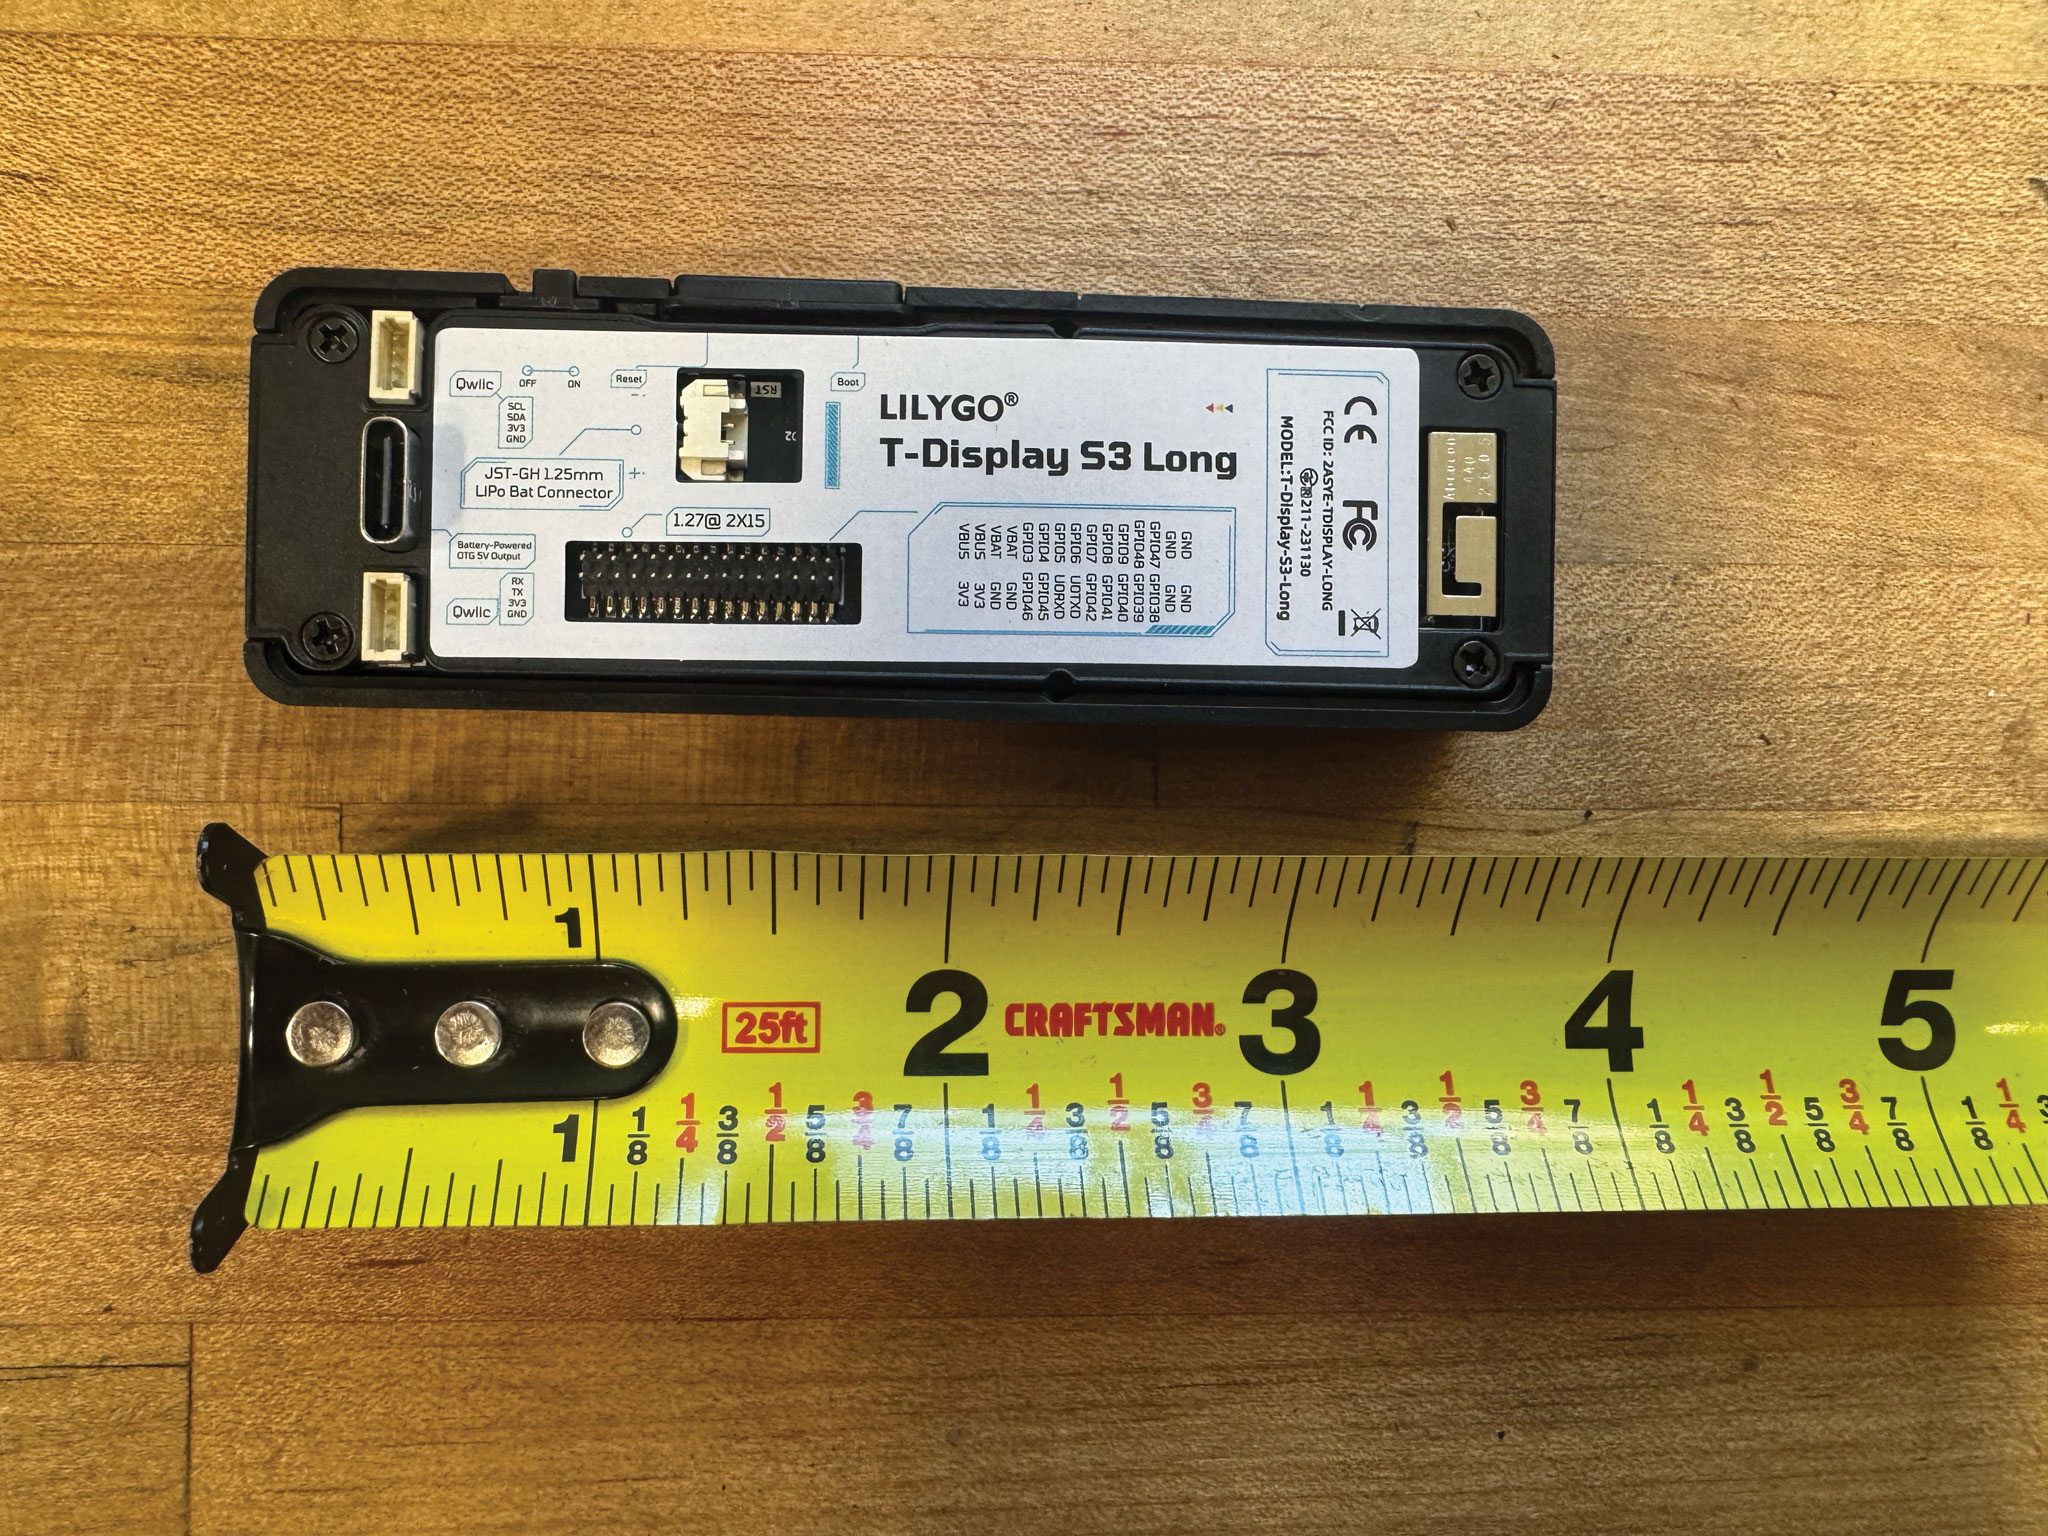
LILYGO T-Display-S3-Long — capacitive touch, no calibration needed. One USB-C port, used for both flashing and normal operation.
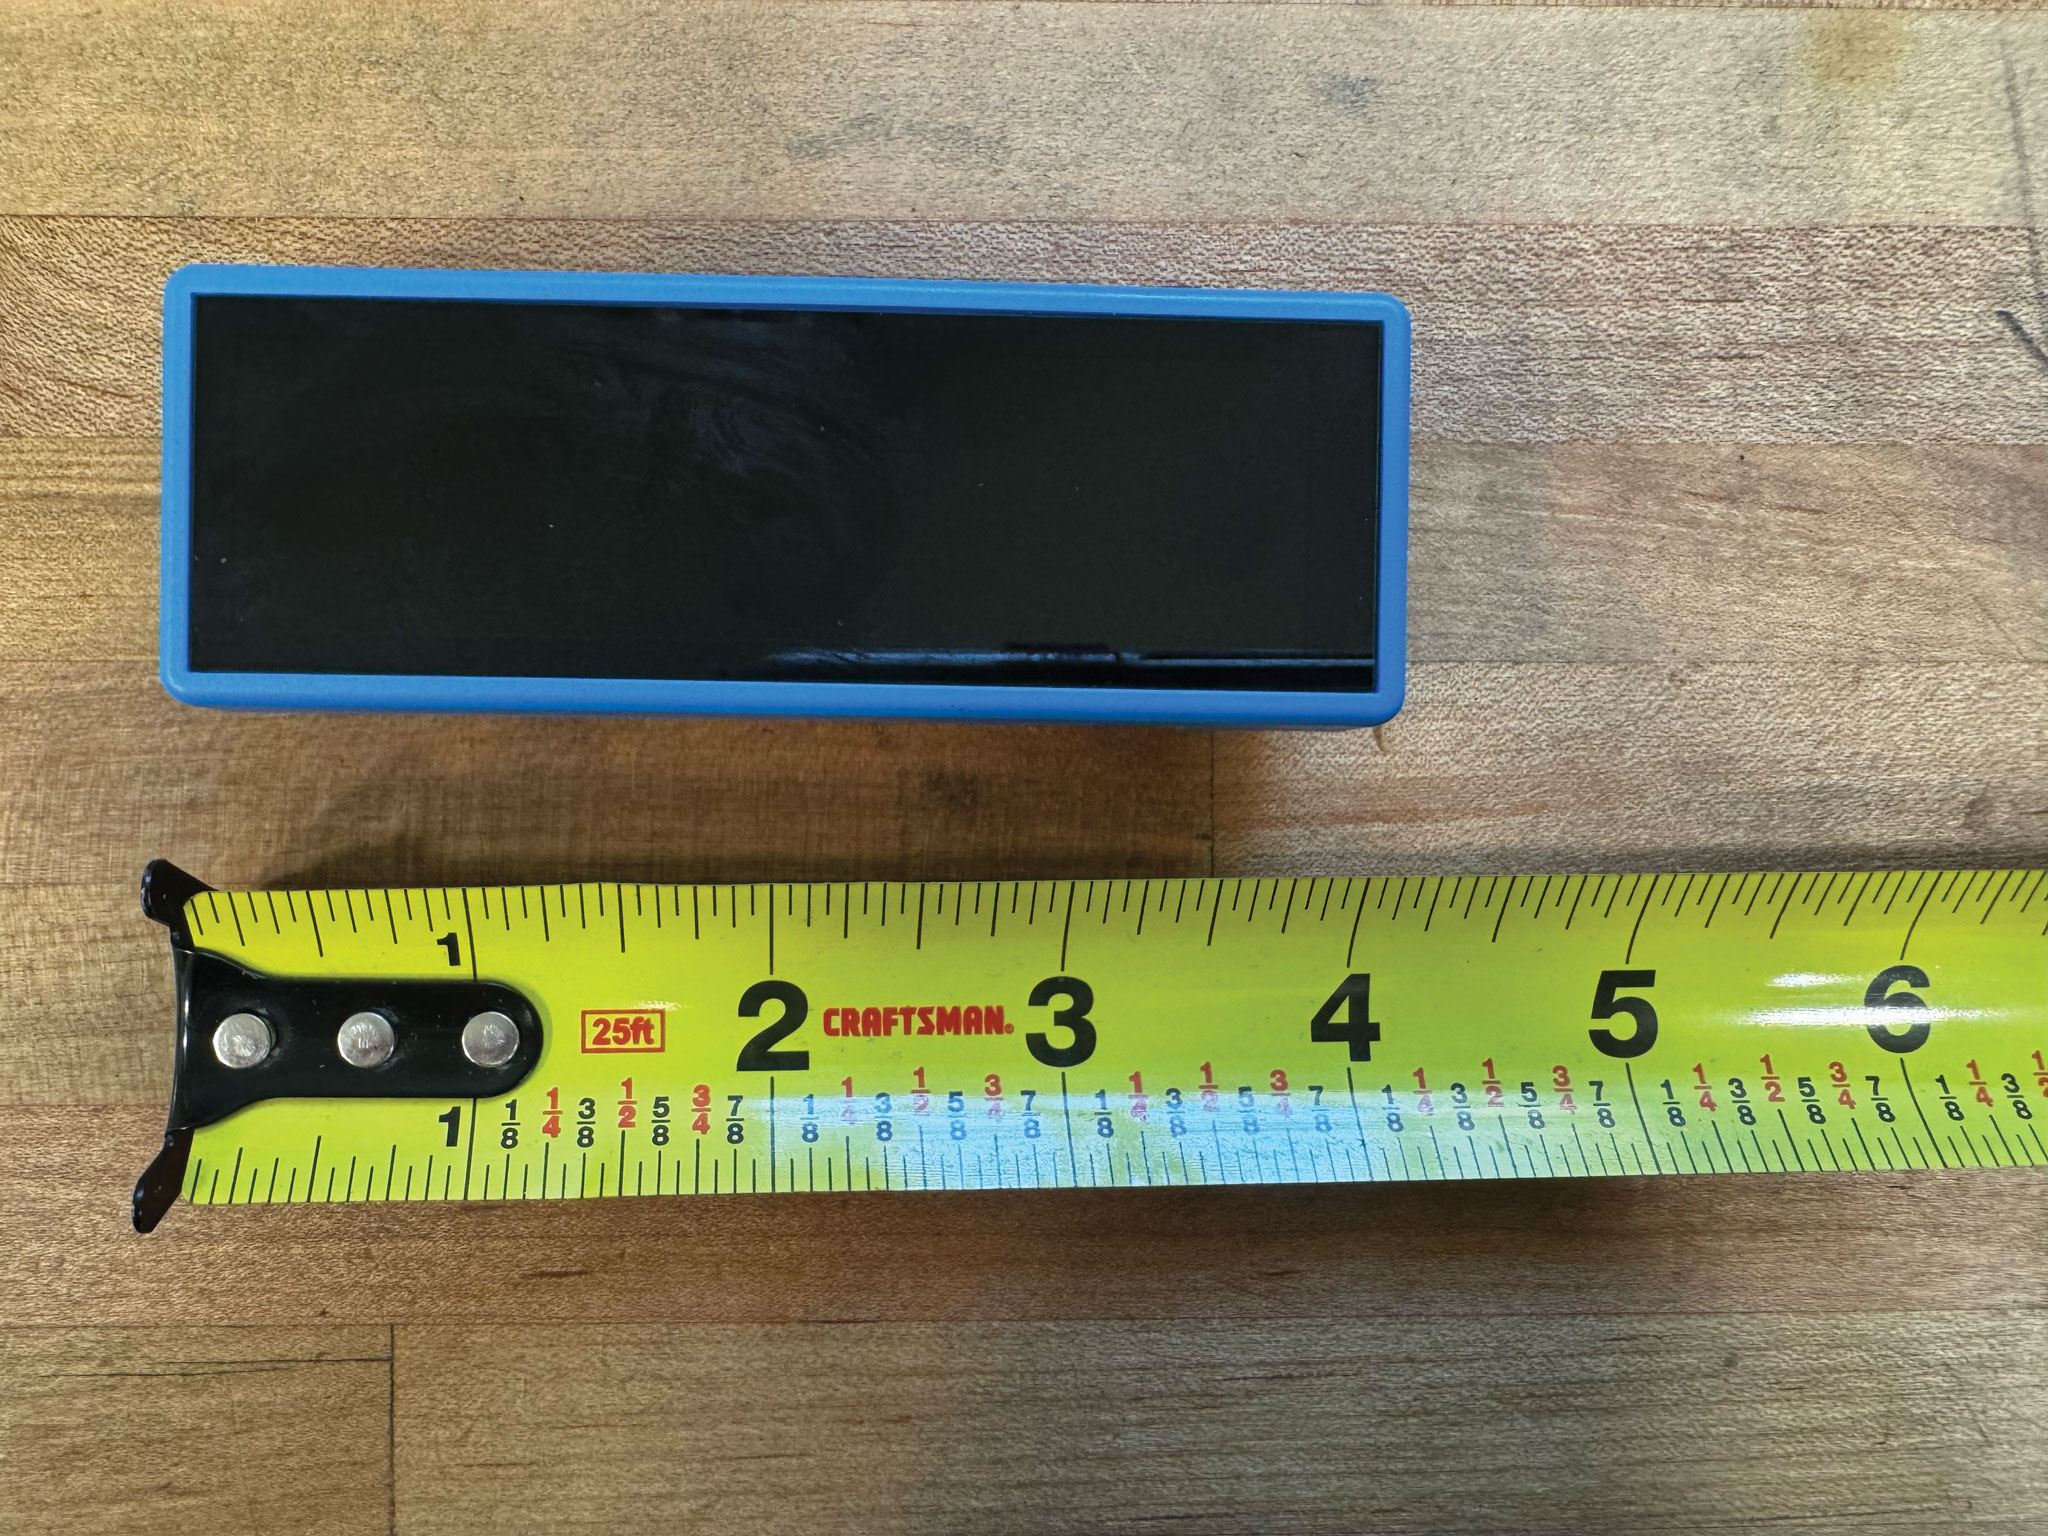
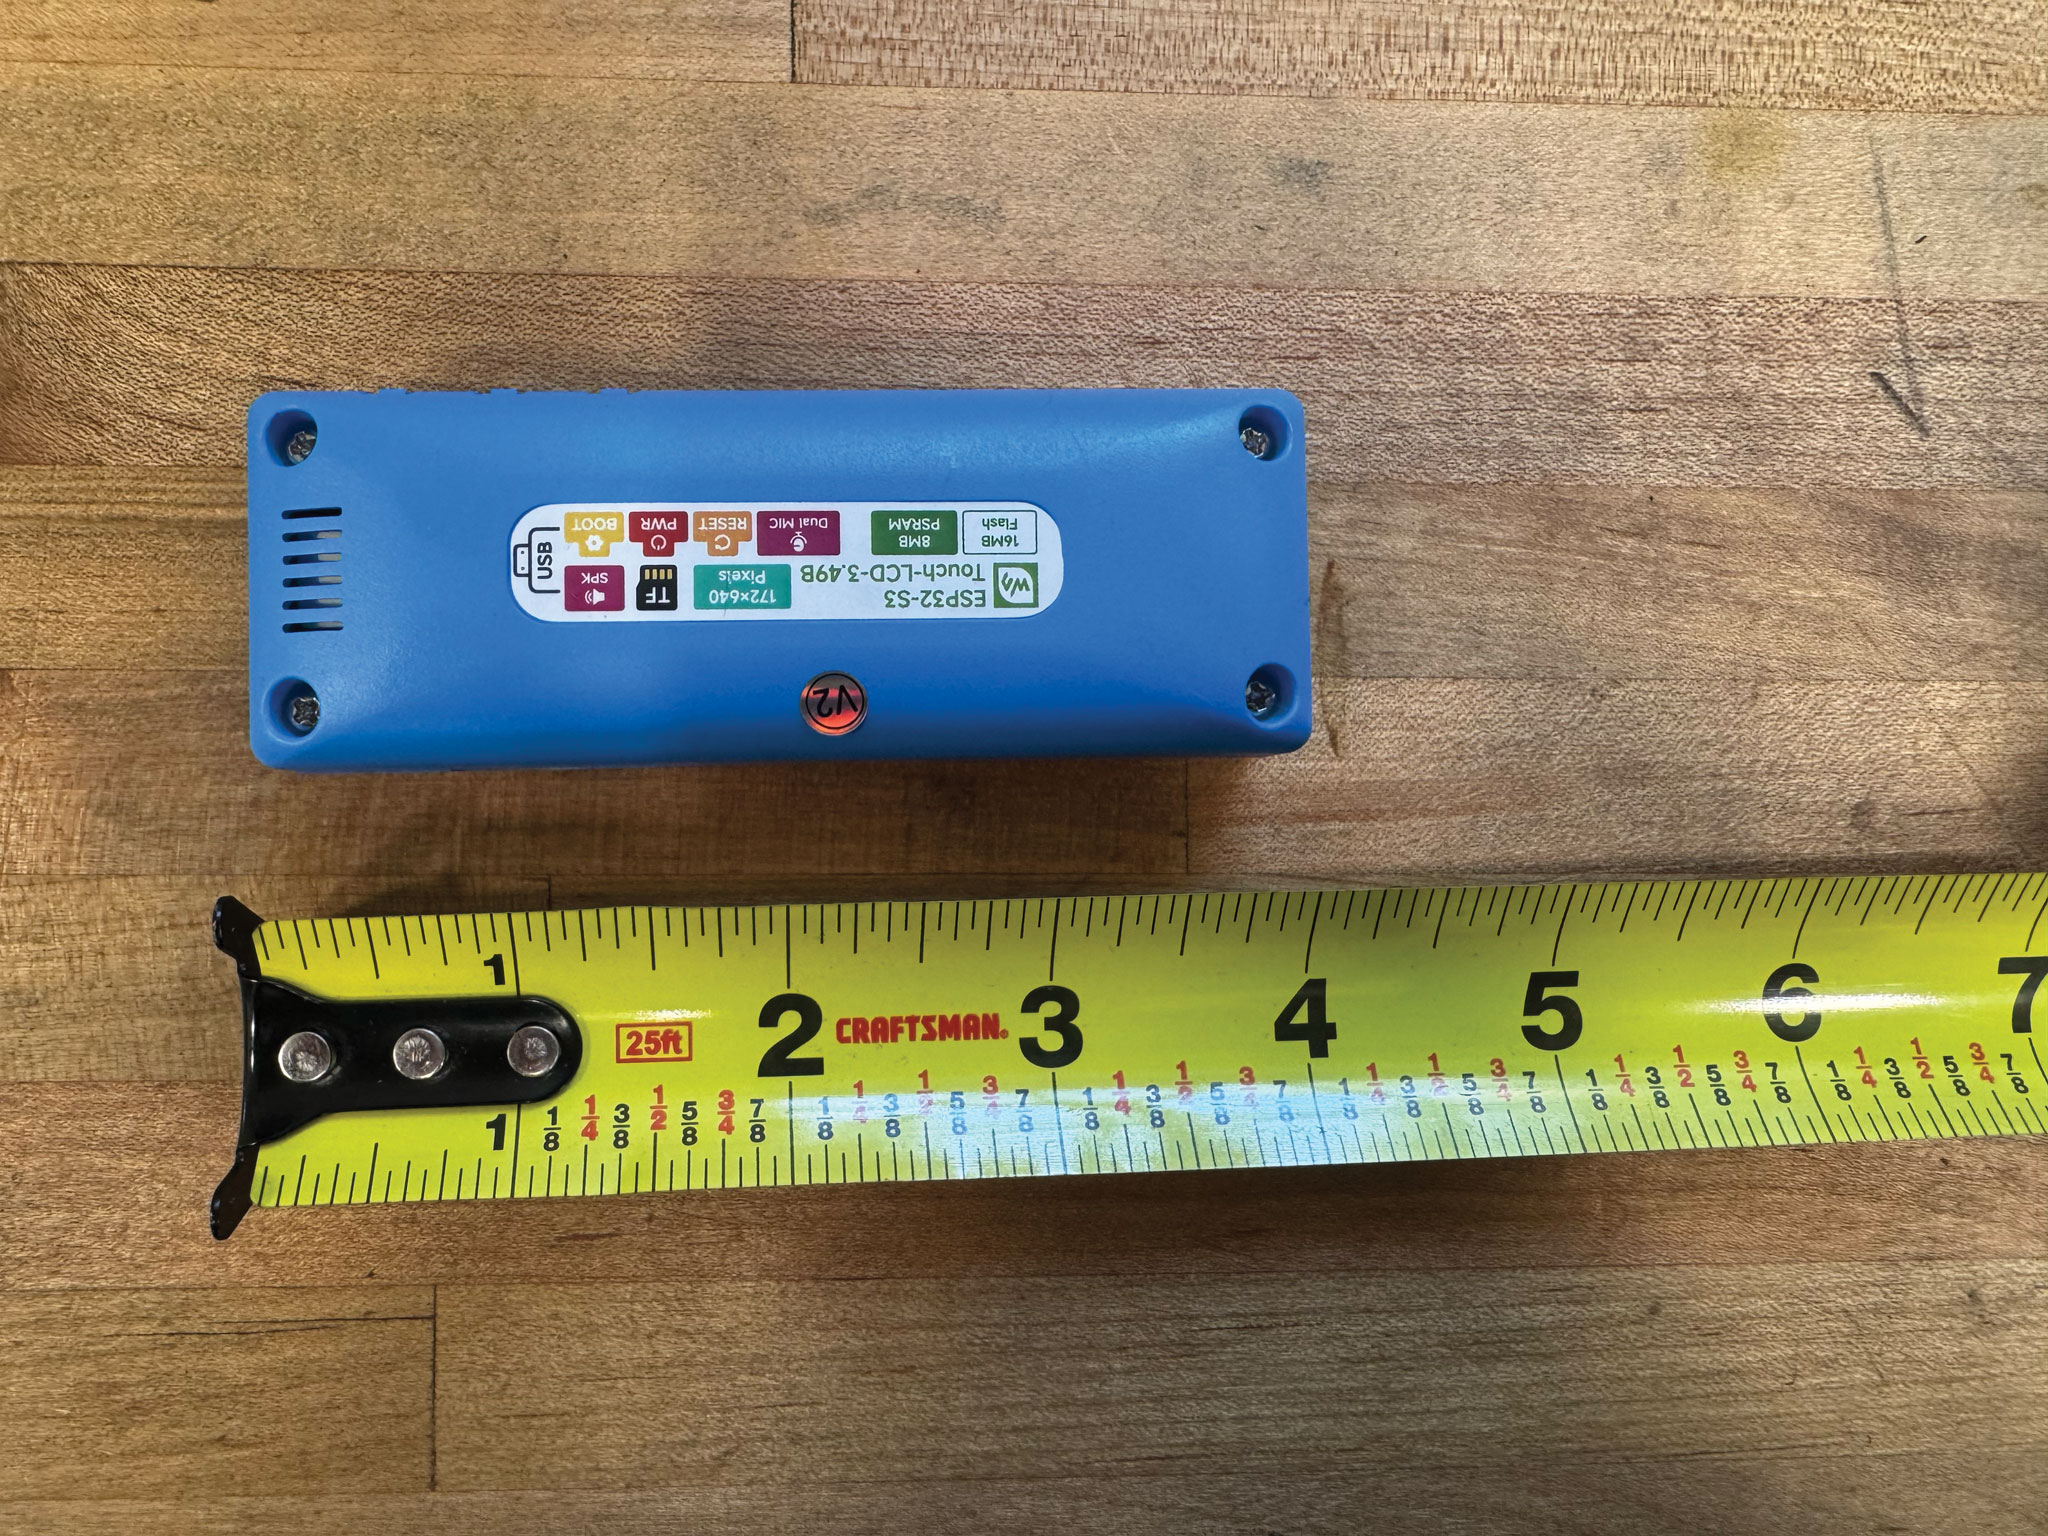
Waveshare ESP32-S3-Touch-LCD-3.49 V2 (PCB Rev1.1, “V2” label on the case) — capacitive touch, no calibration needed. The original V1 board isn’t supported.
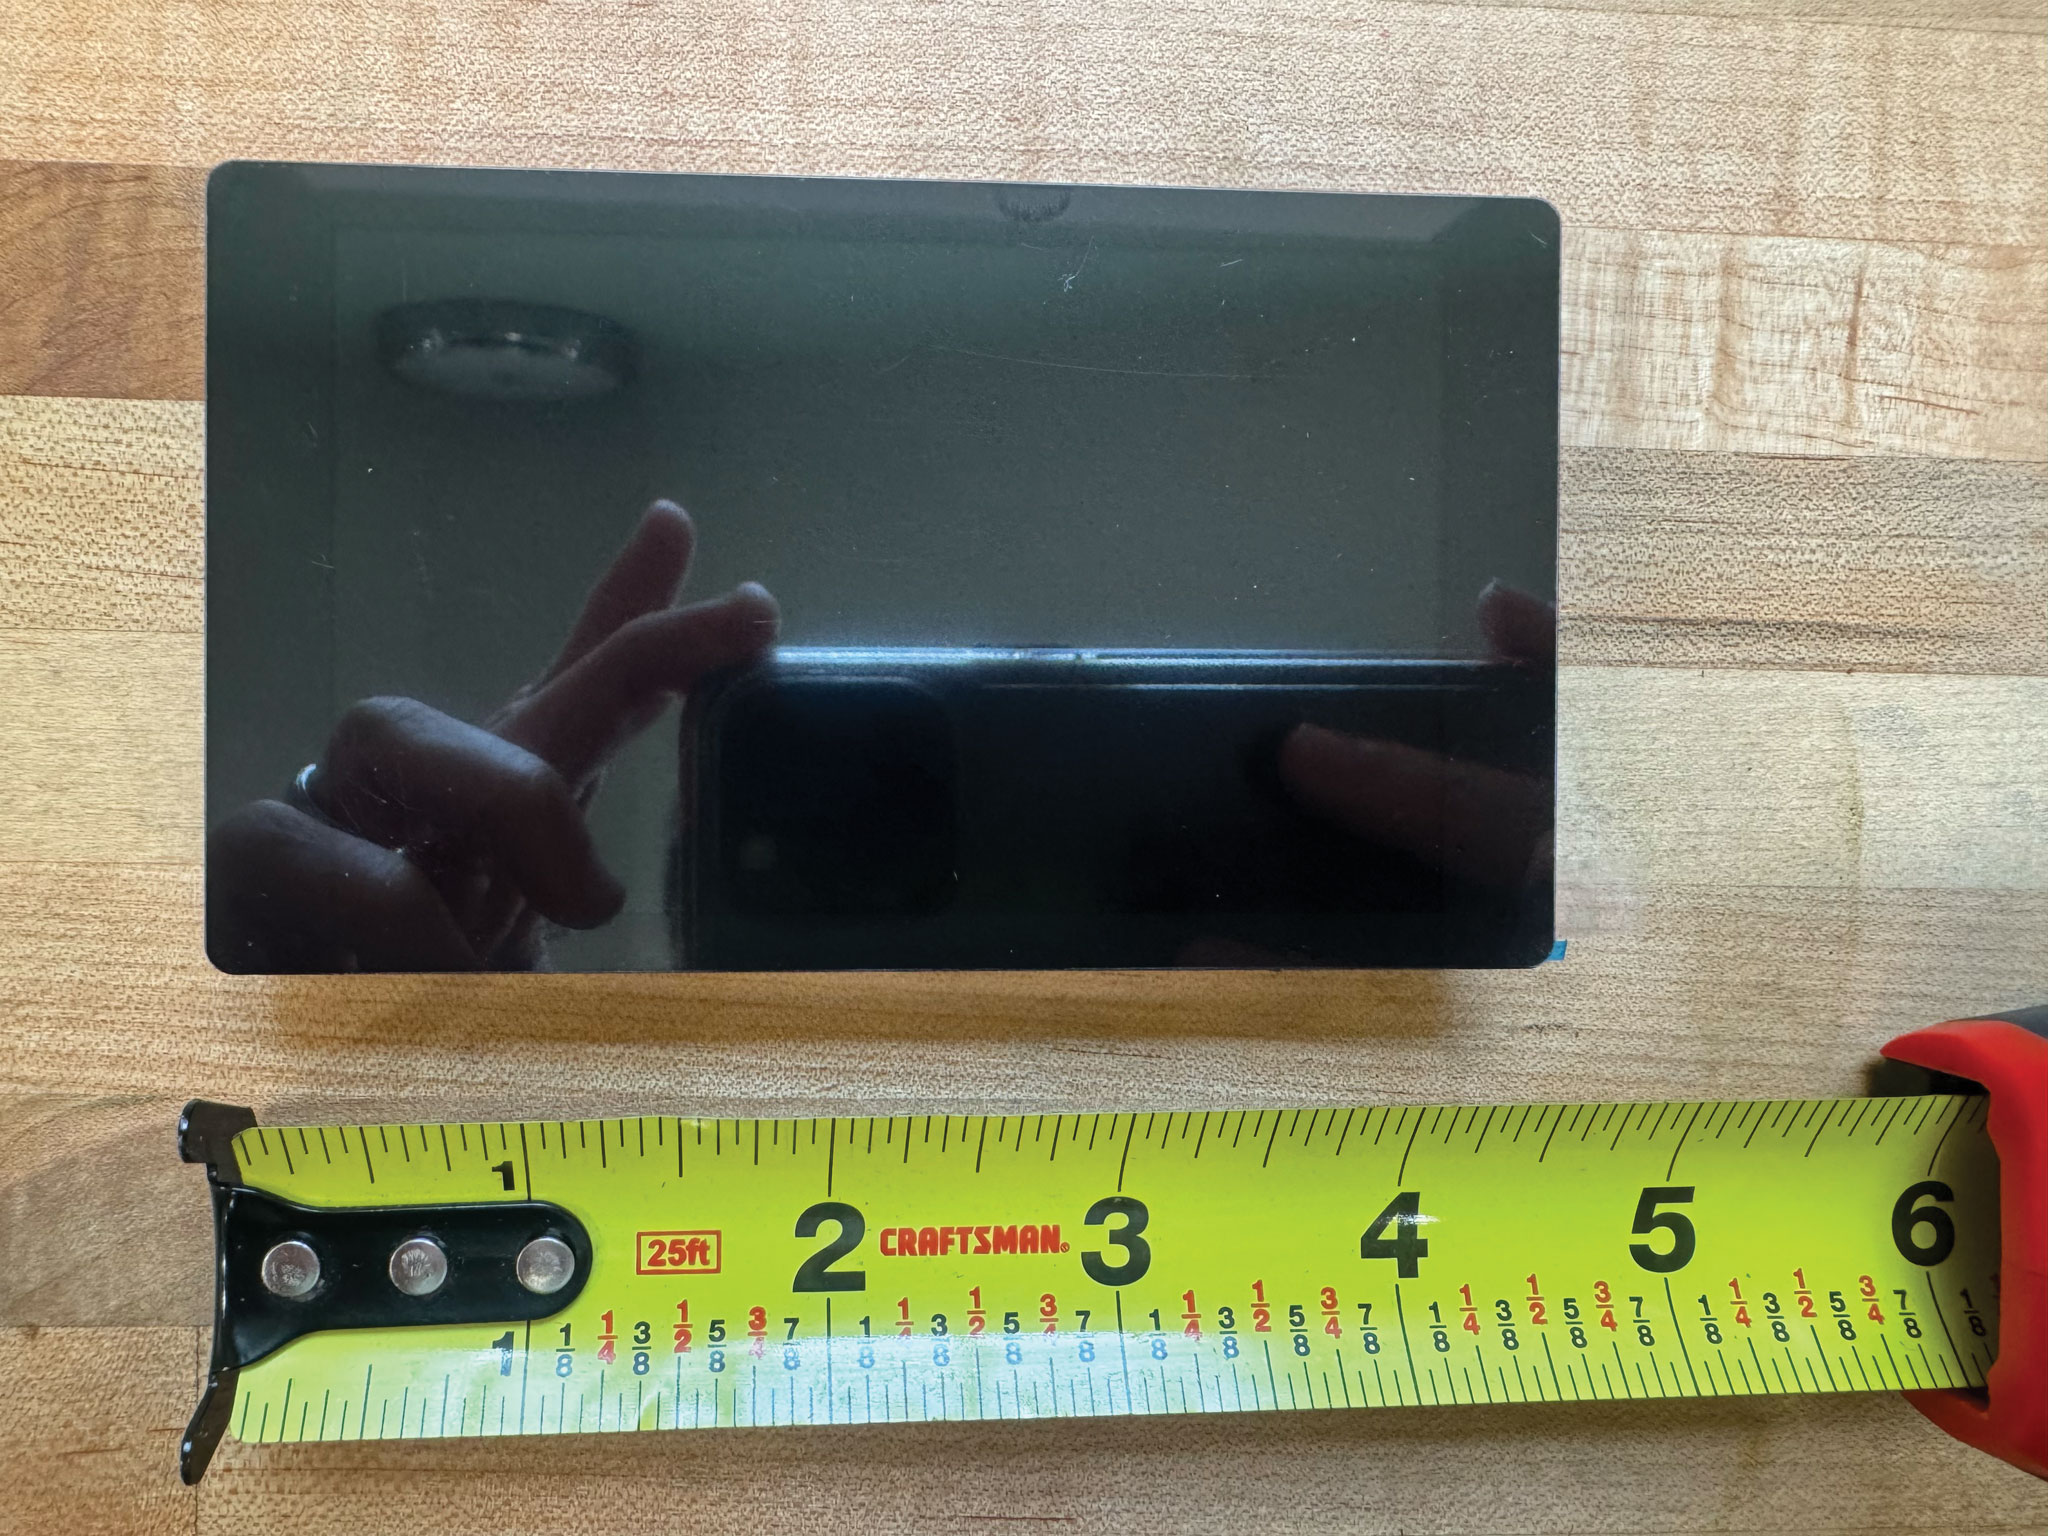
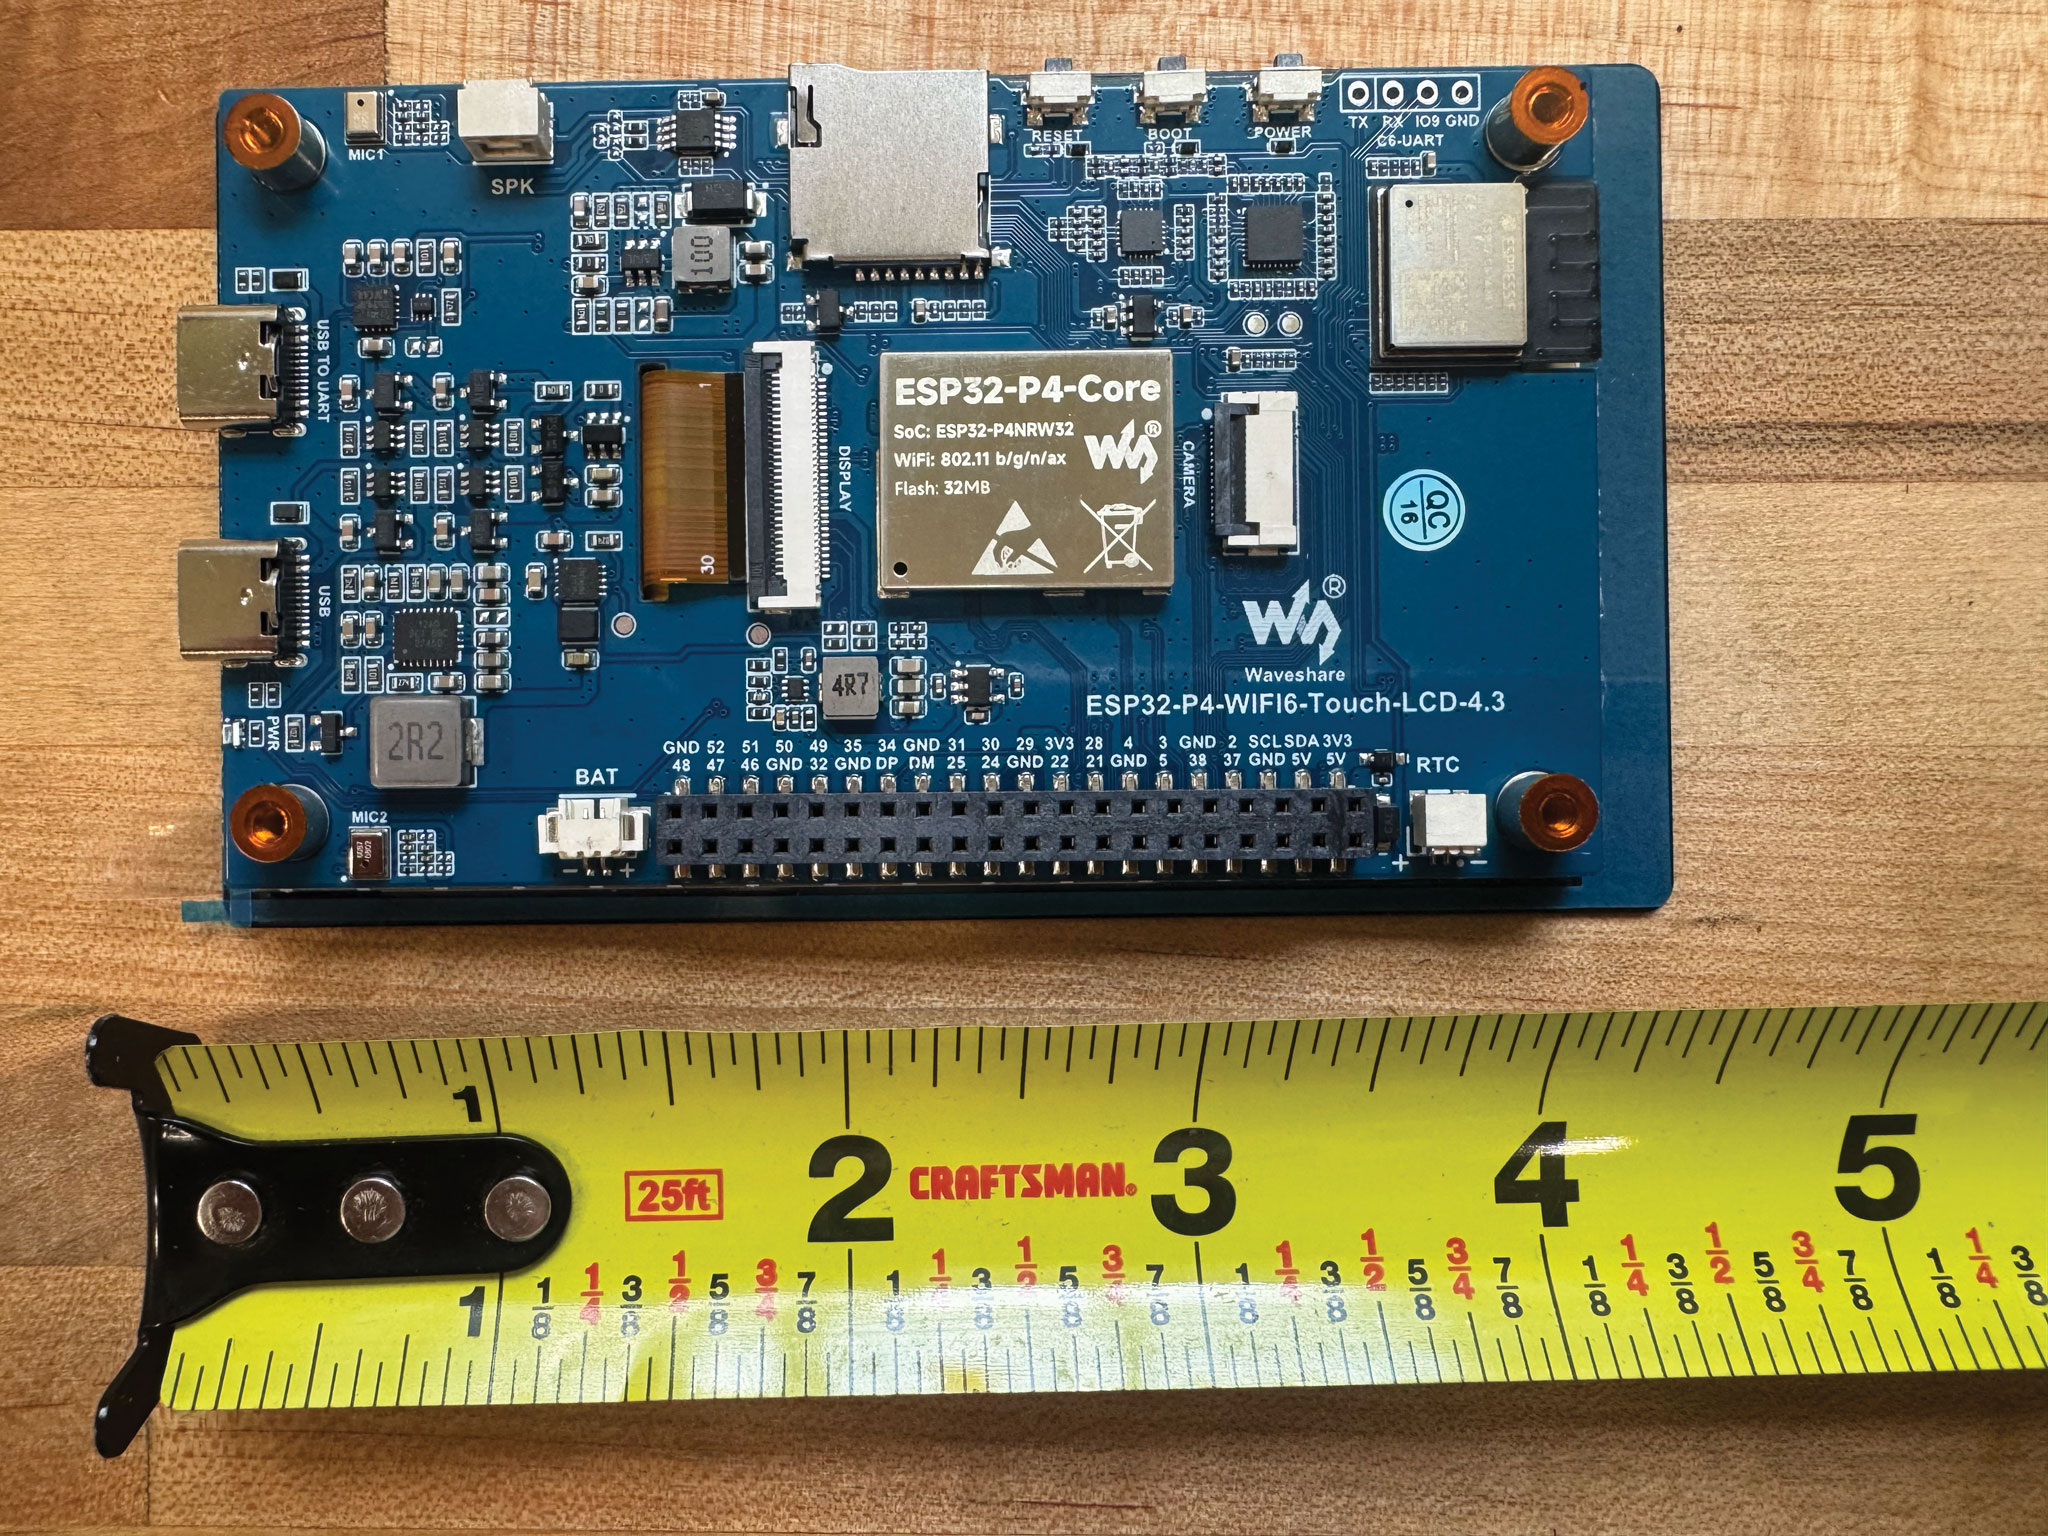
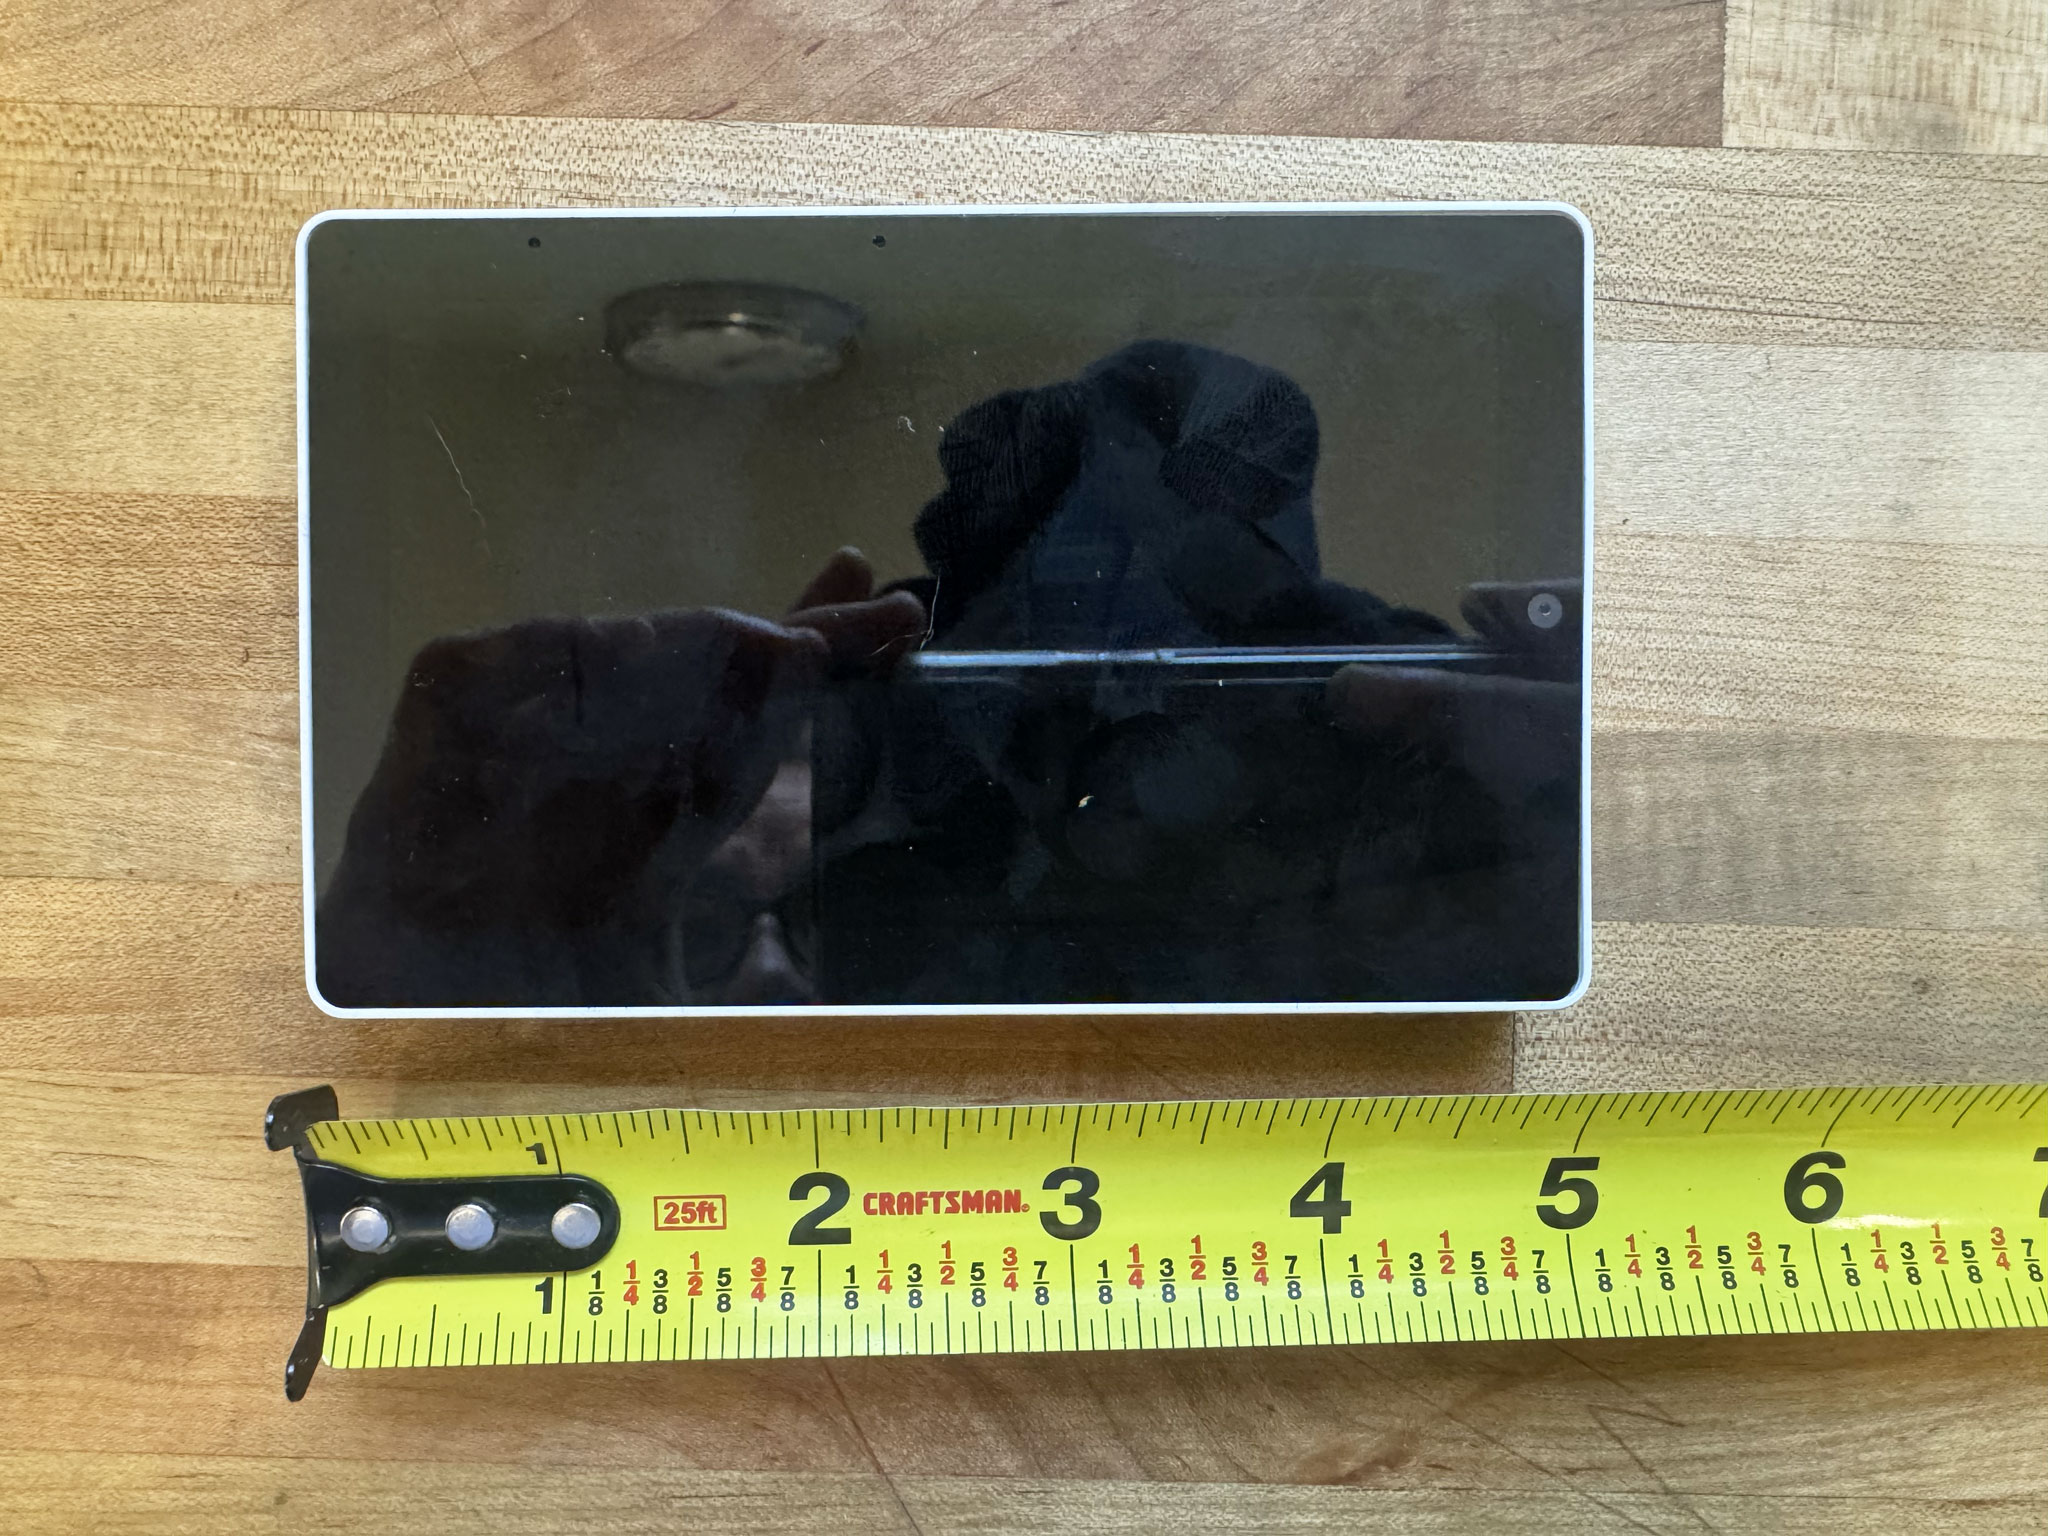
480×800 portrait panel (800×480 landscape-mounted), native-USB ESP32-P4 silicon. This board has two USB-C ports — connect the one labeled USB OTG, not the one labeled USB TO UART. It also needs manual boot-mode entry every time: hold BOOT, press and release RESET, then release BOOT, before clicking Flash below.
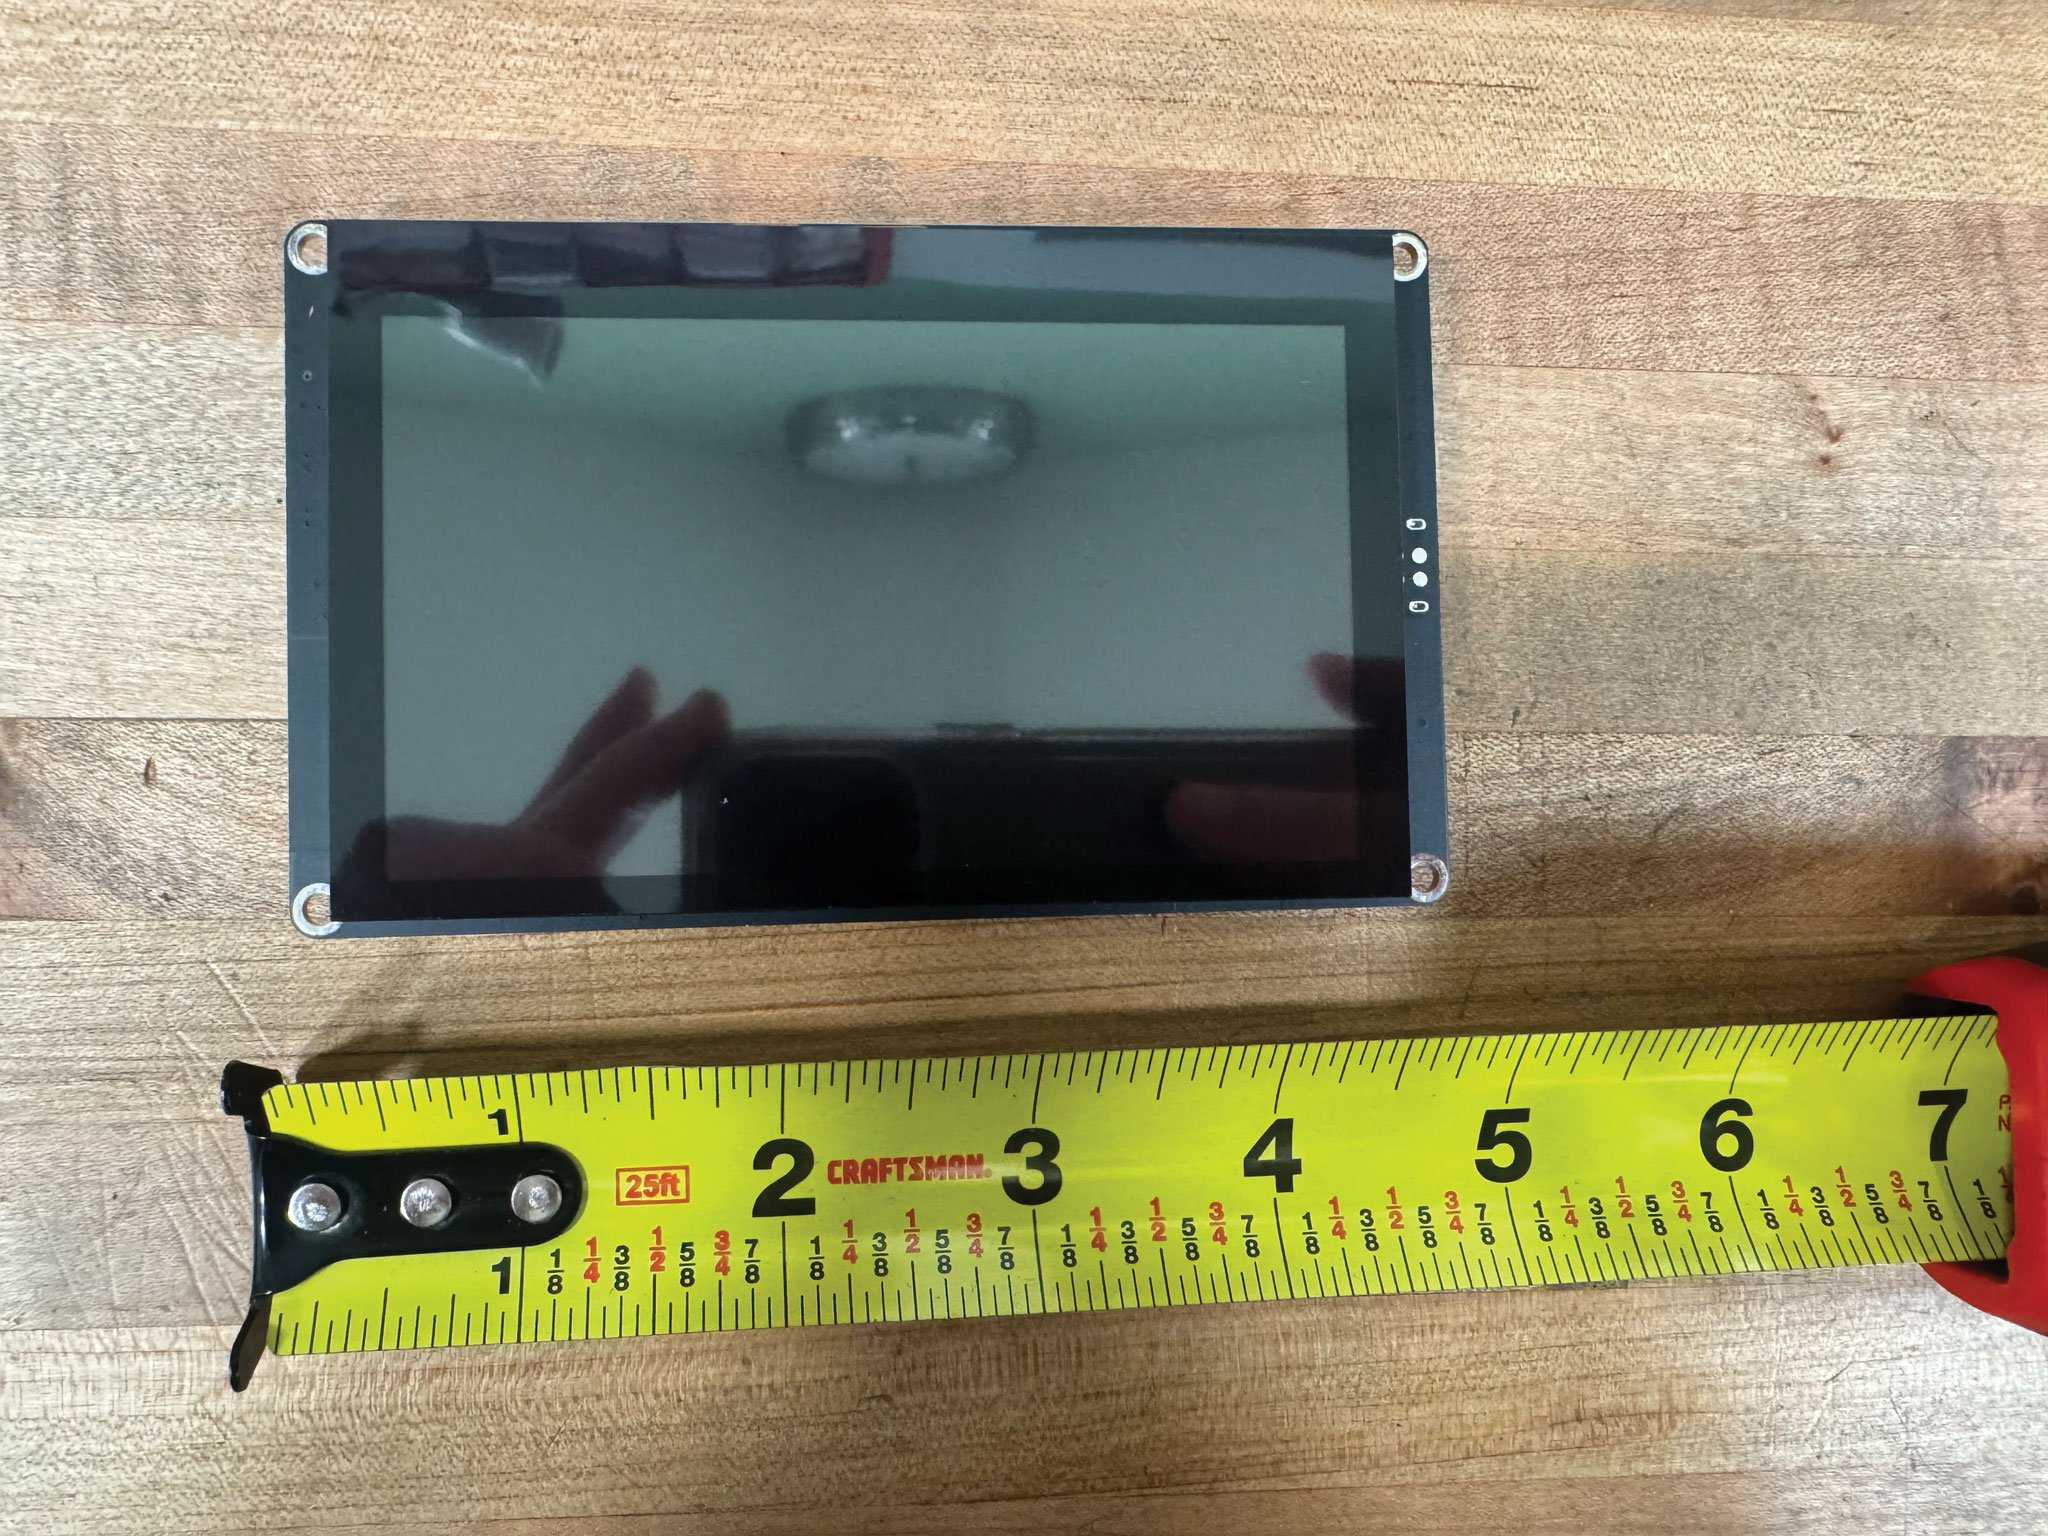
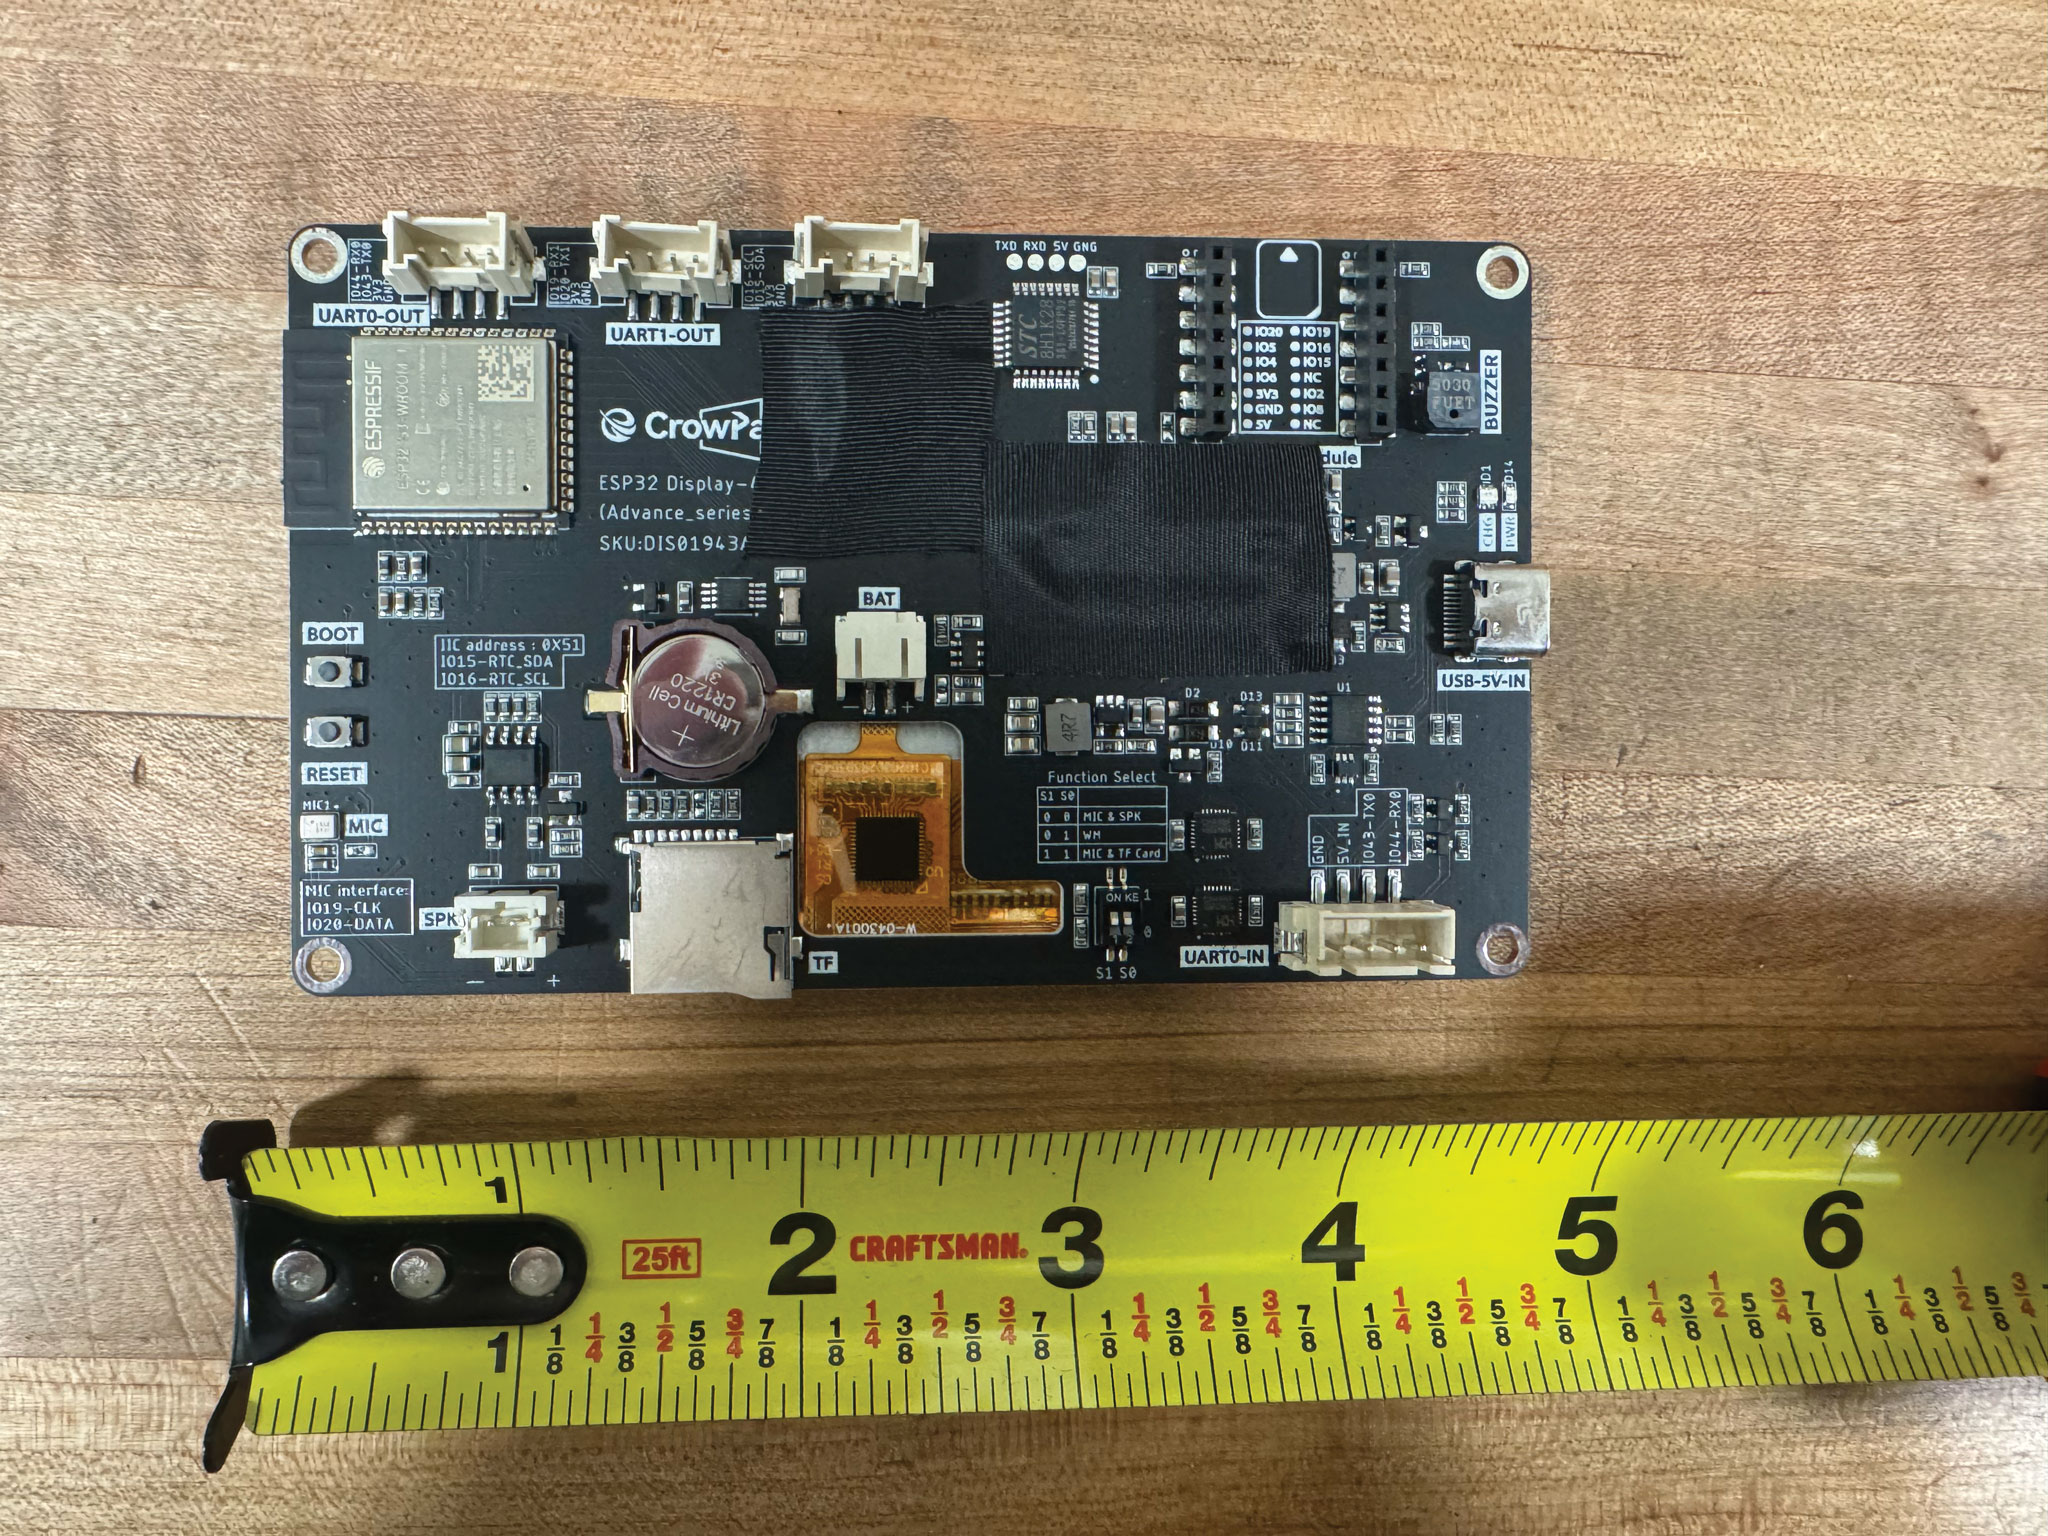
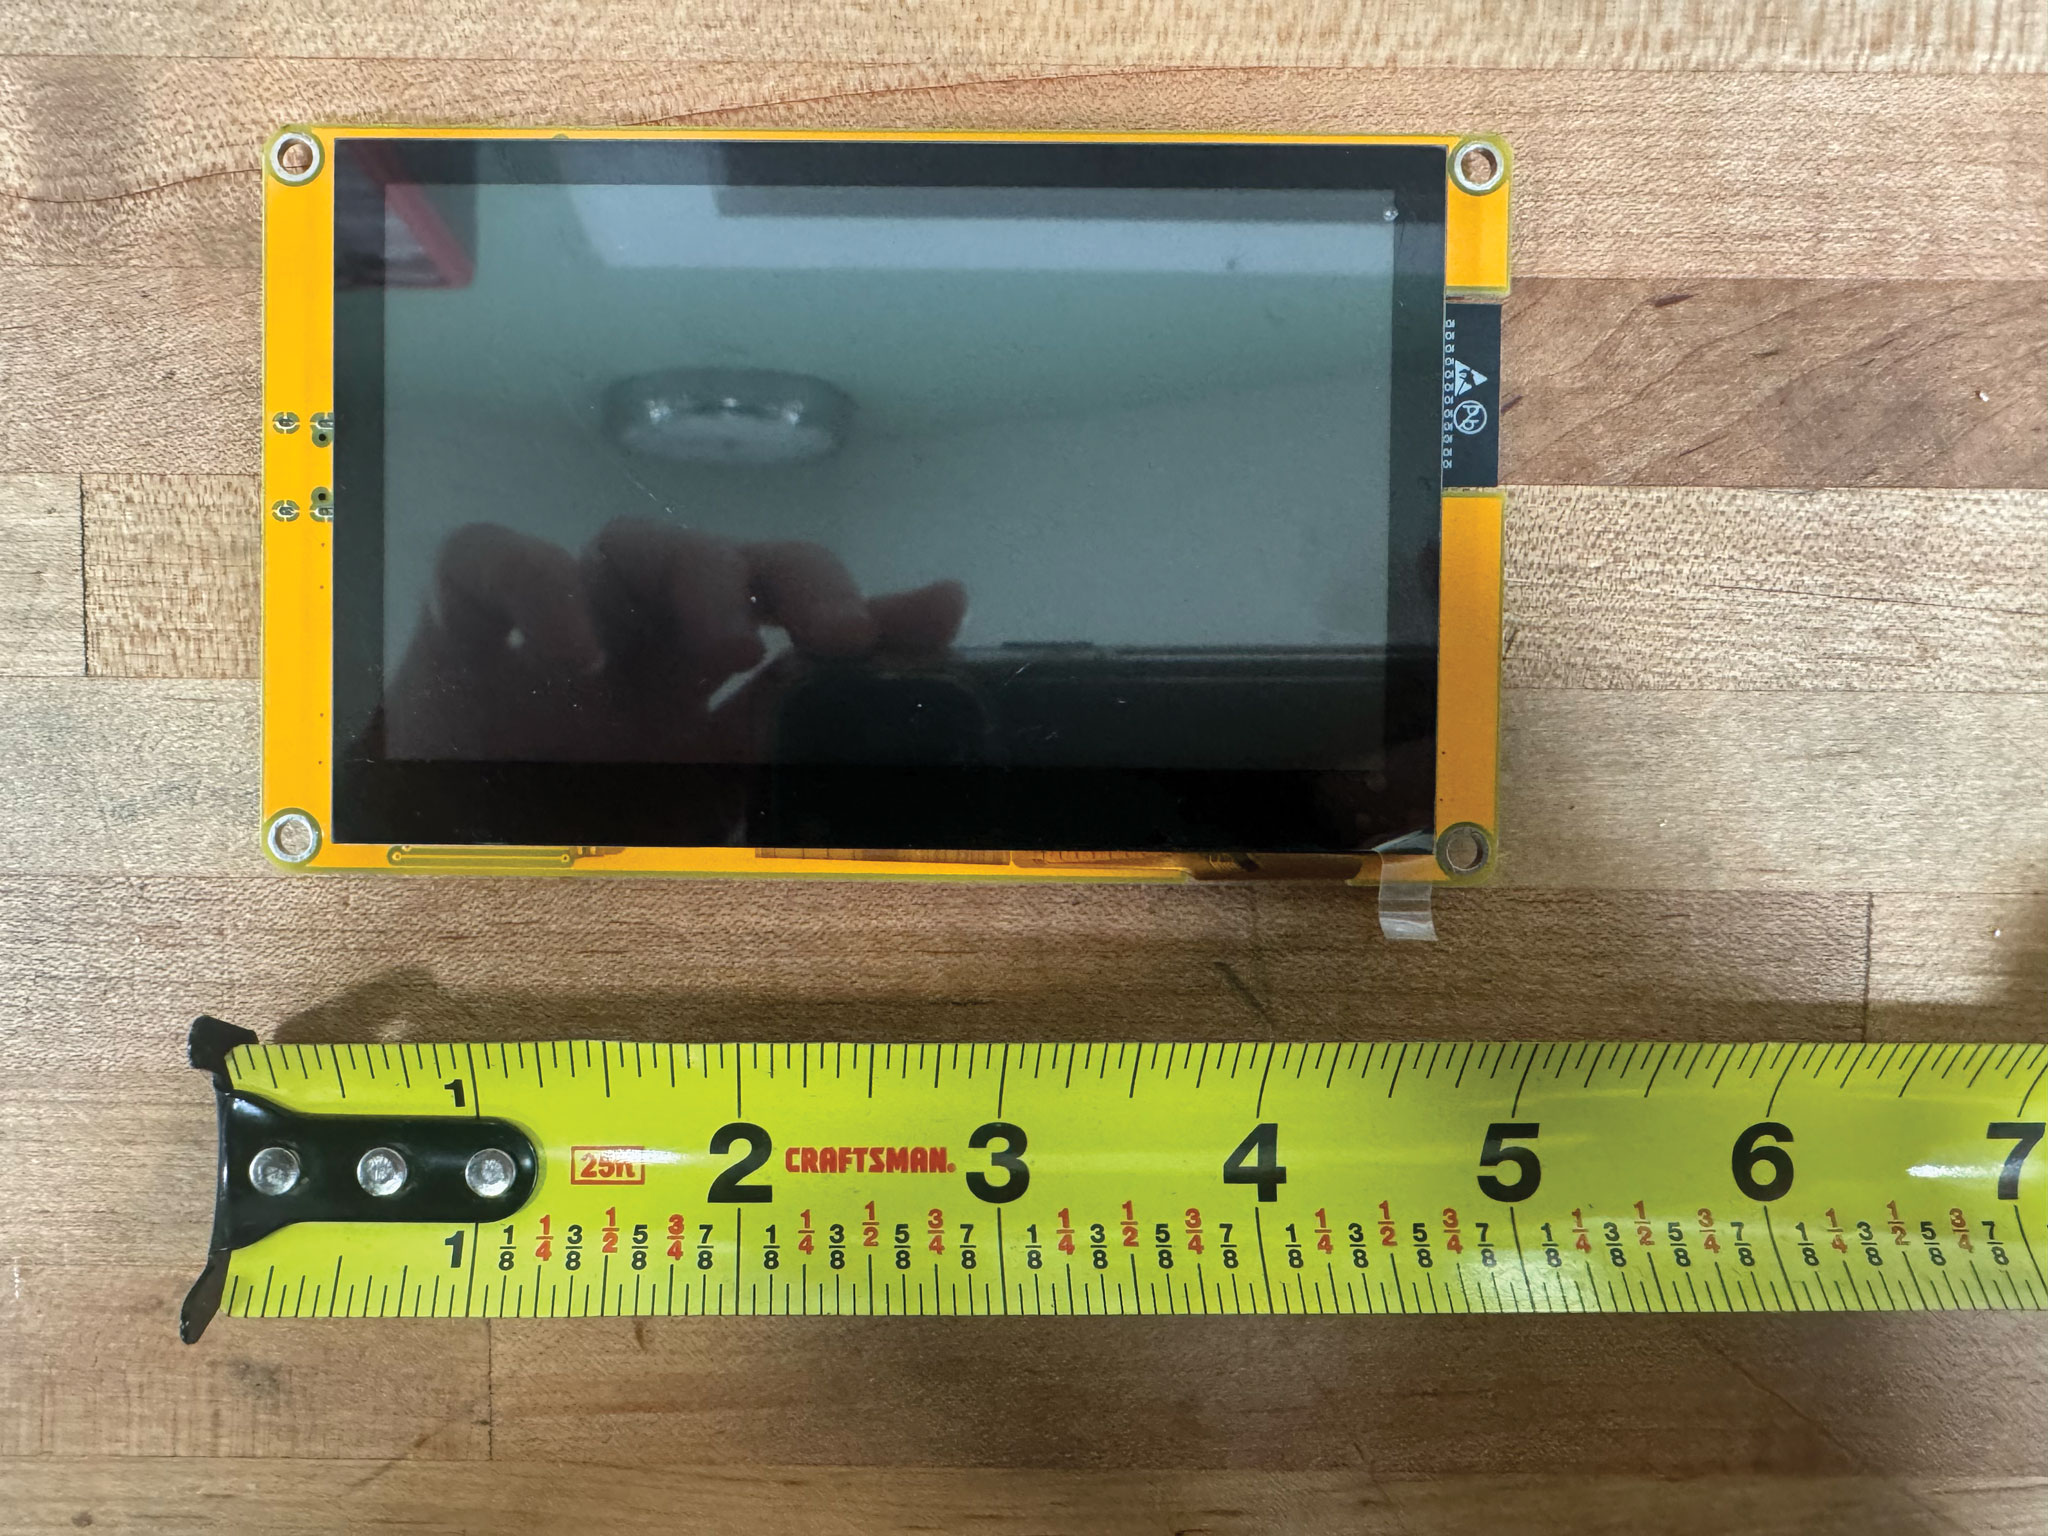
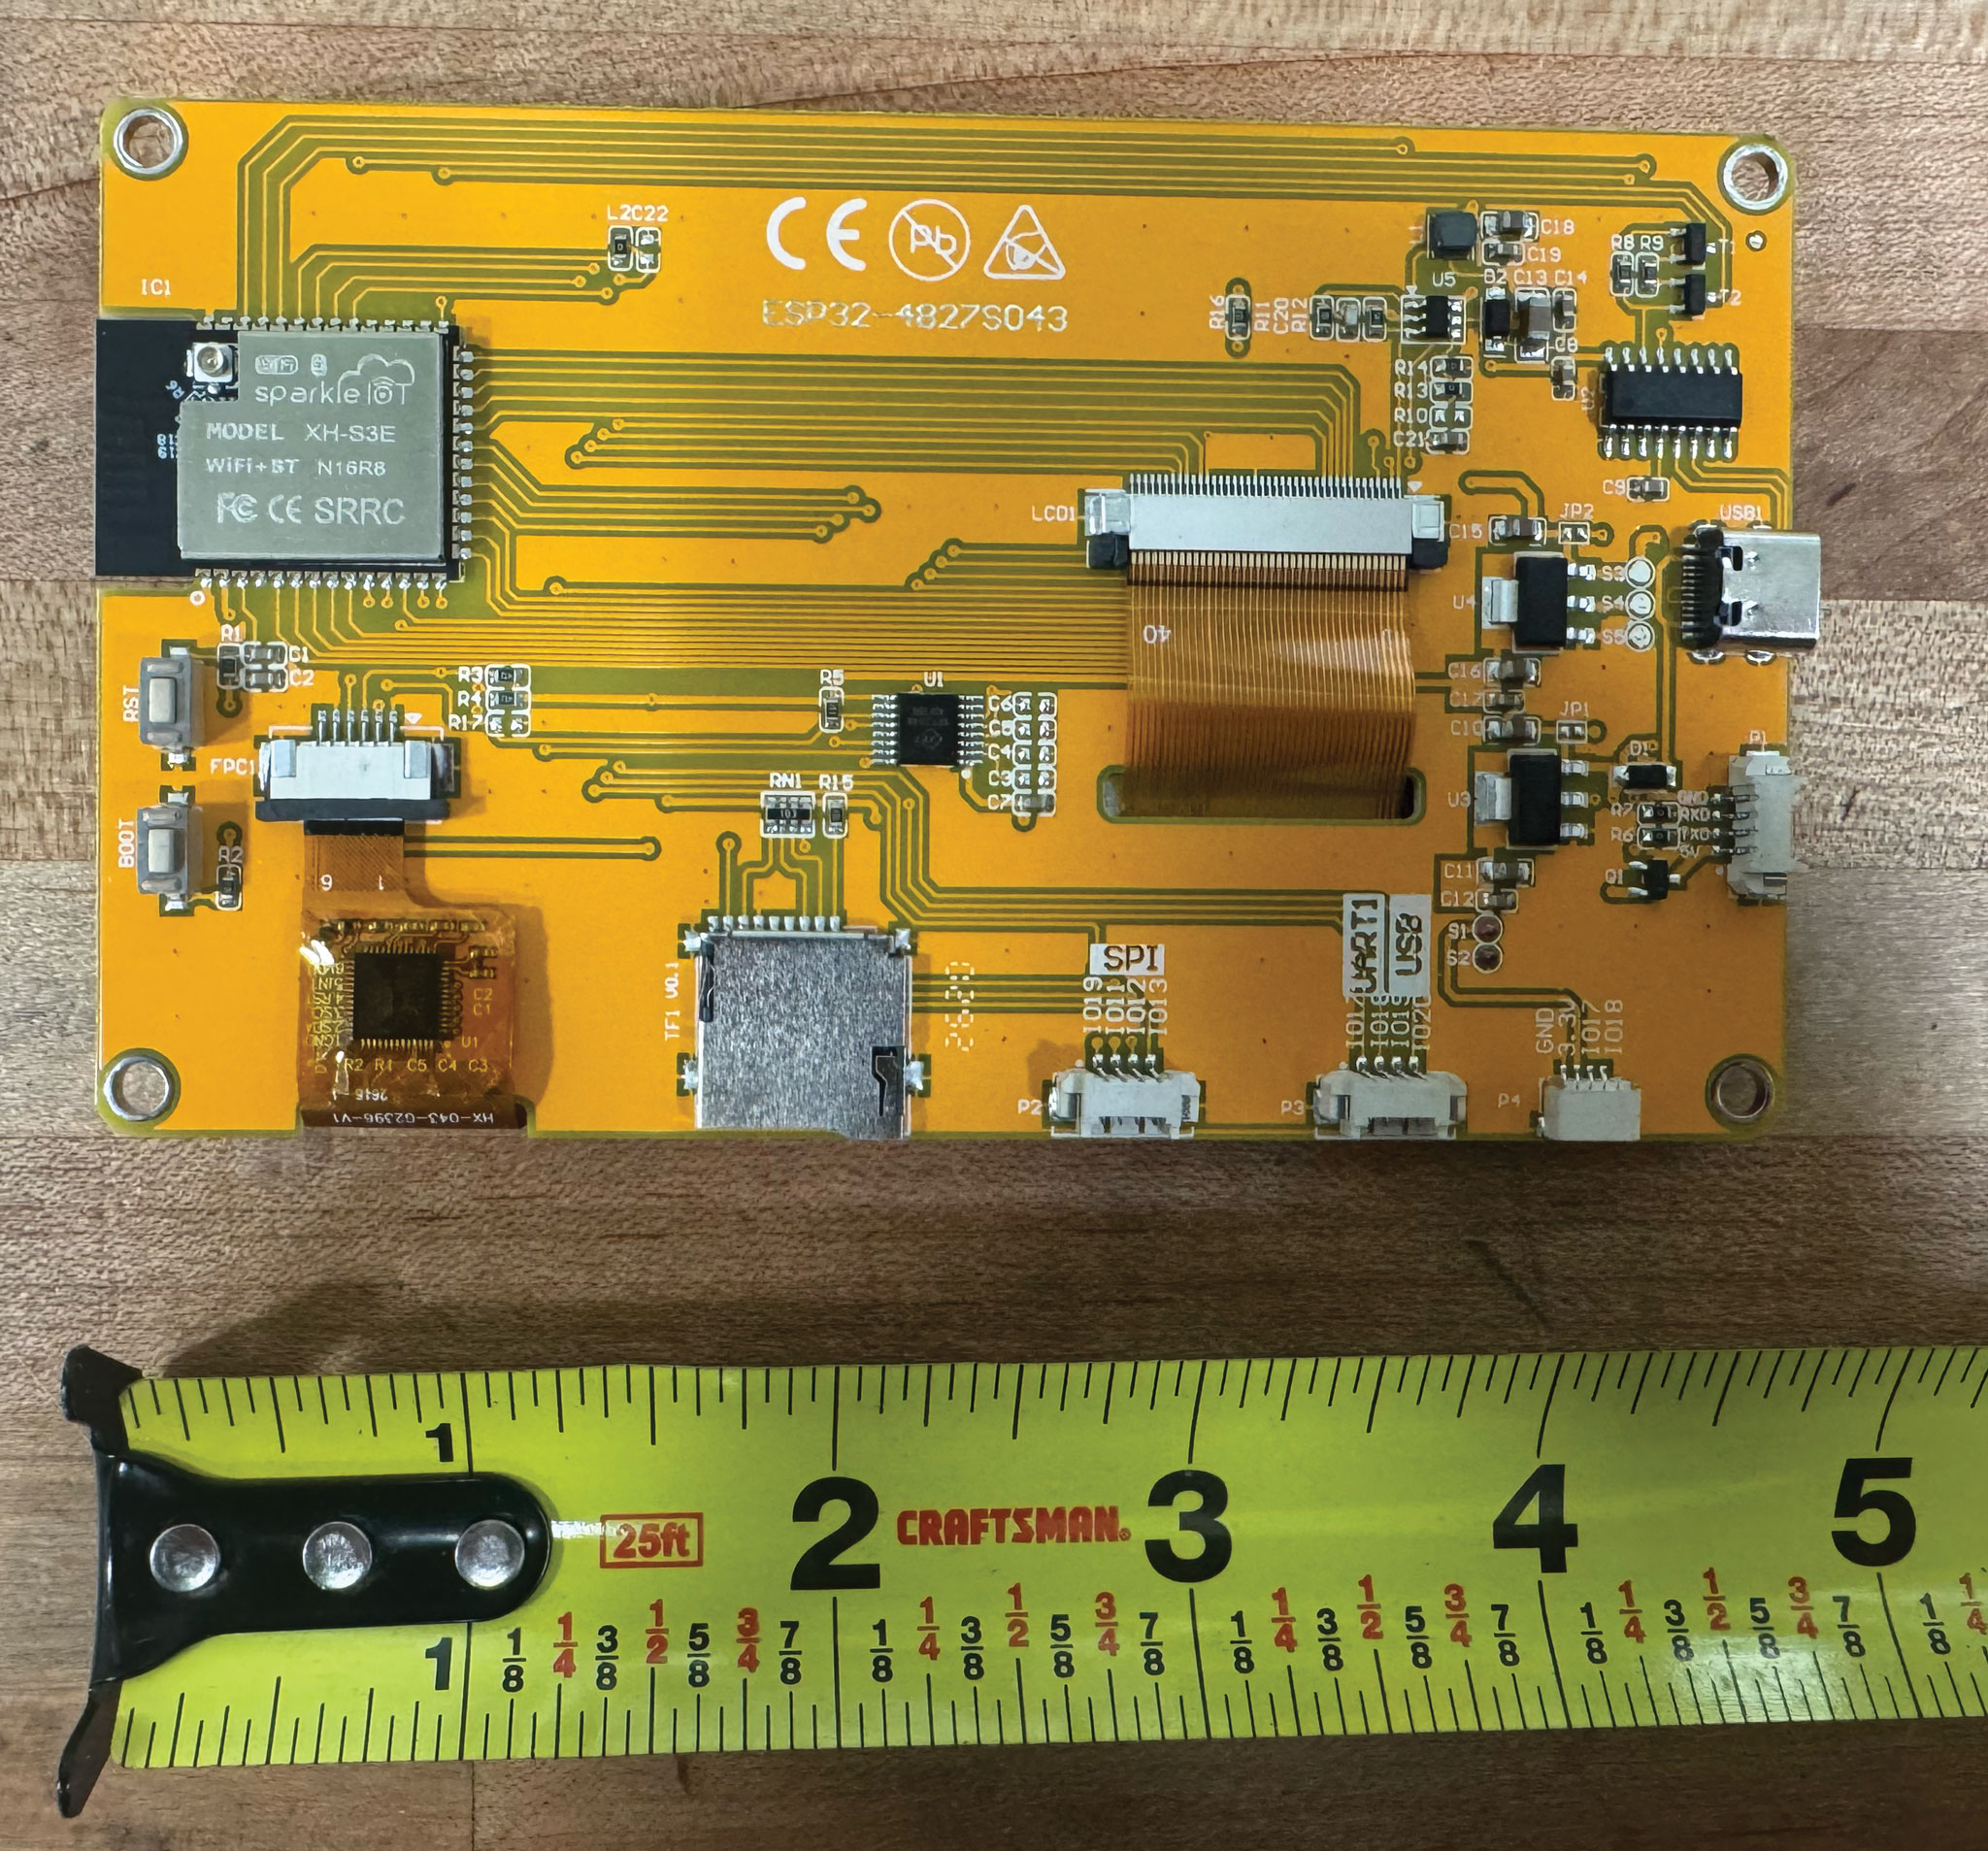
Elecrow CrowPanel Advance 4.3″ HMI (ESP32-S3) — GT911 capacitive touch, no calibration needed.
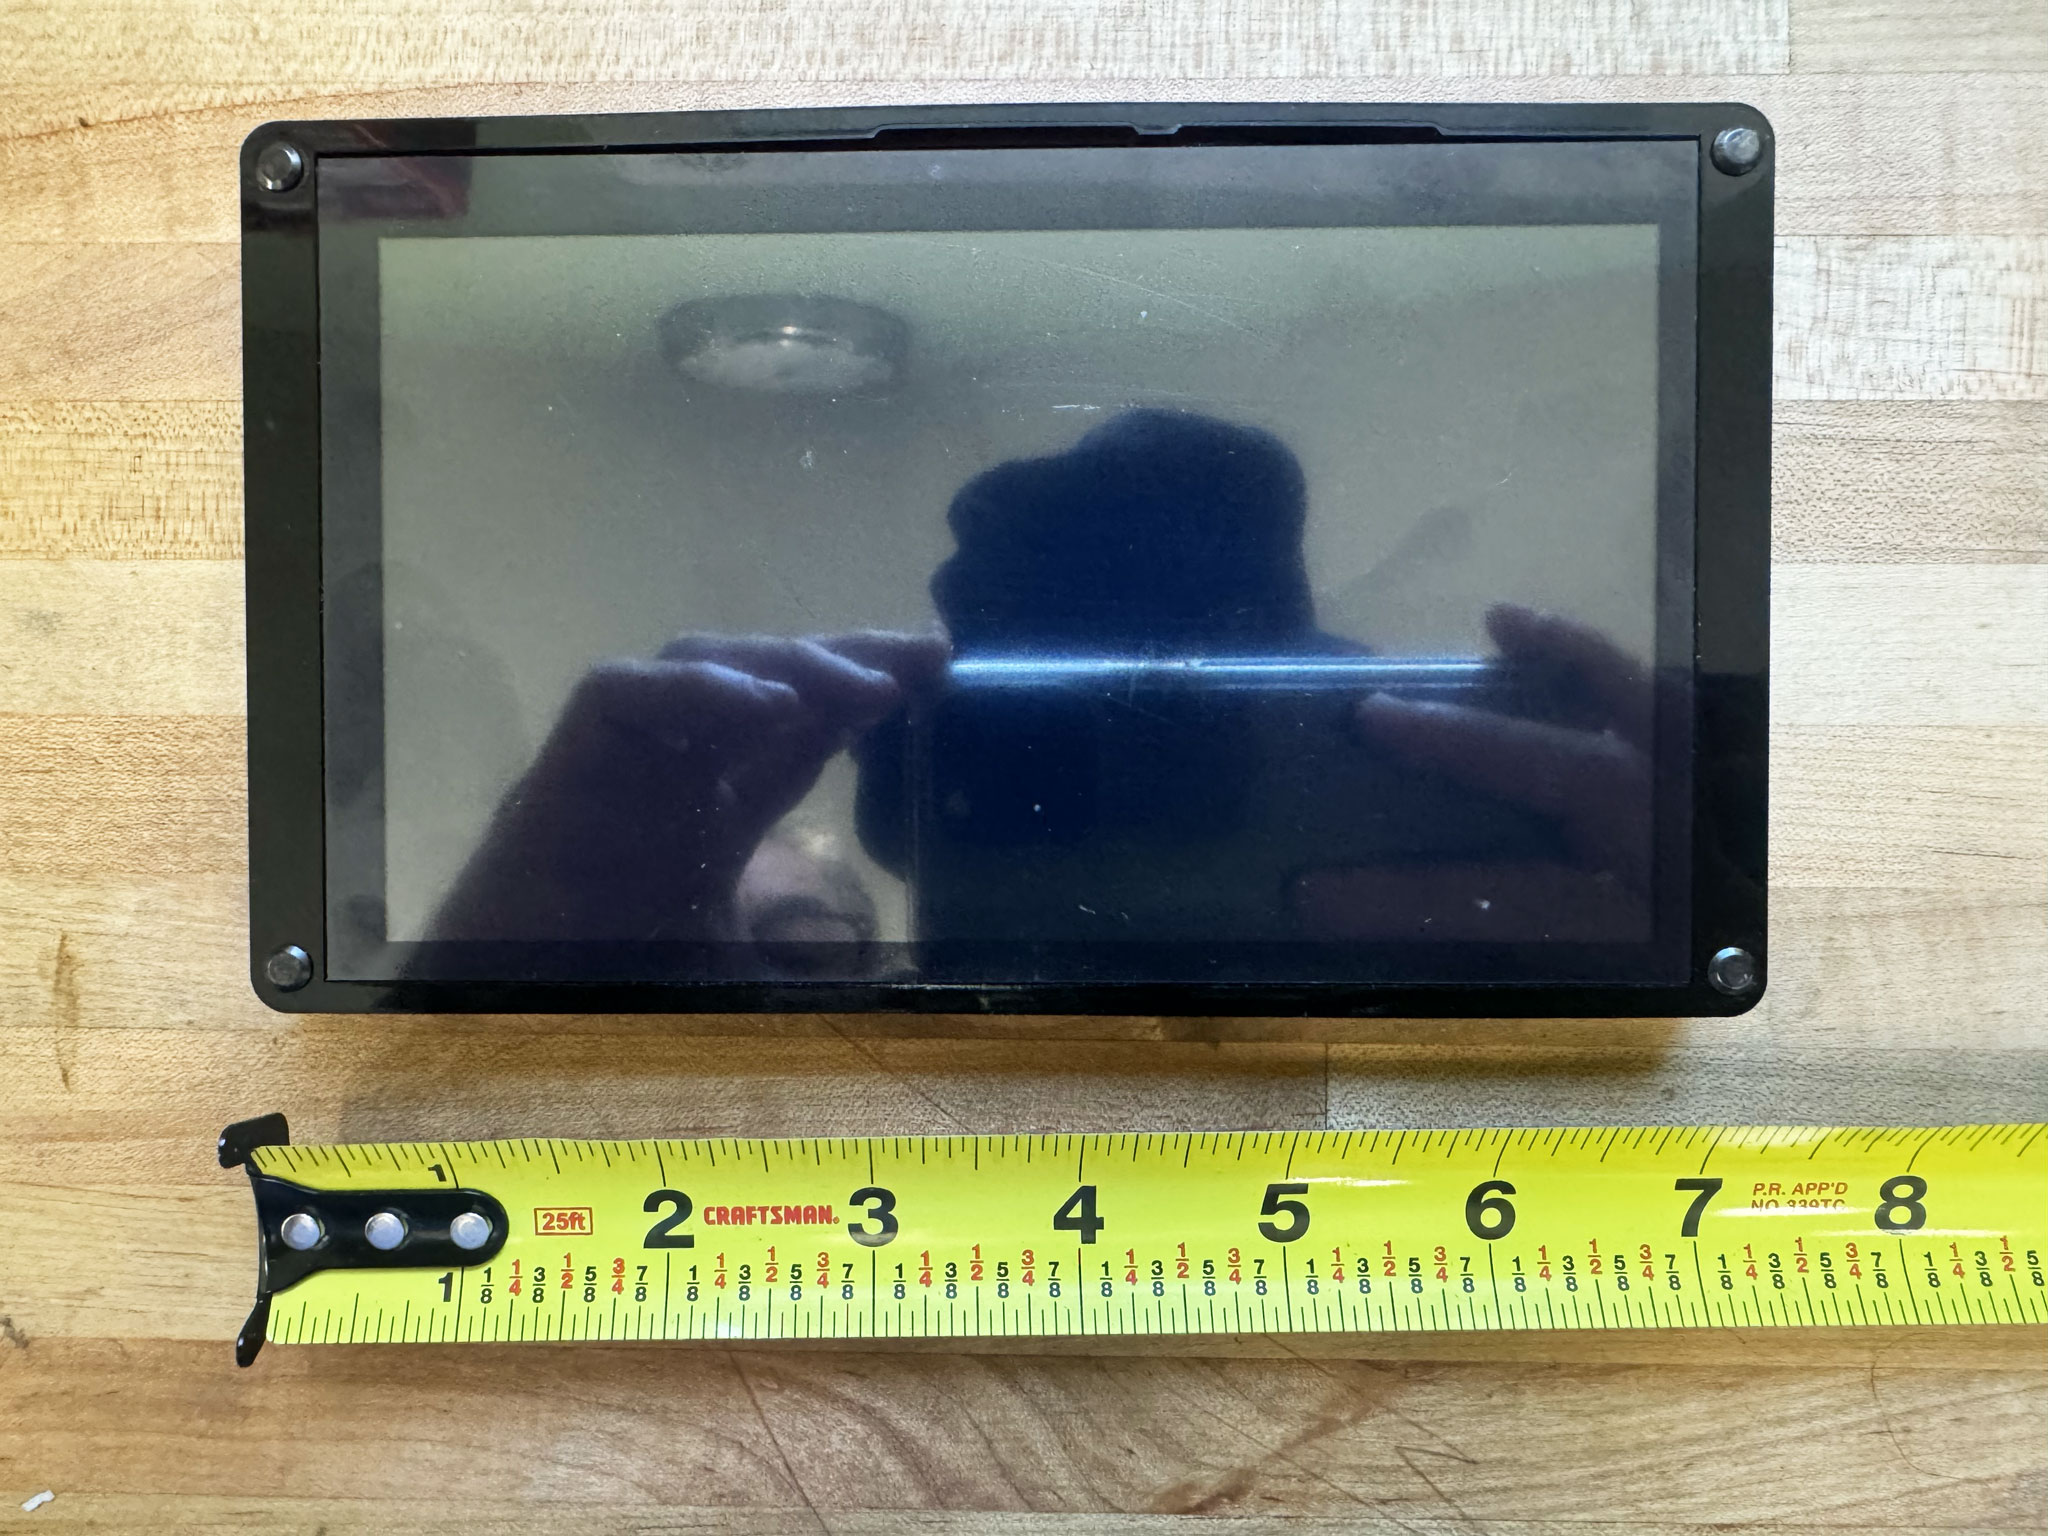
CH340-bridged — a genuinely different, lower-resolution panel than the Waveshare 4.3″ (800×480). Single USB-C port, no manual boot-mode entry needed.
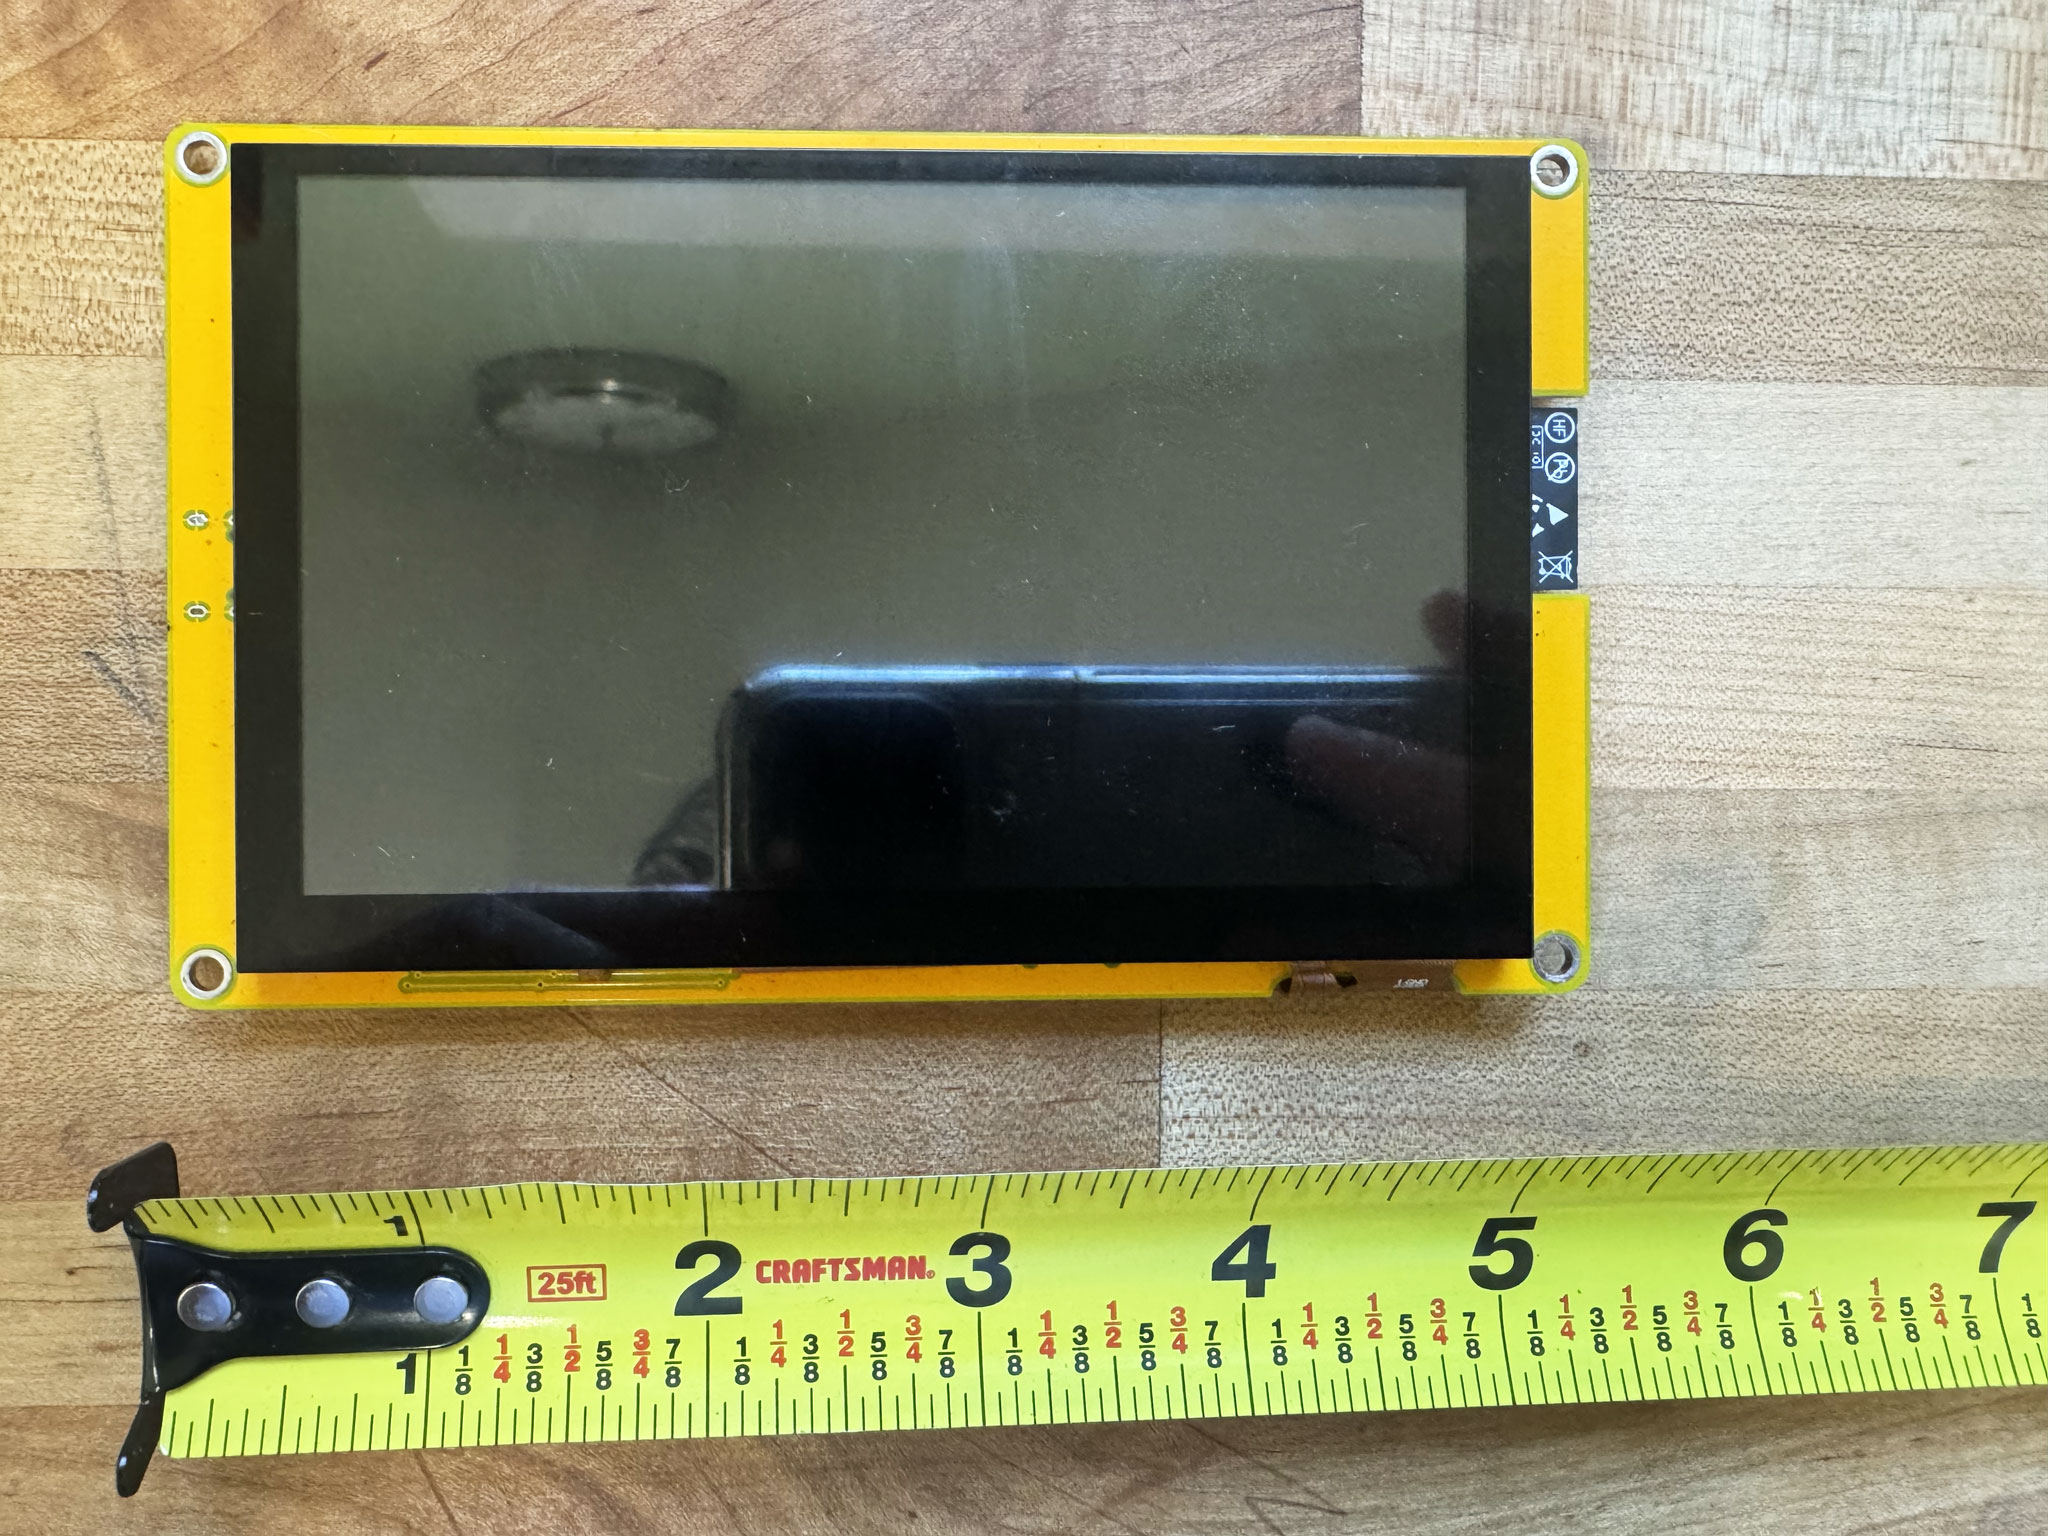
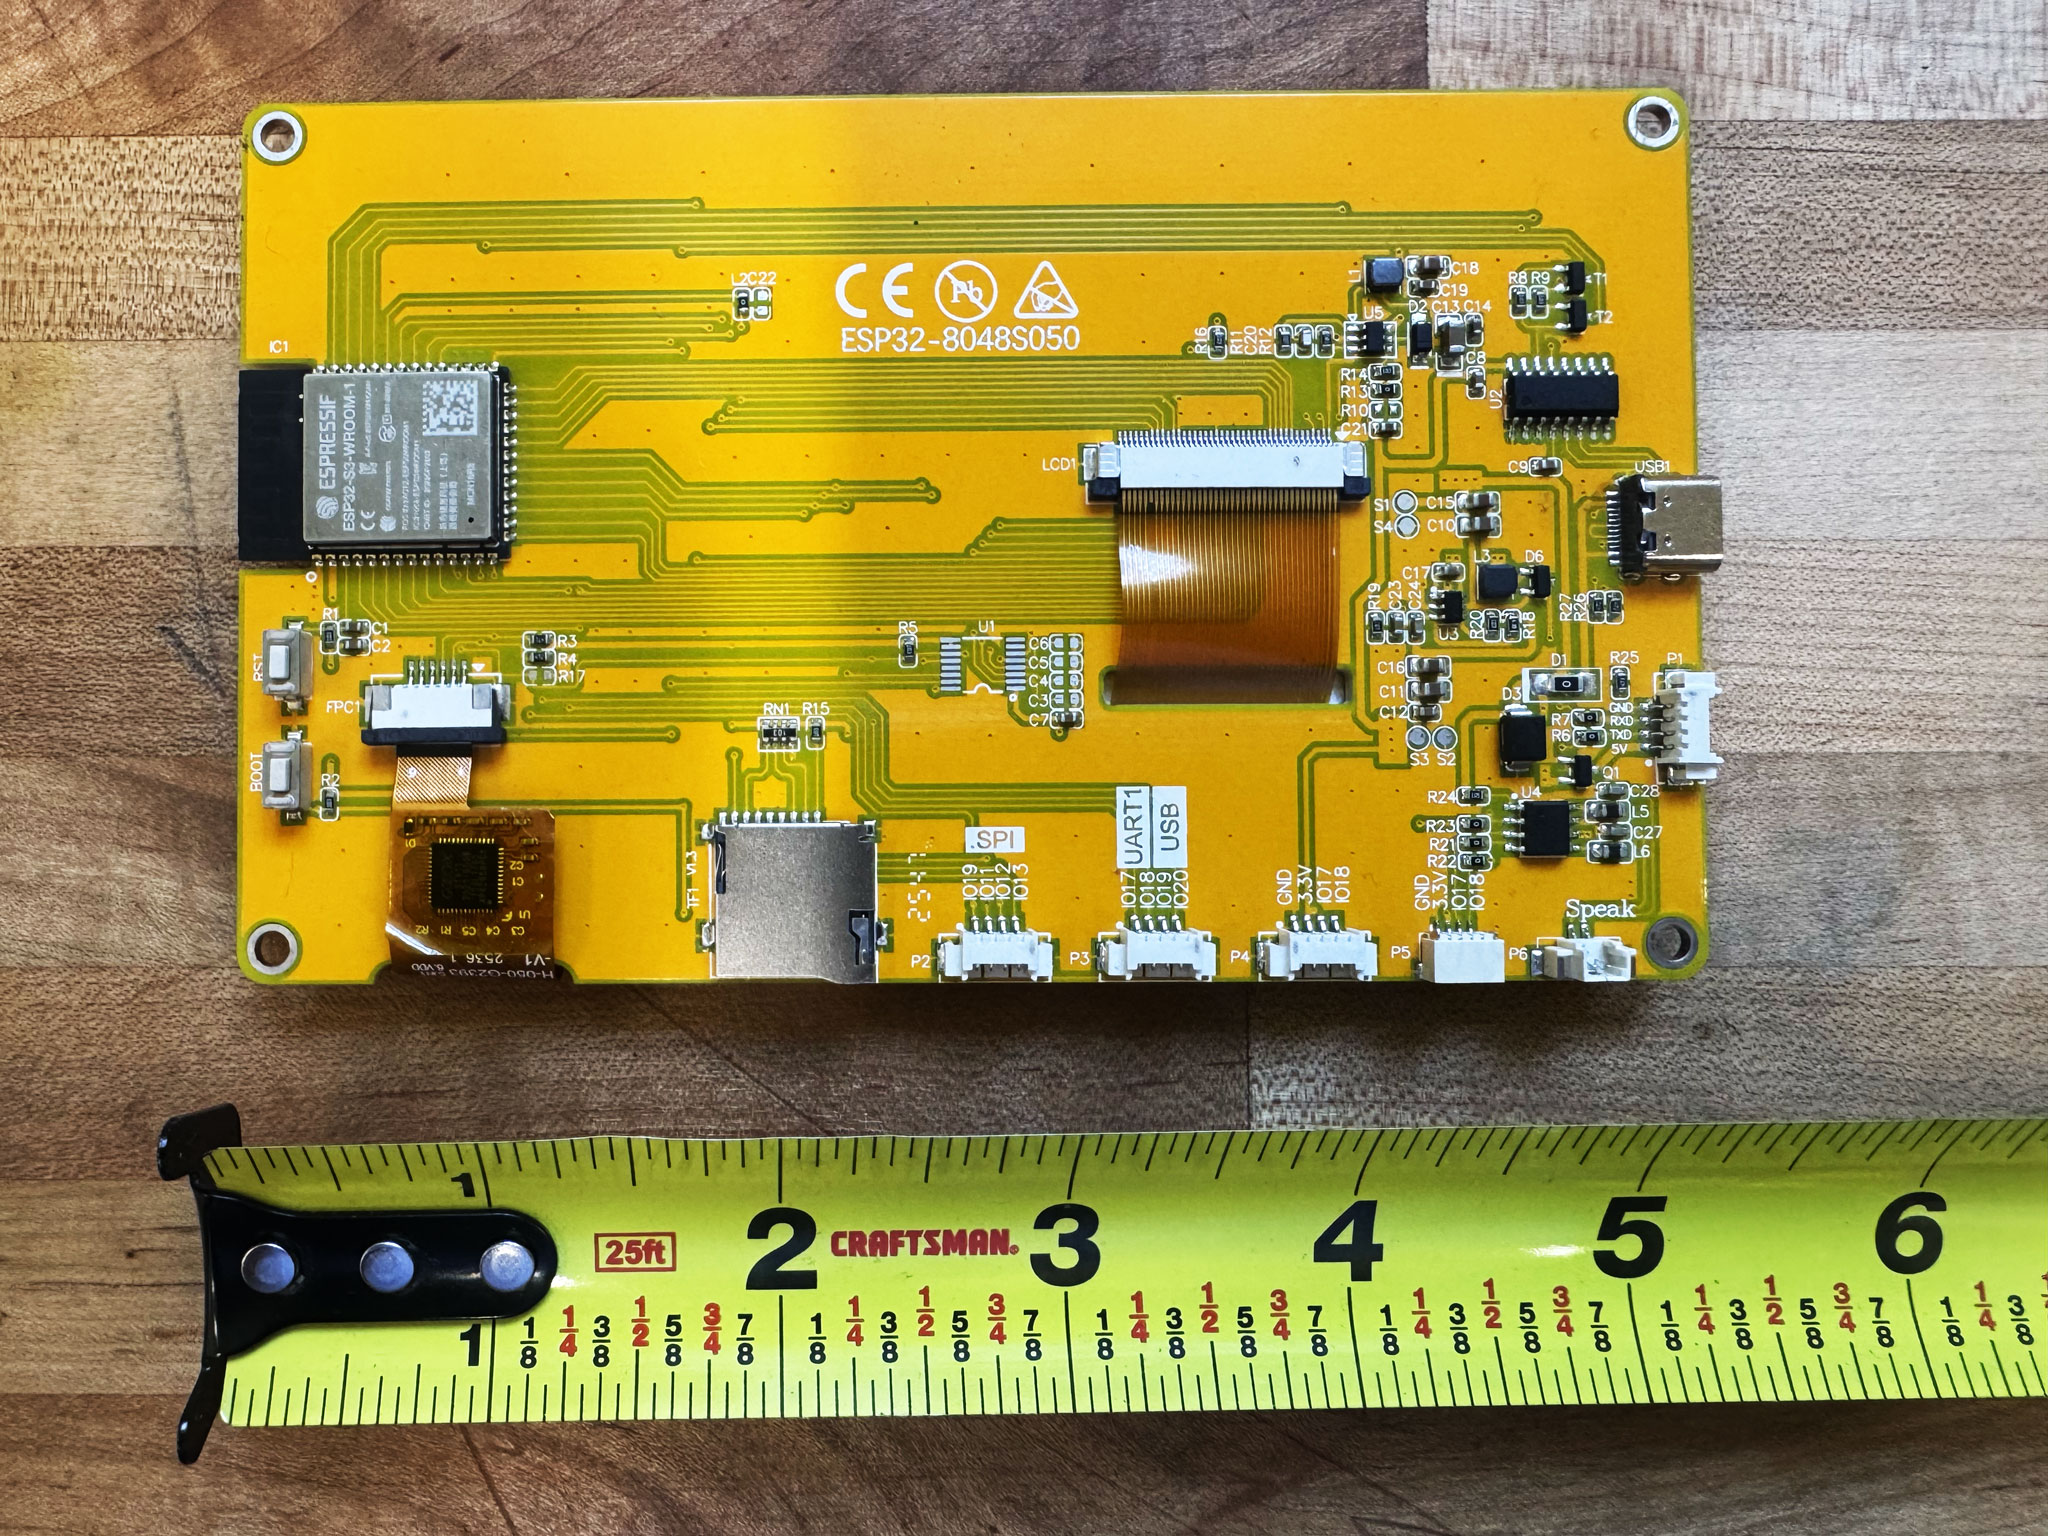
ESP32-8048S050 — Sunton / JC8048W550C and electrically-identical rebrands.
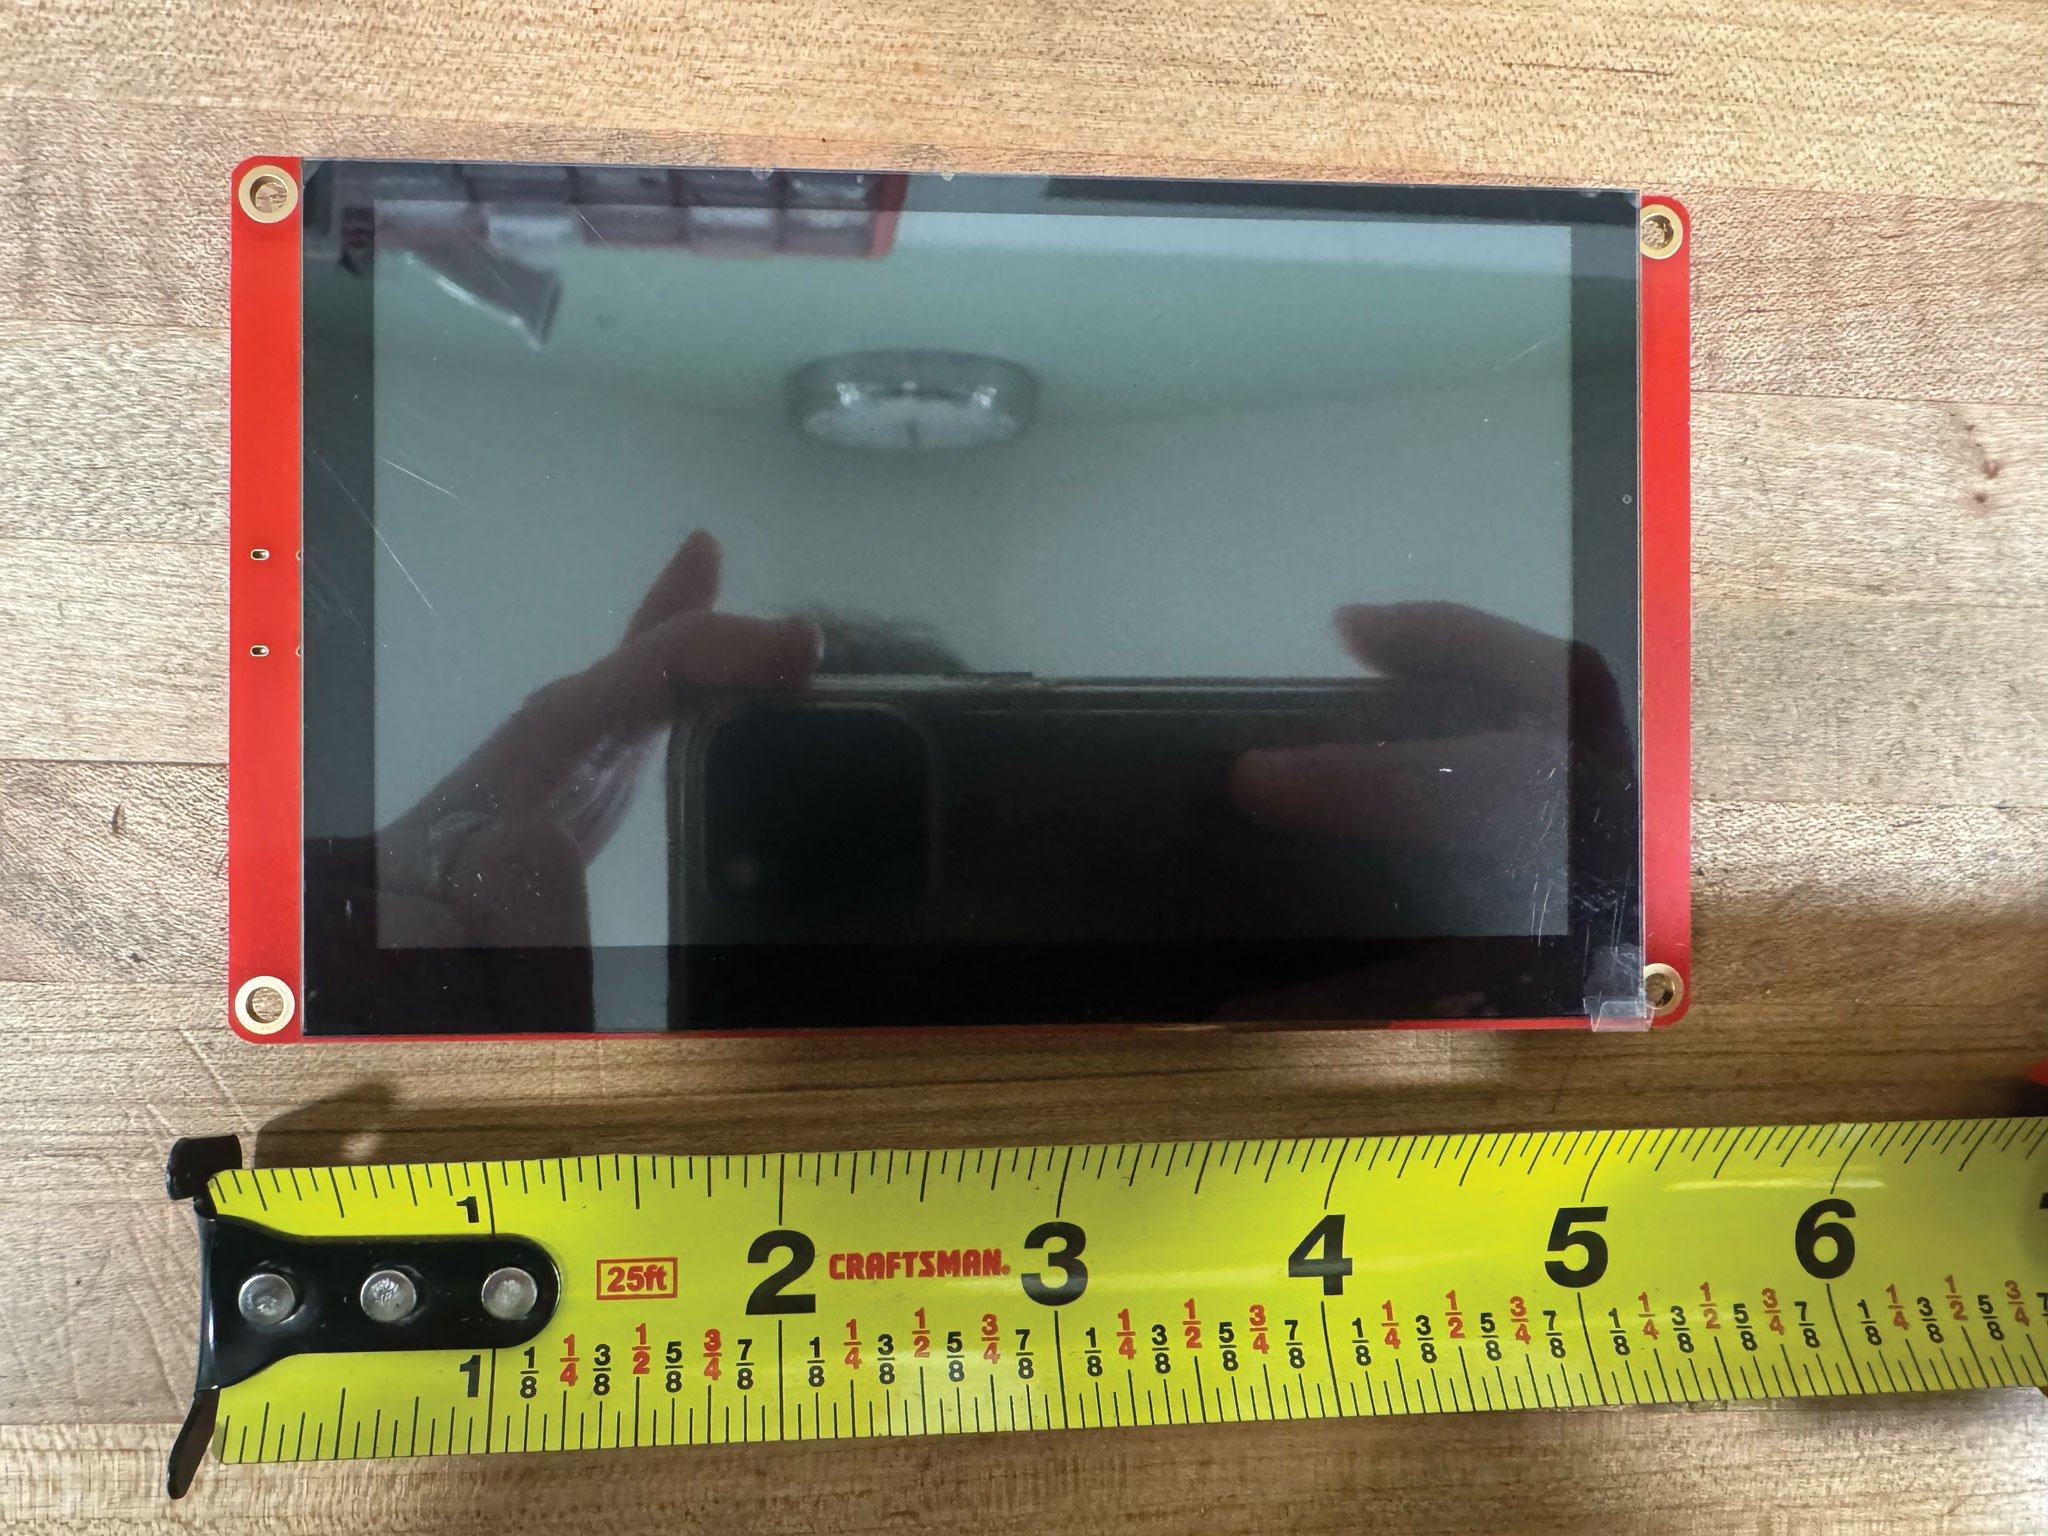
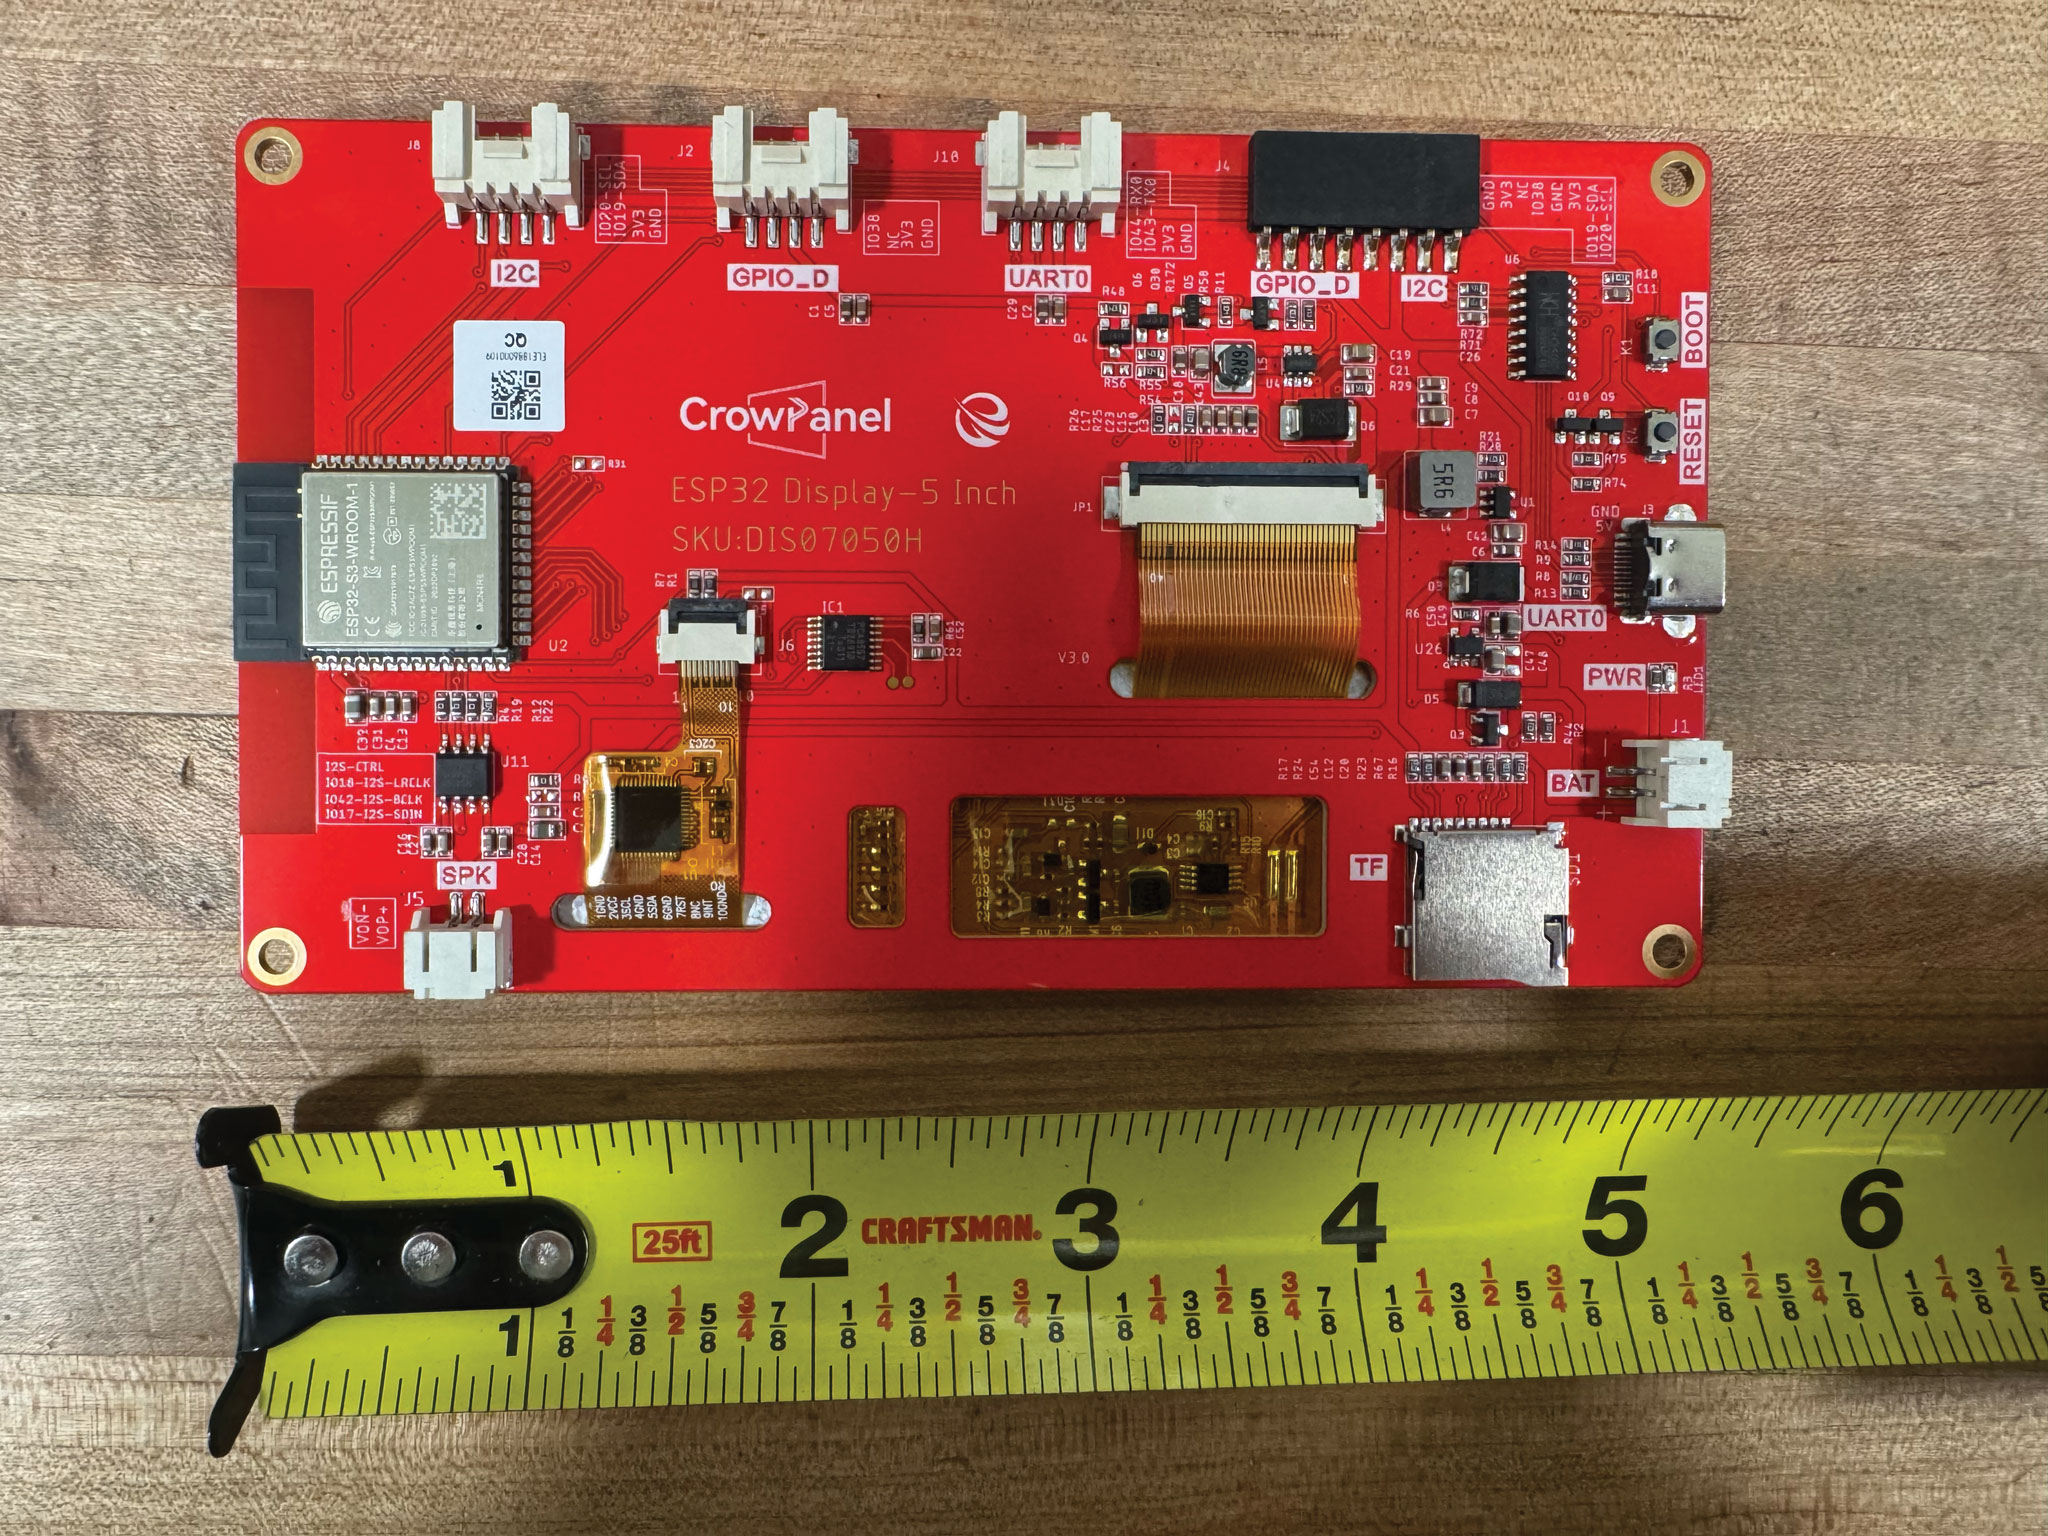
Elecrow's original (non-“Advance”) 5″ — red circuit board, “ESP32 Display-5 Inch” and SKU DIS07050H on the back. Not the same as the Sunton board or the Elecrow Advance boards.
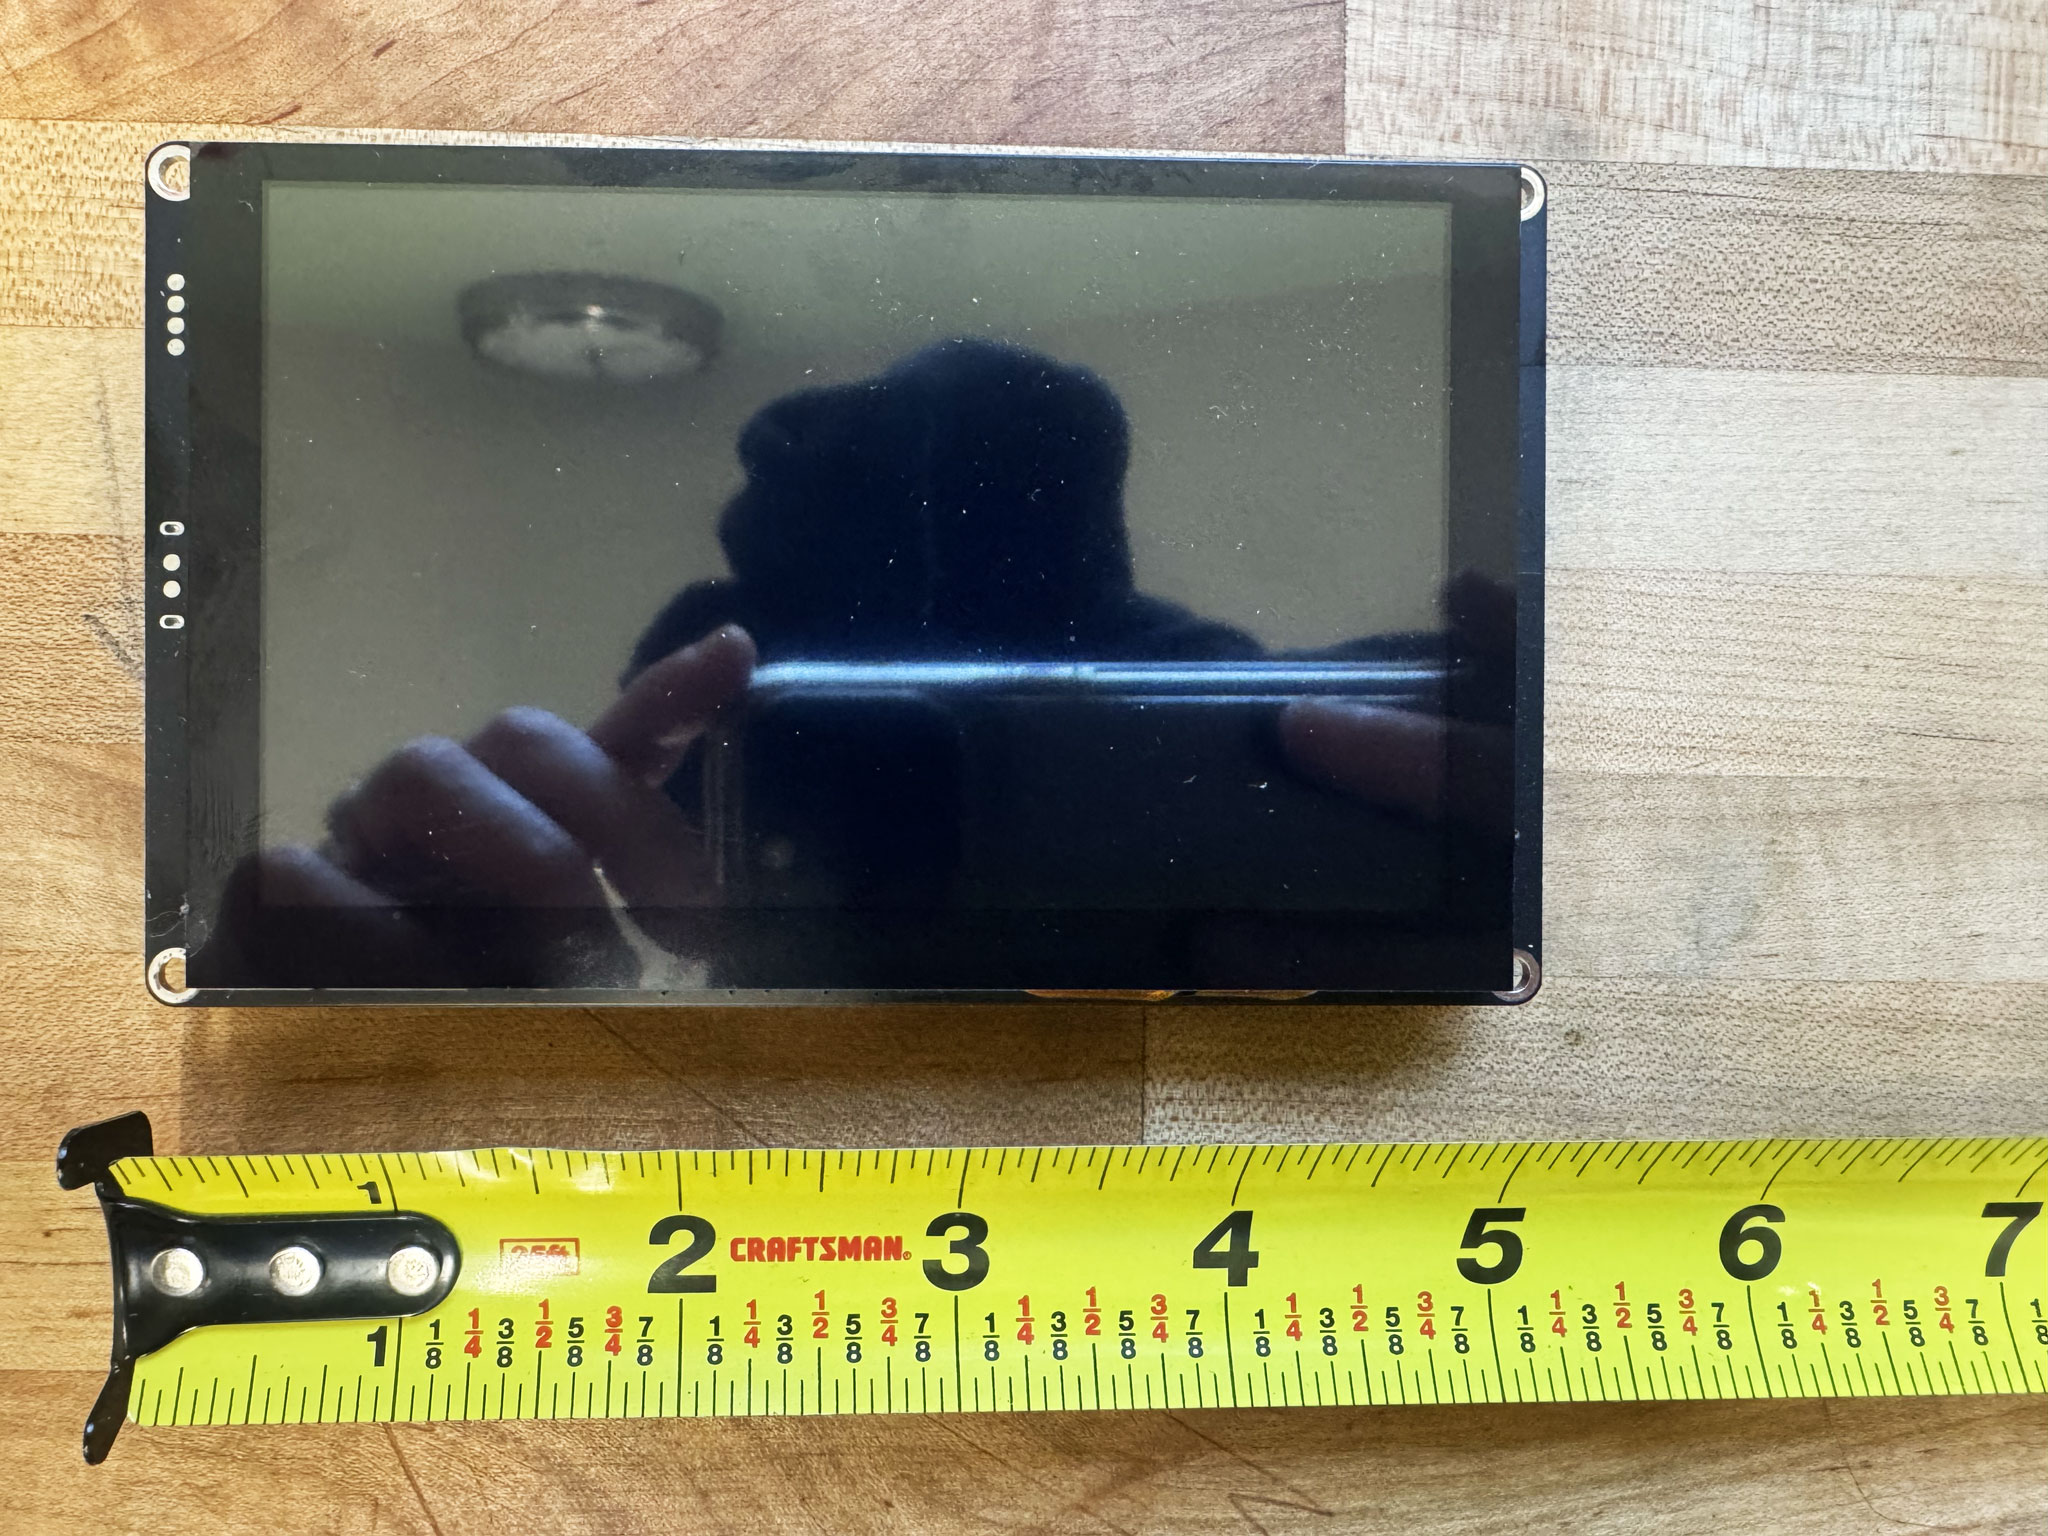
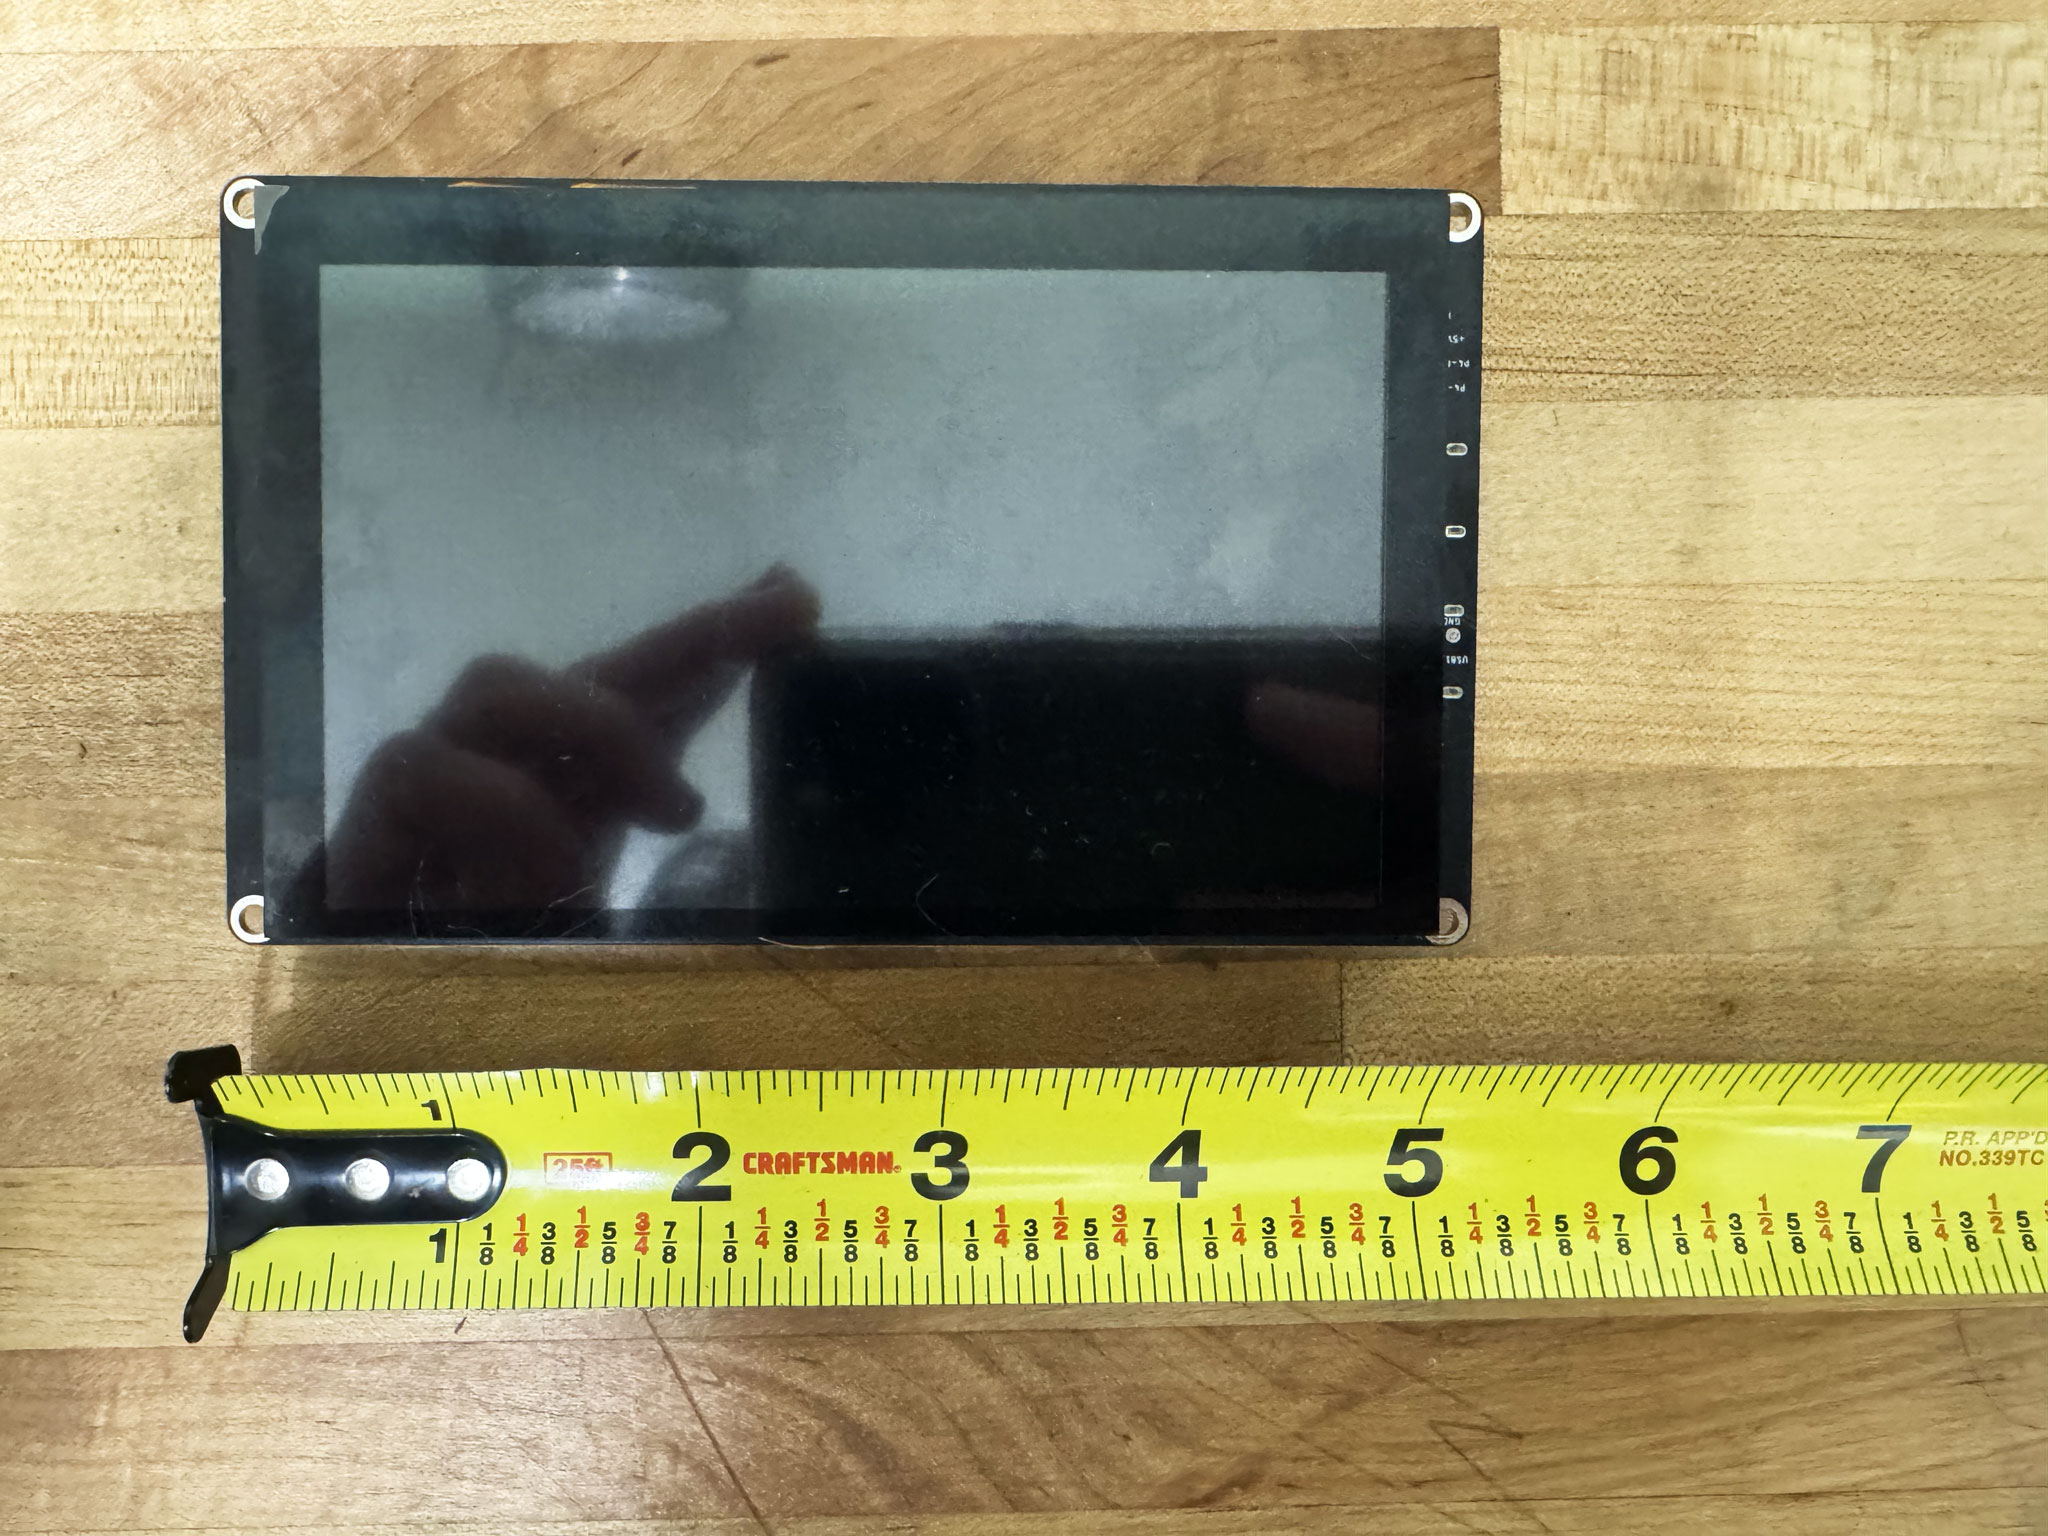
Two versions of this board need different firmware — pick the one that matches yours.
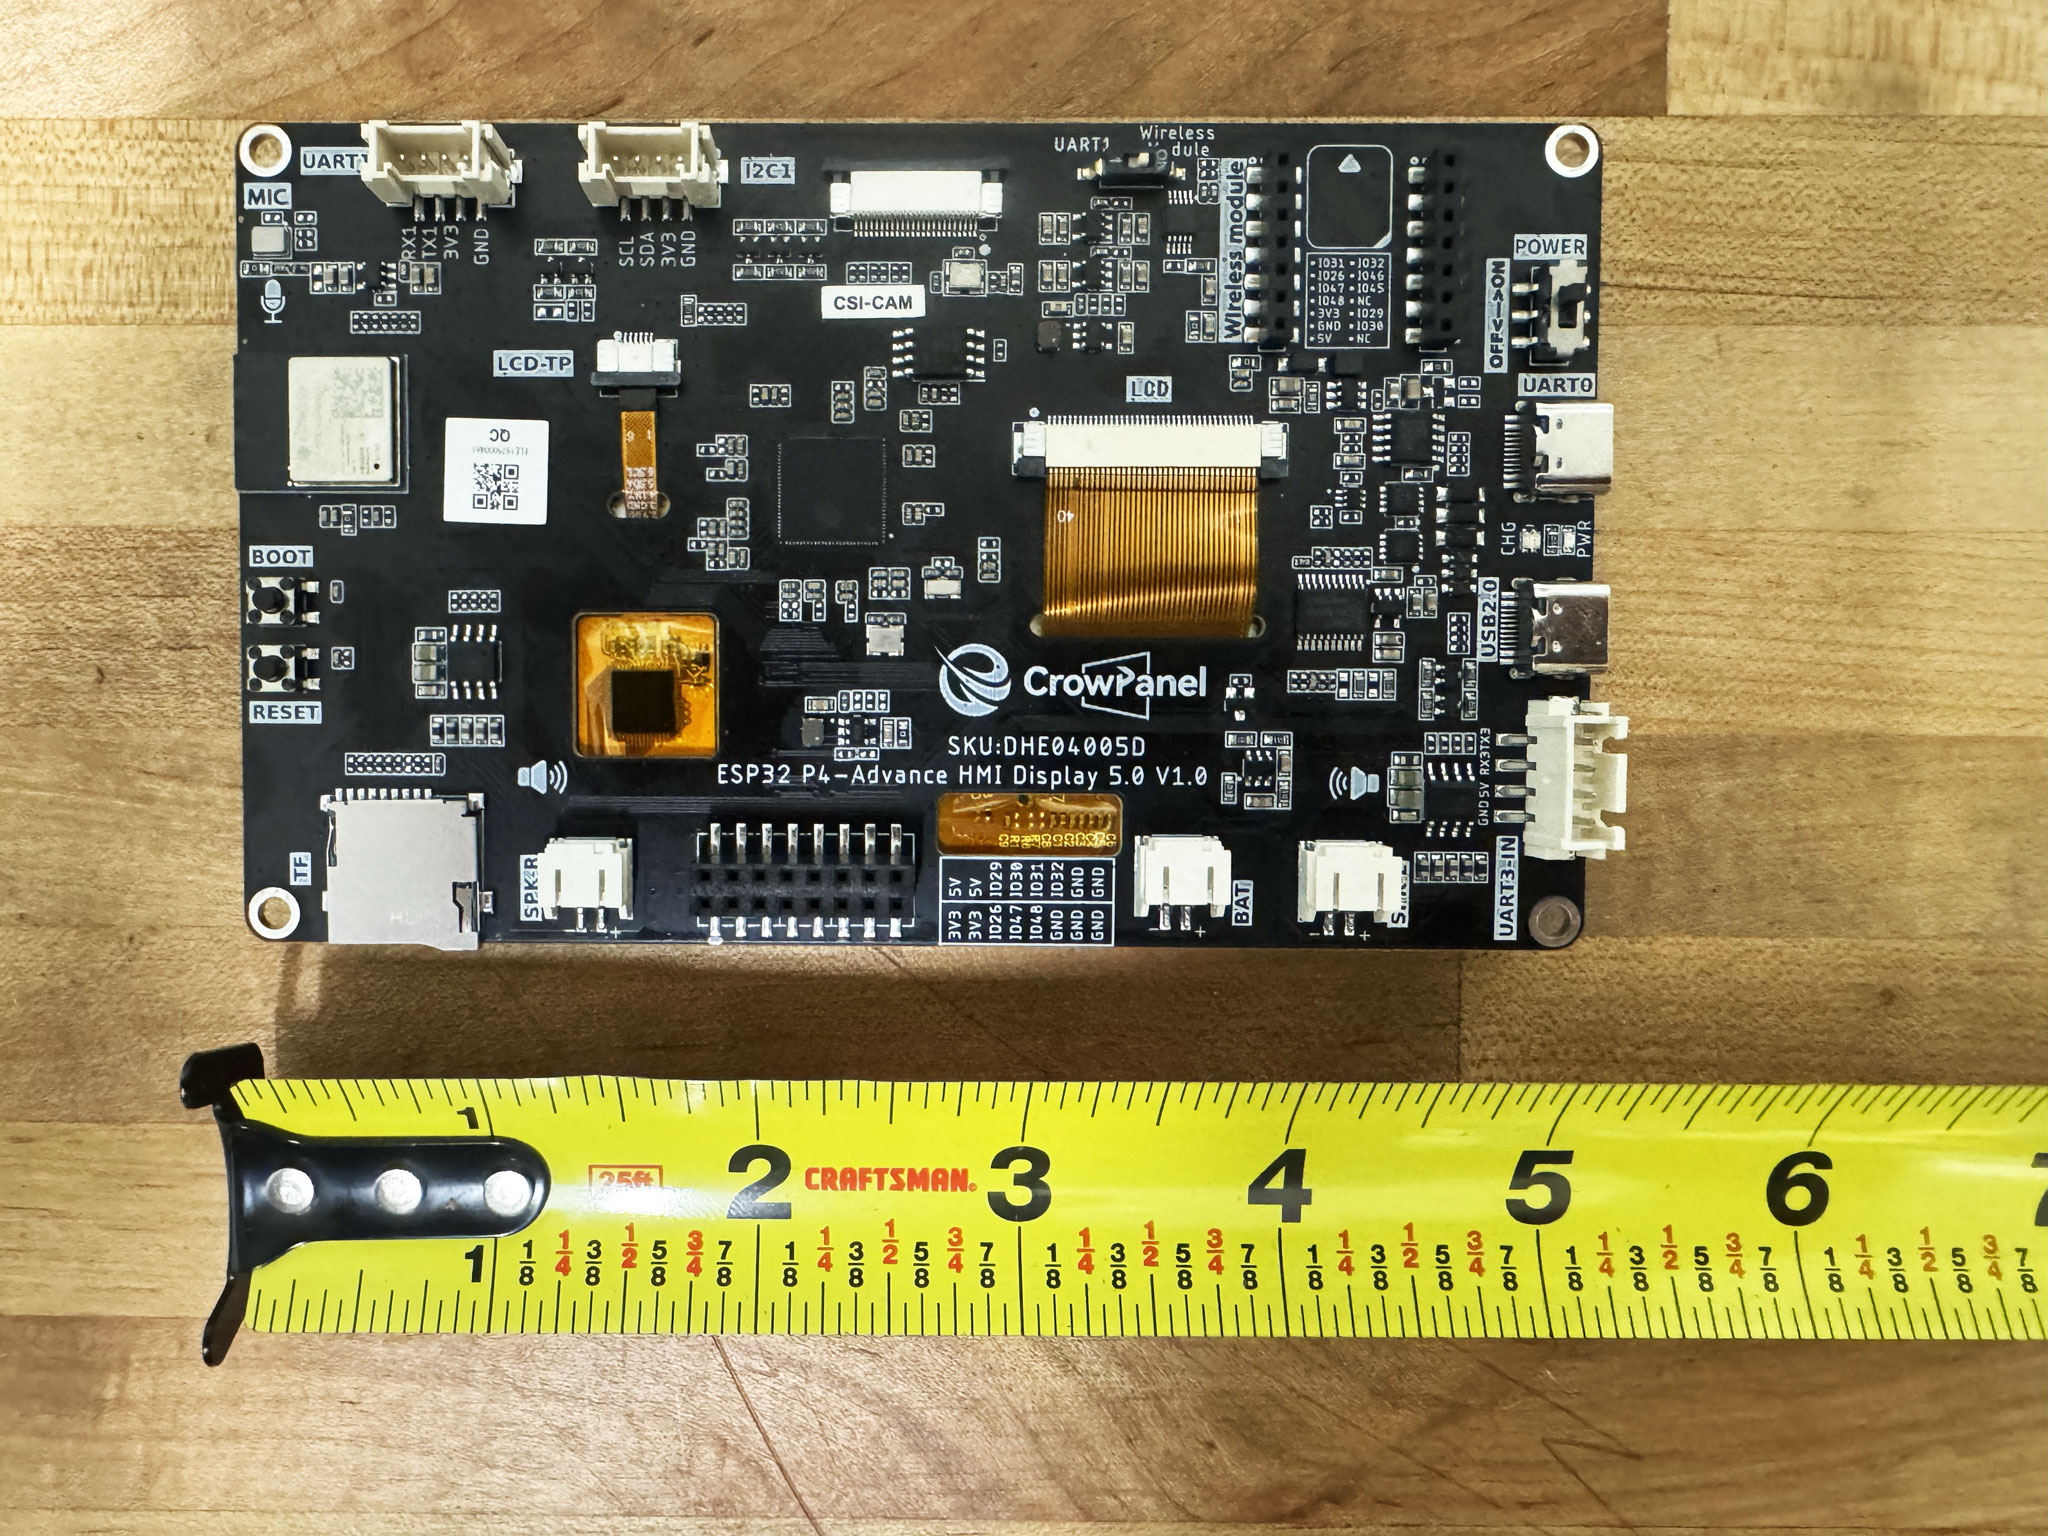
Elecrow CrowPanel Advance 5.0 — ST7262 + GT911. Two hardware revisions of this board exist and need different firmware — check the small hardware revision marking on your board.
Older hardware revision — controls backlight/buzzer differently than v1.2/v1.3. If you flash the wrong revision's firmware, the screen stays black even though the display is actually working underneath (the backlight just never turns on); reflashing with the matching one fixes it.
Same ST7262 + GT911 as the CrowPanel Advance, but native-USB ESP32-P4 silicon. This board has two USB-C ports — connect the one labeled USB 2.0, not the one labeled UART. It also needs manual boot-mode entry every time: hold BOOT, press and release RESET, then release BOOT, before clicking Flash below.
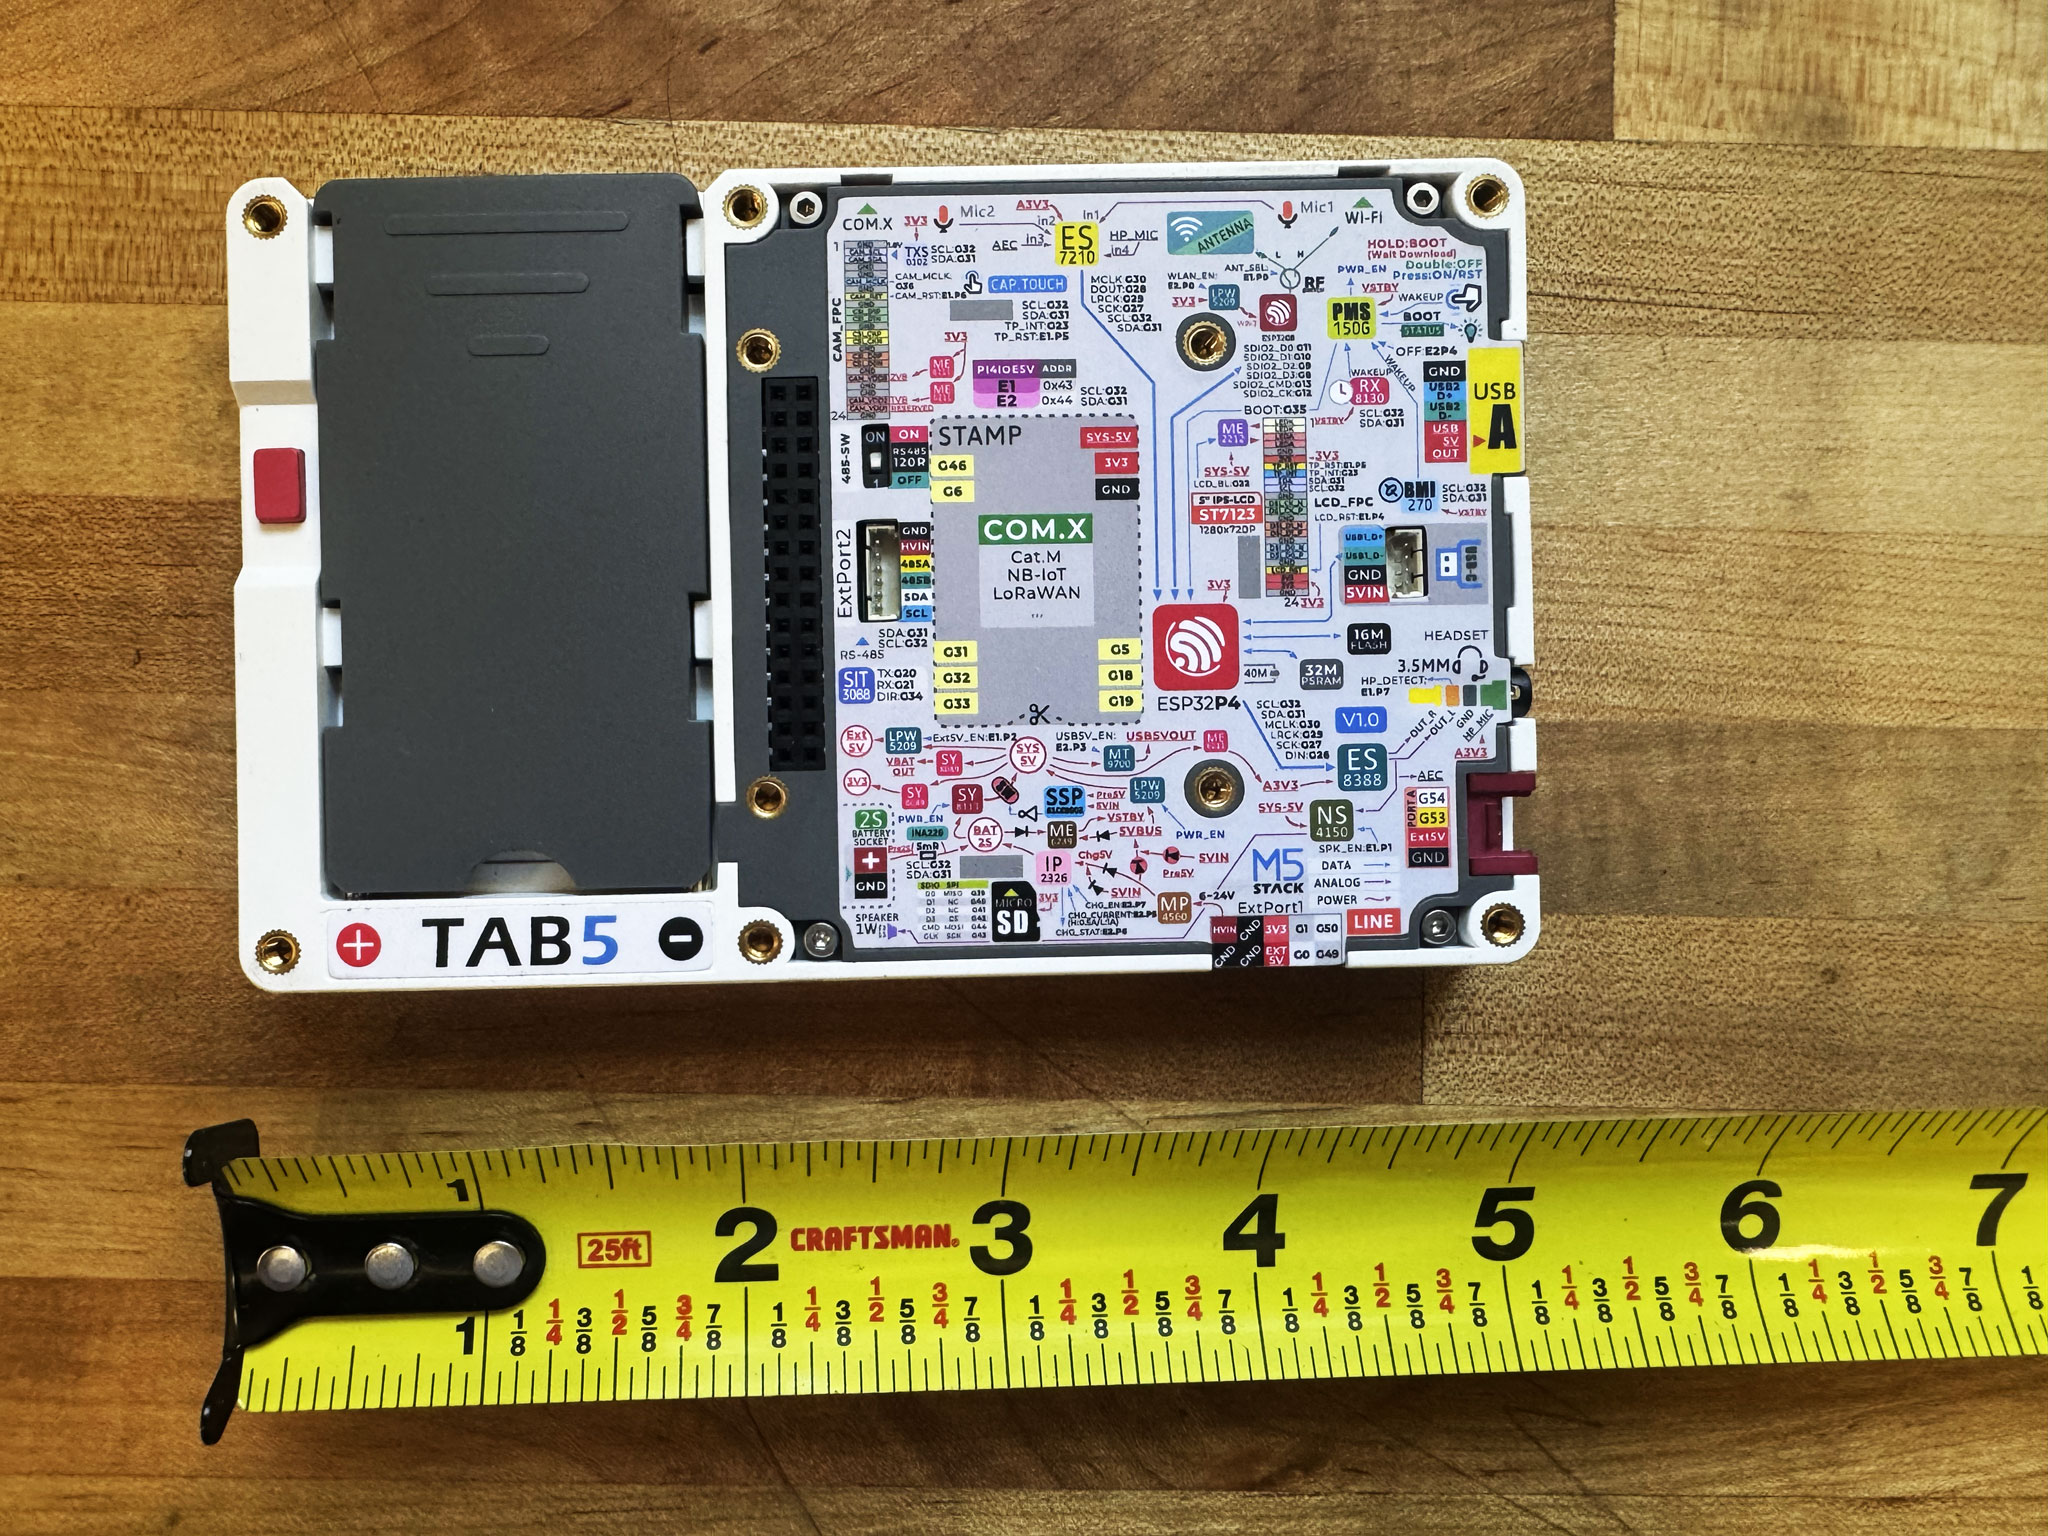
Native USB. Connect the USB-C port (not the USB-A port).
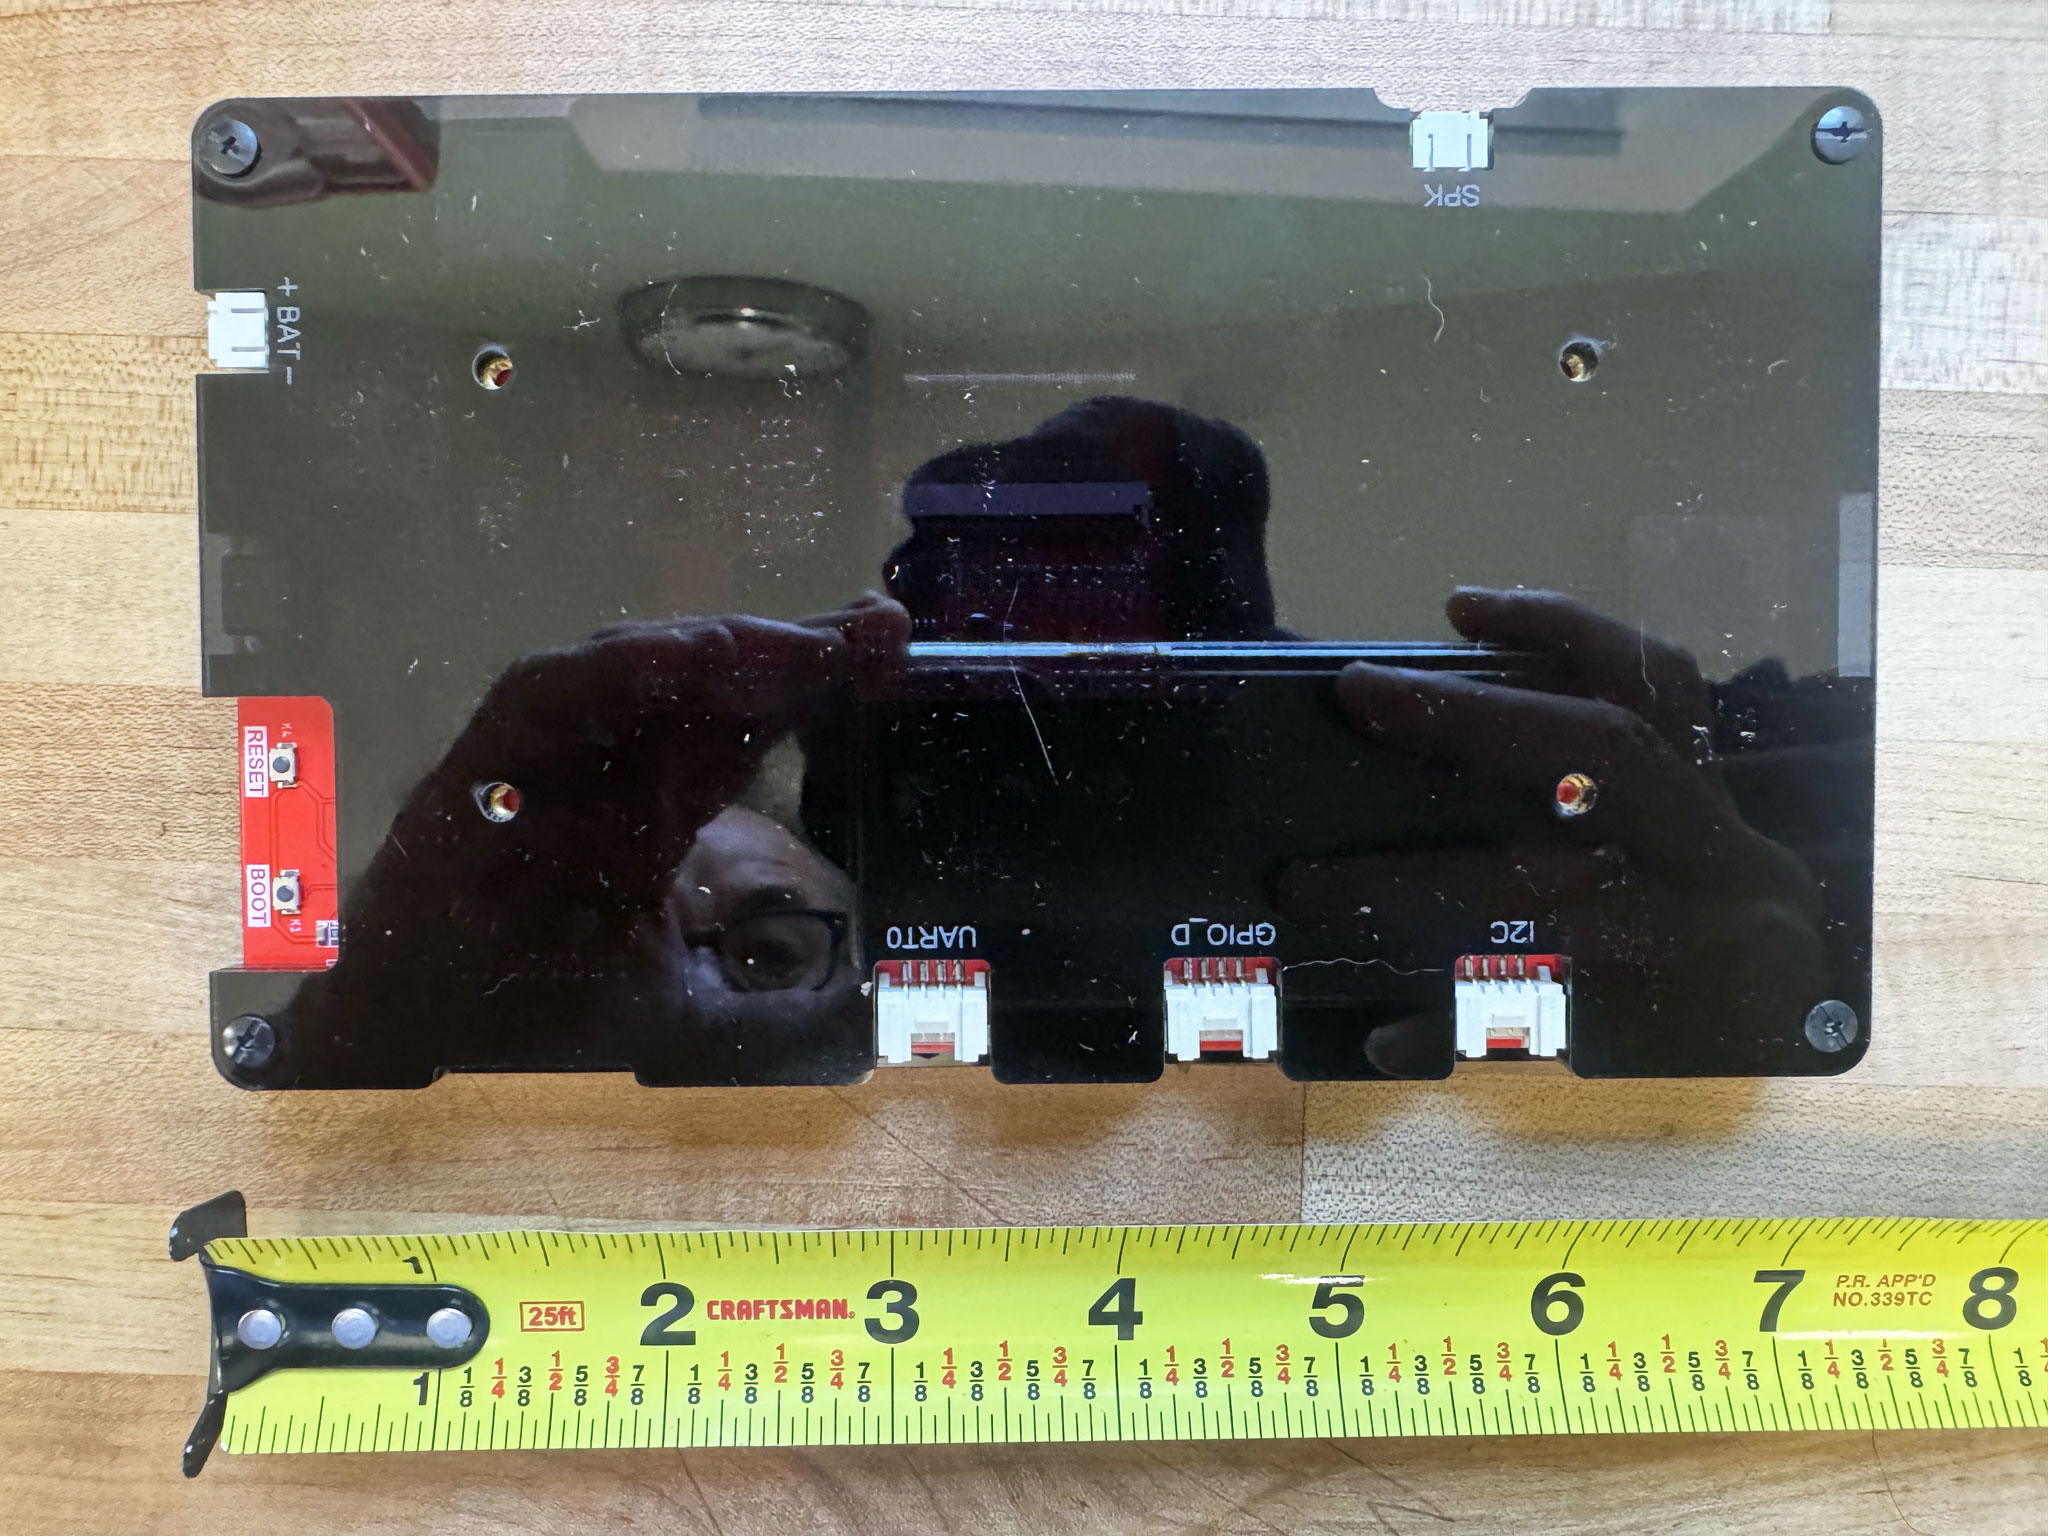
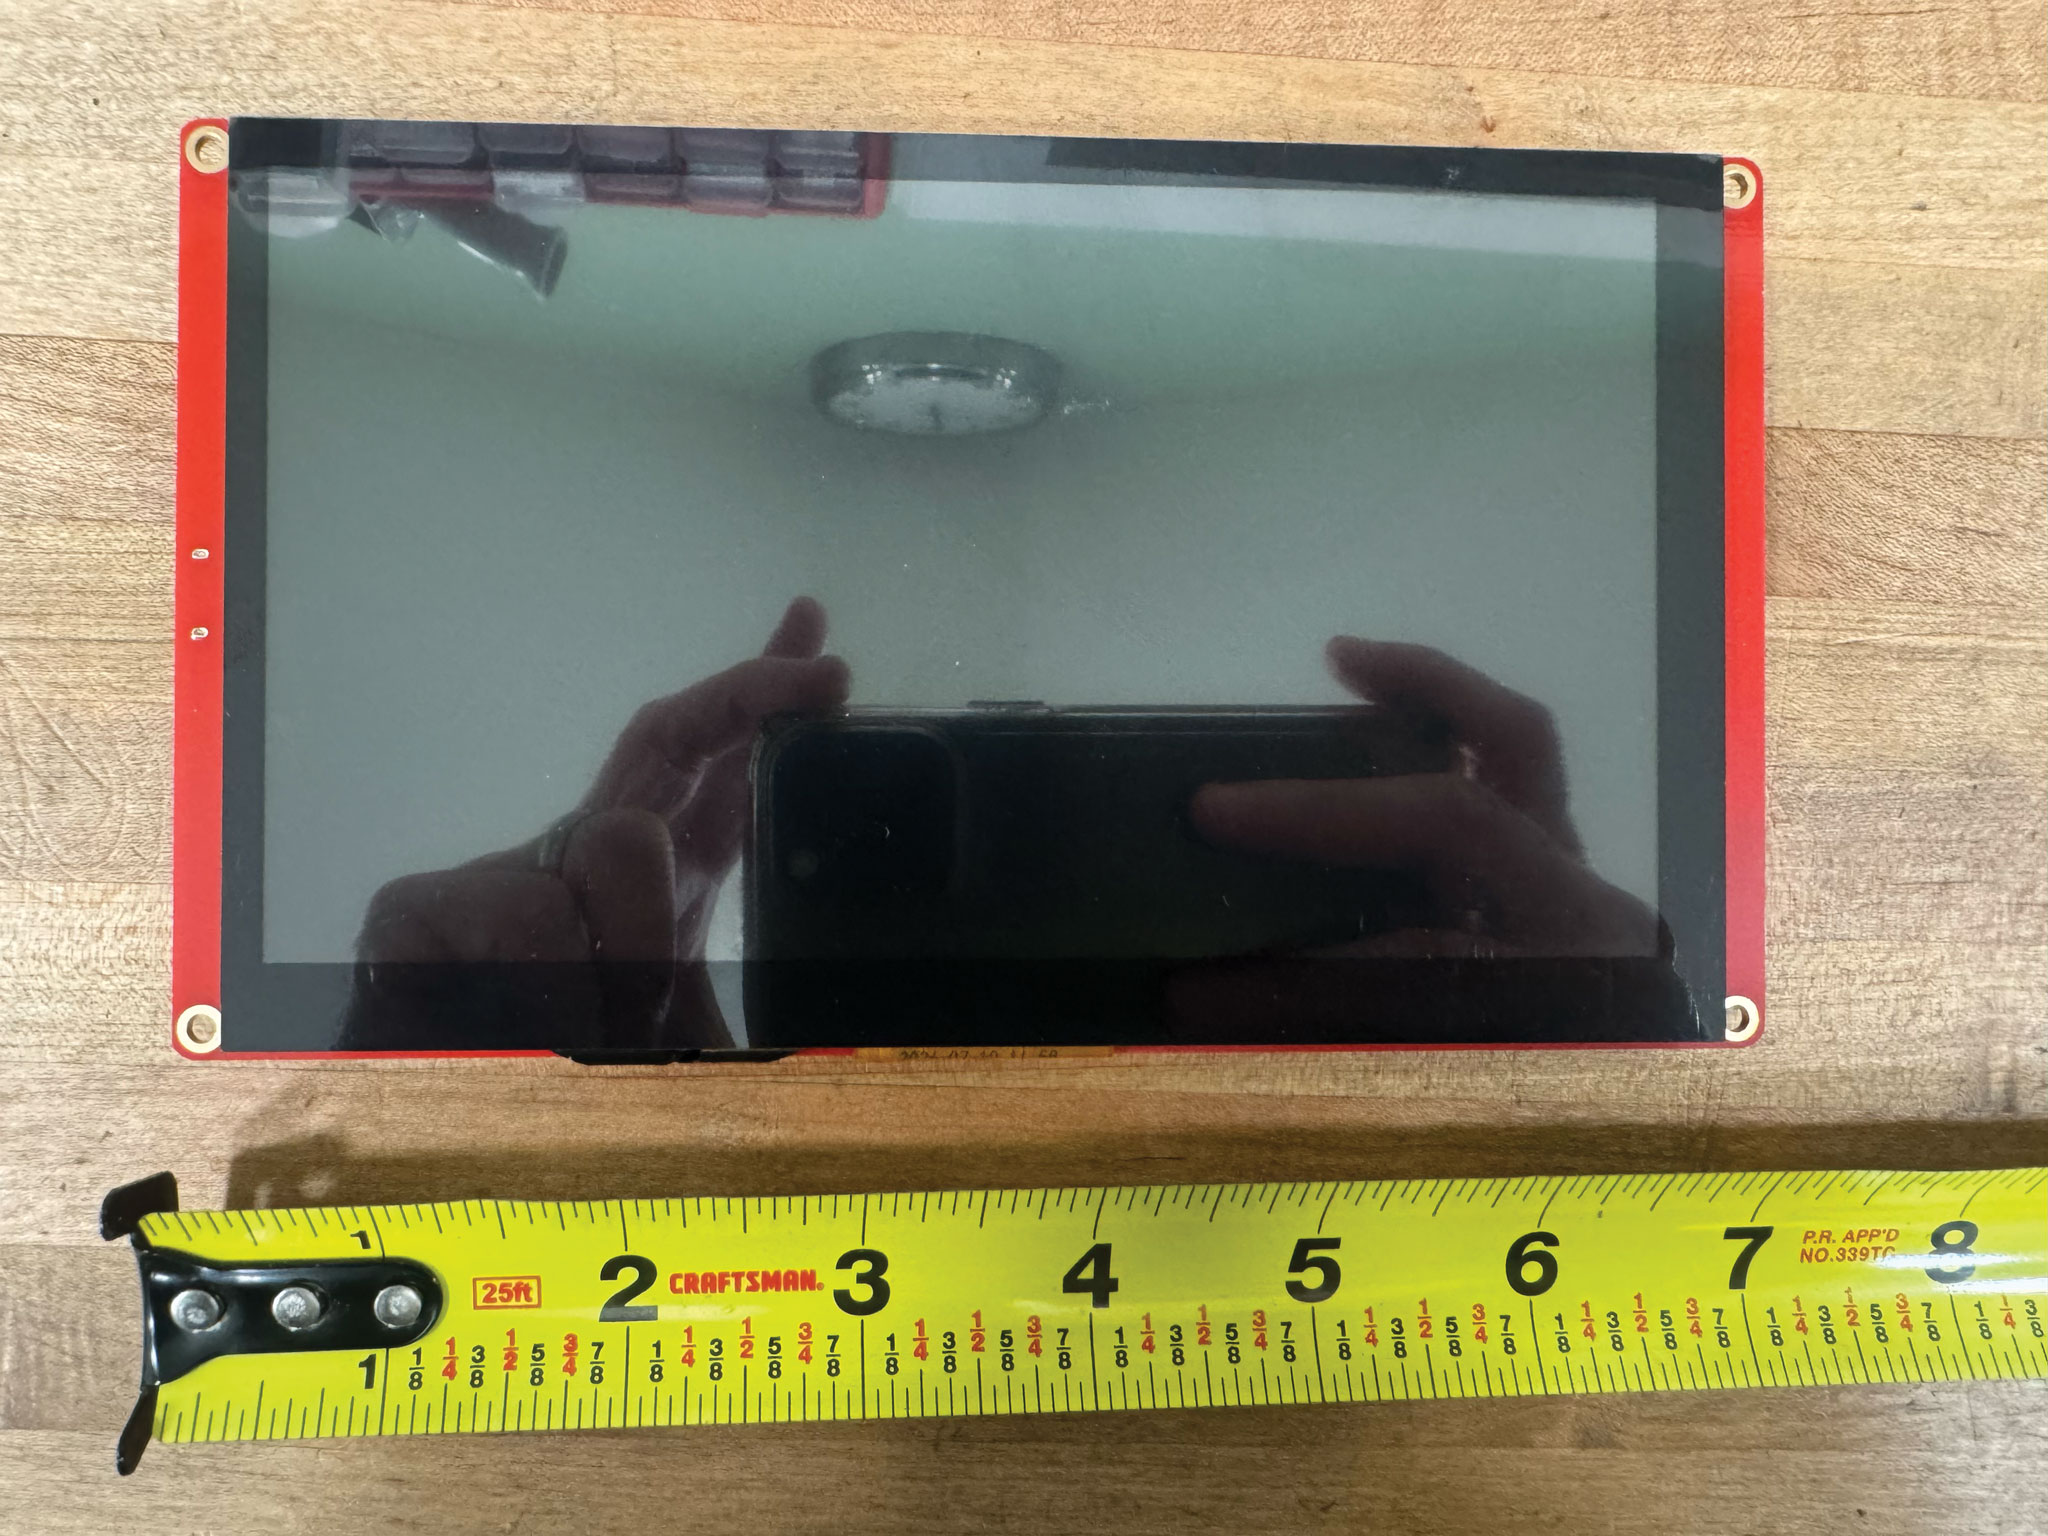
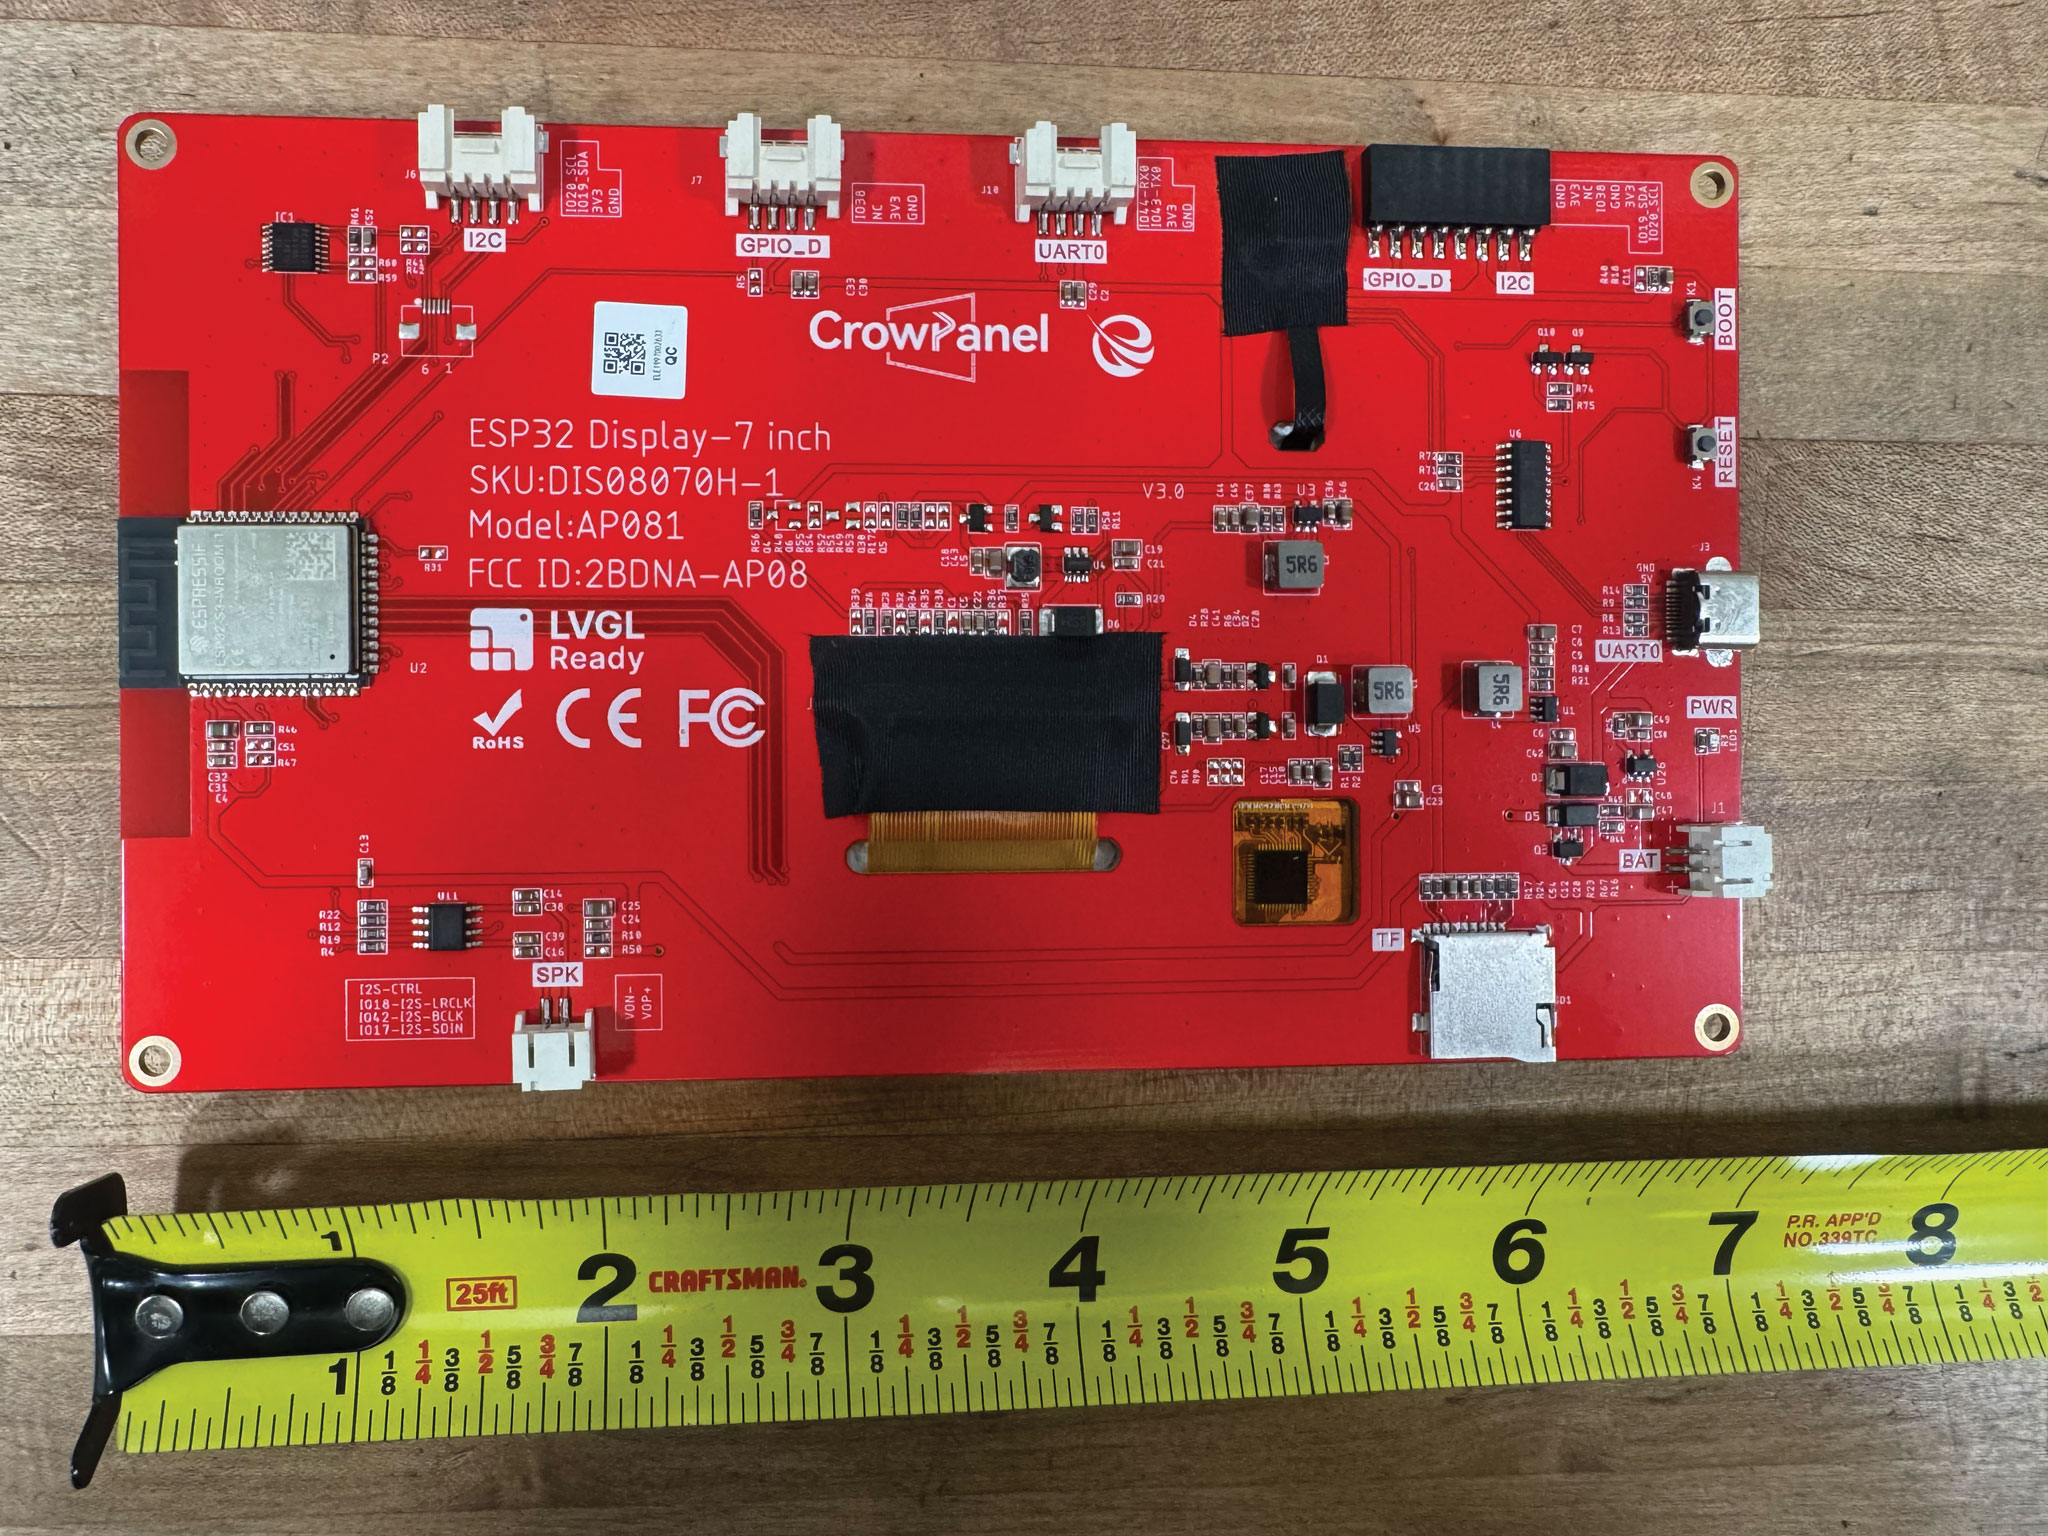
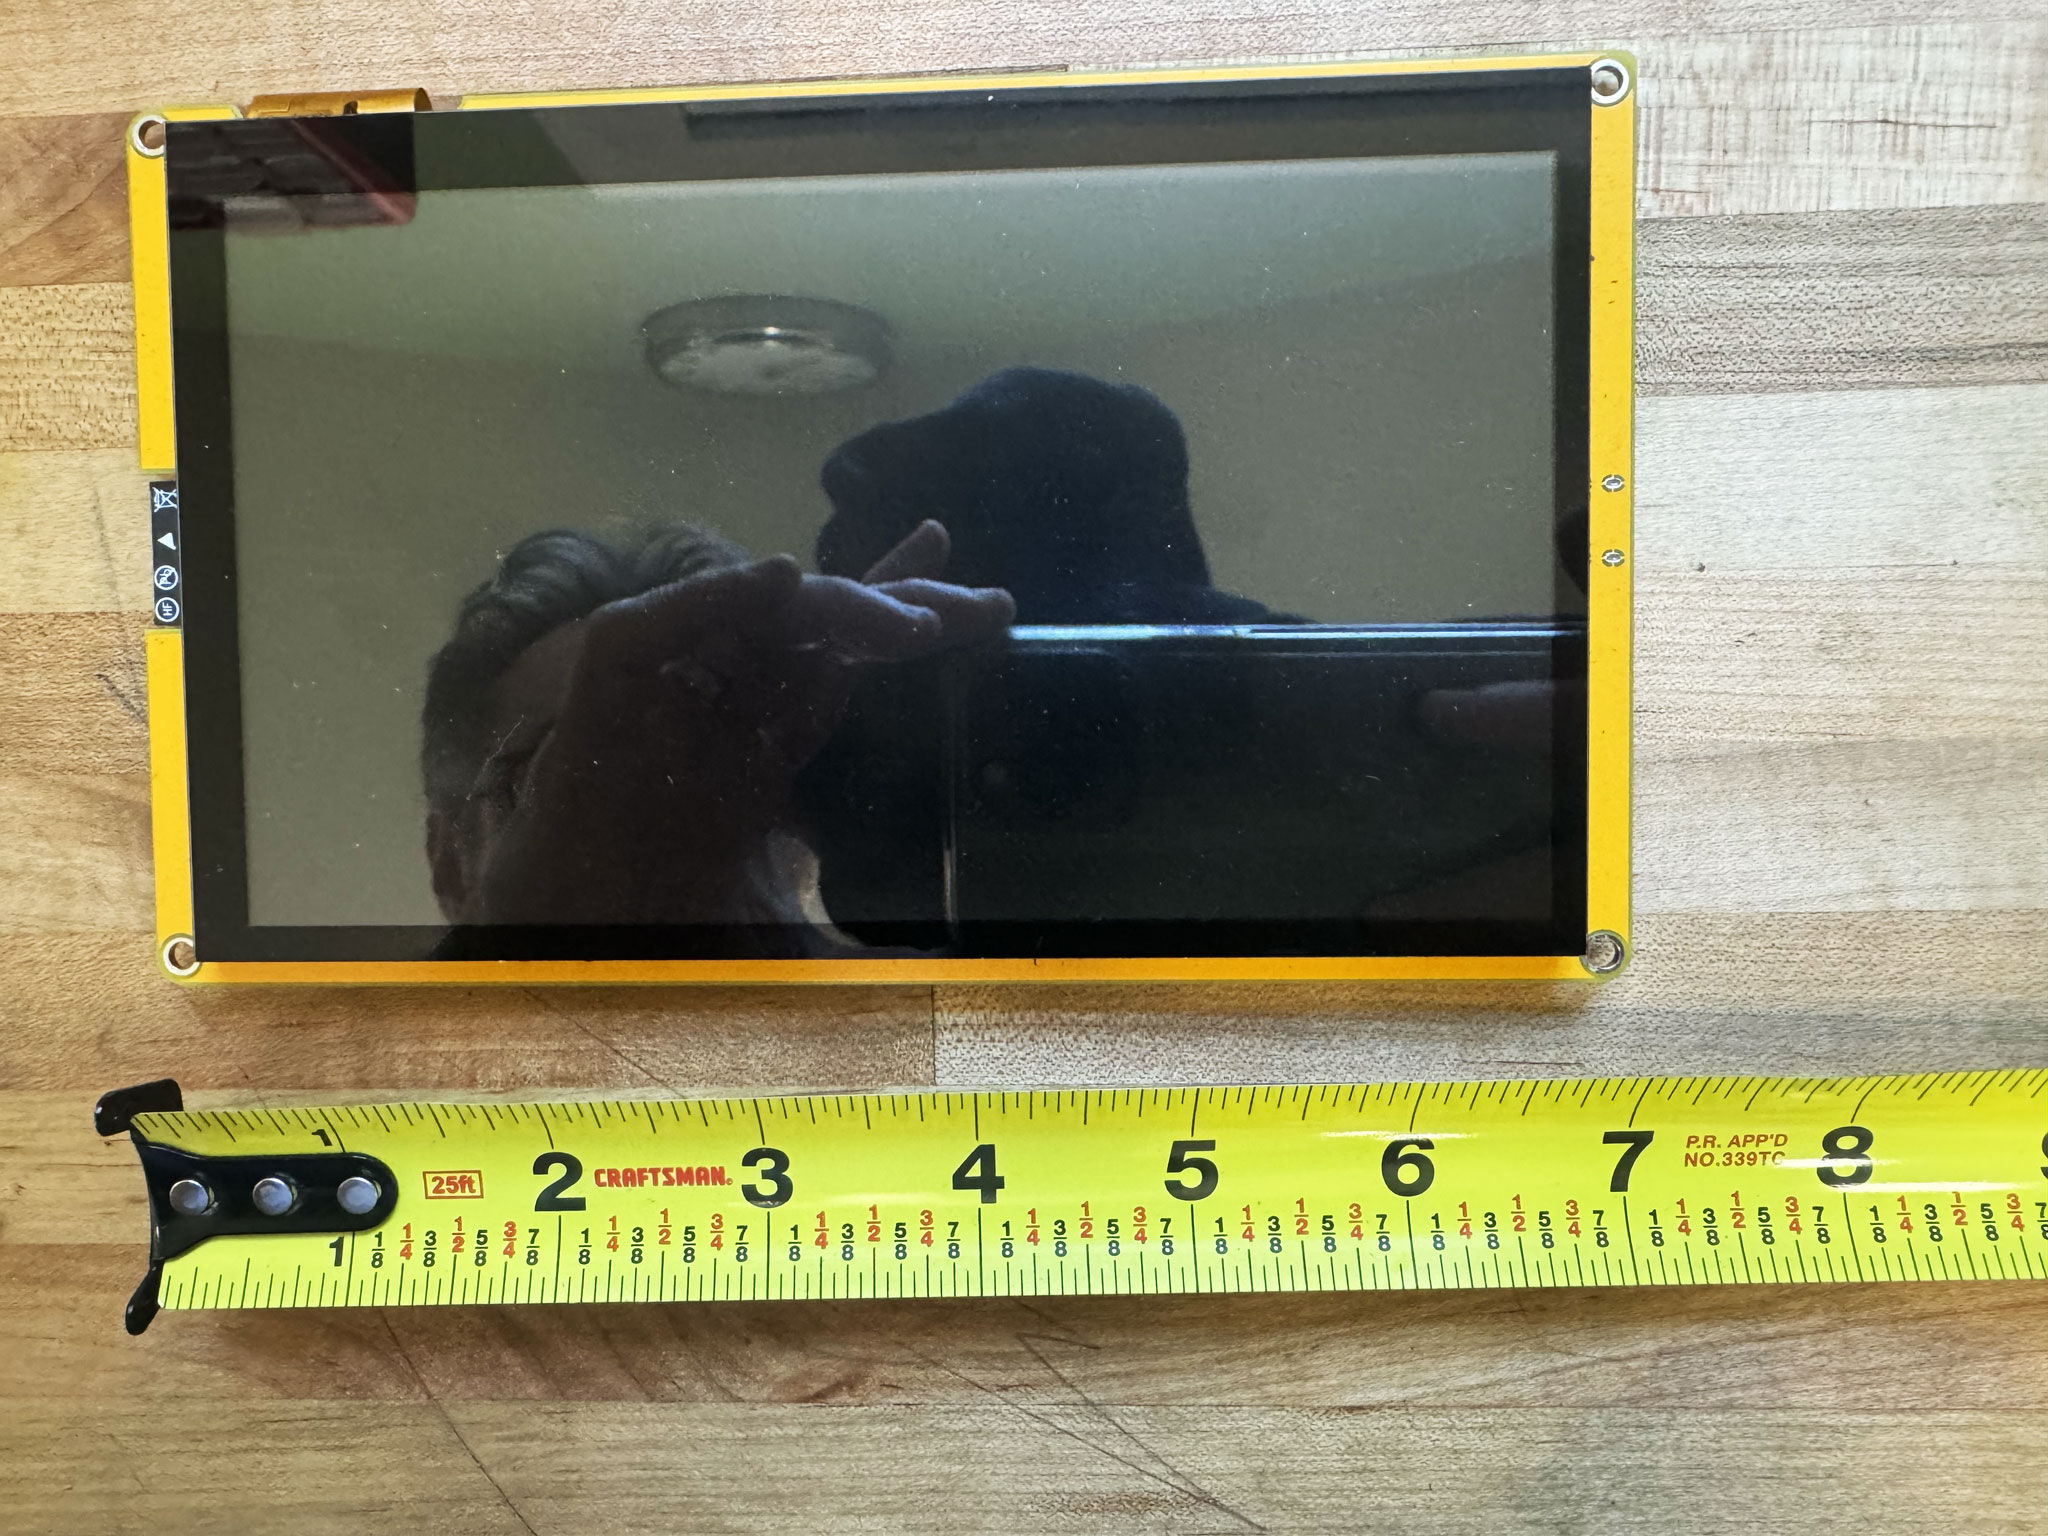
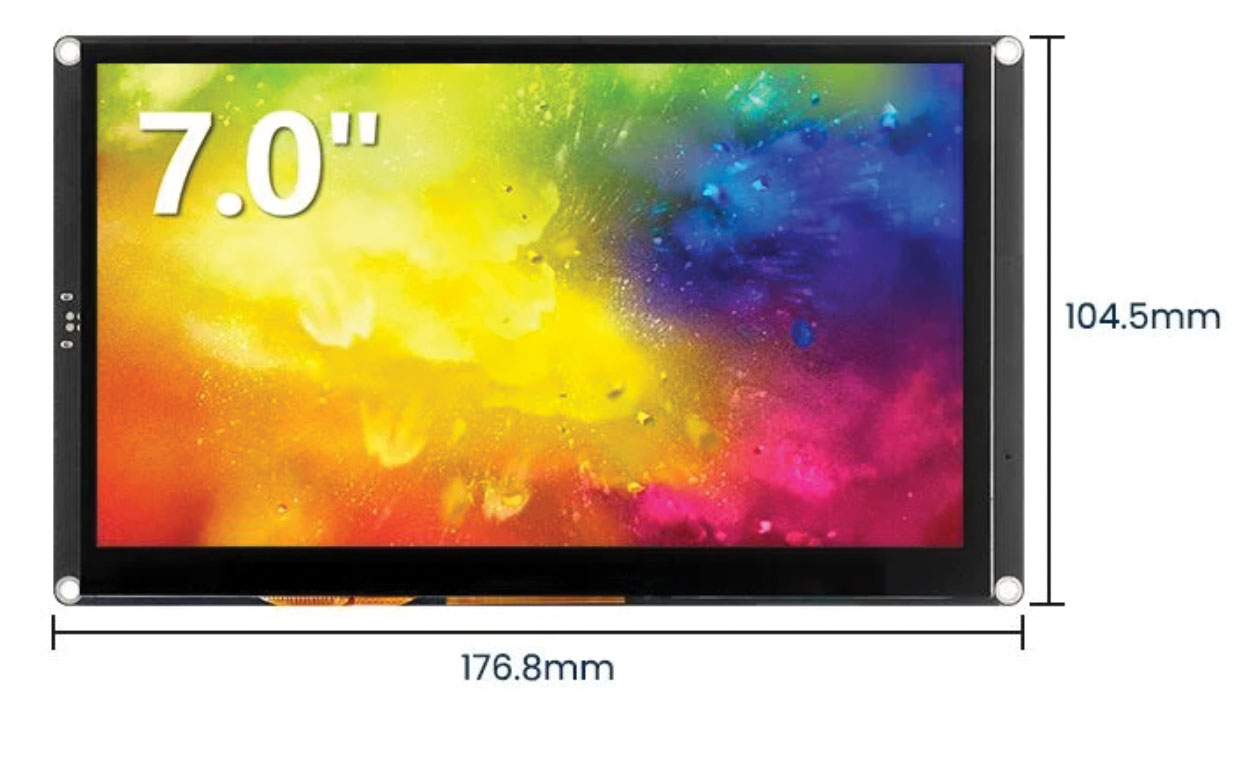
ESP32-8048S070C — silkscreen ends in “C”. Elecrow CrowPanel 7.0 / IoTeikXgo.
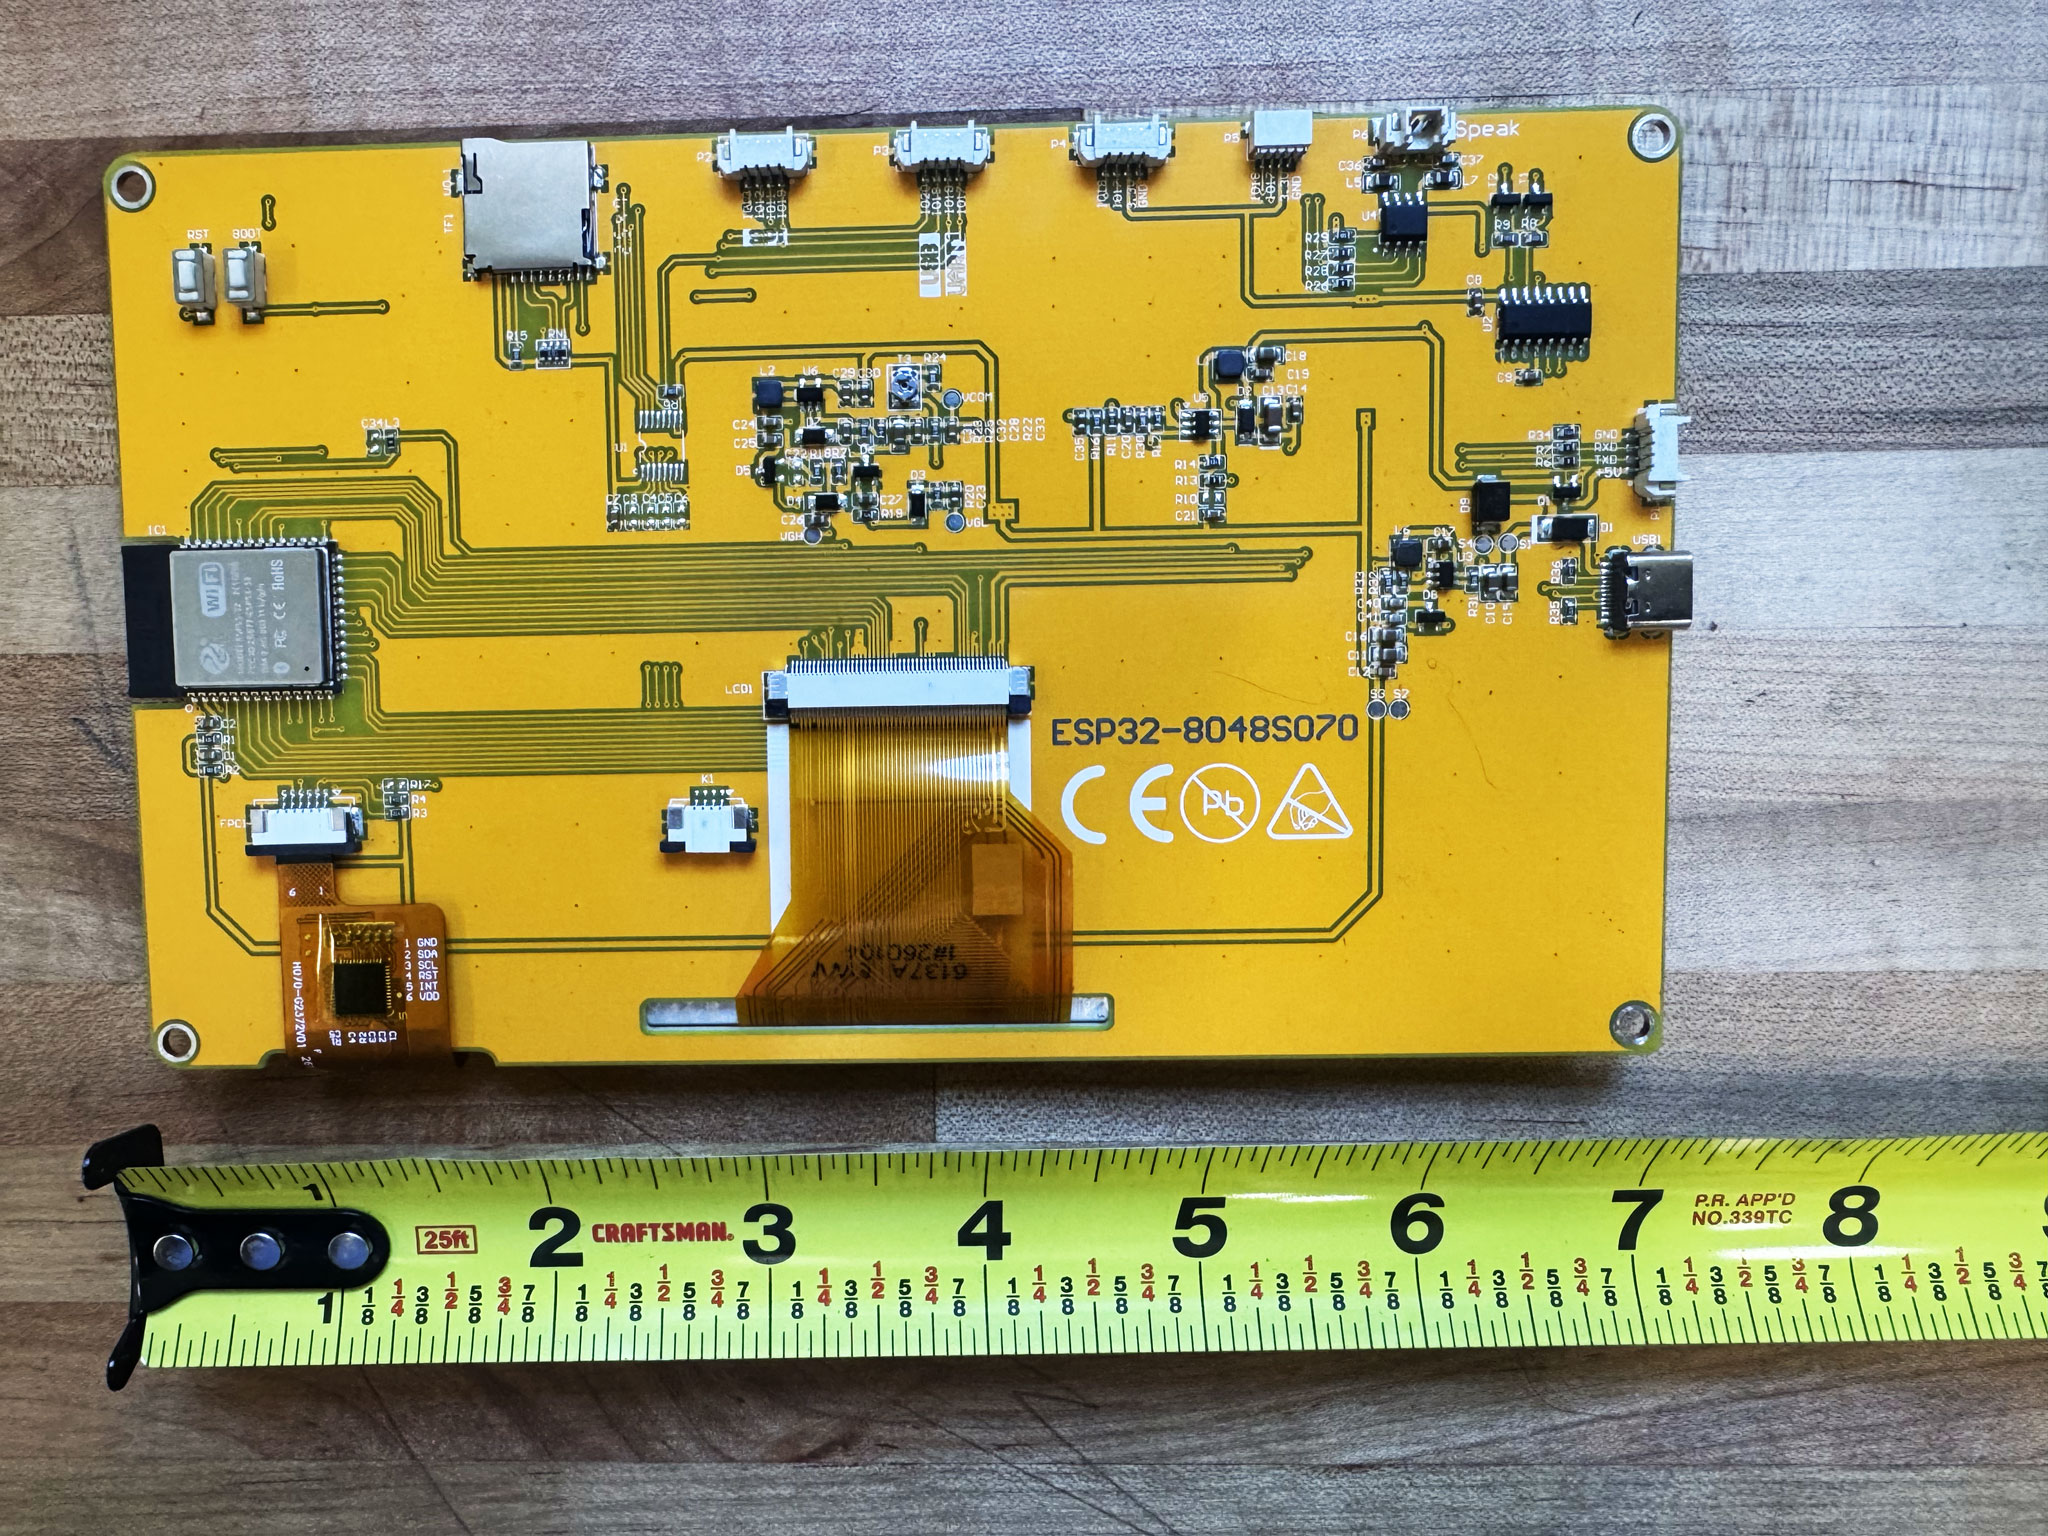
ESP32-8048S070 — silkscreen has no trailing “C”. Sunton / EC Buying ESP32-S3 7.0.
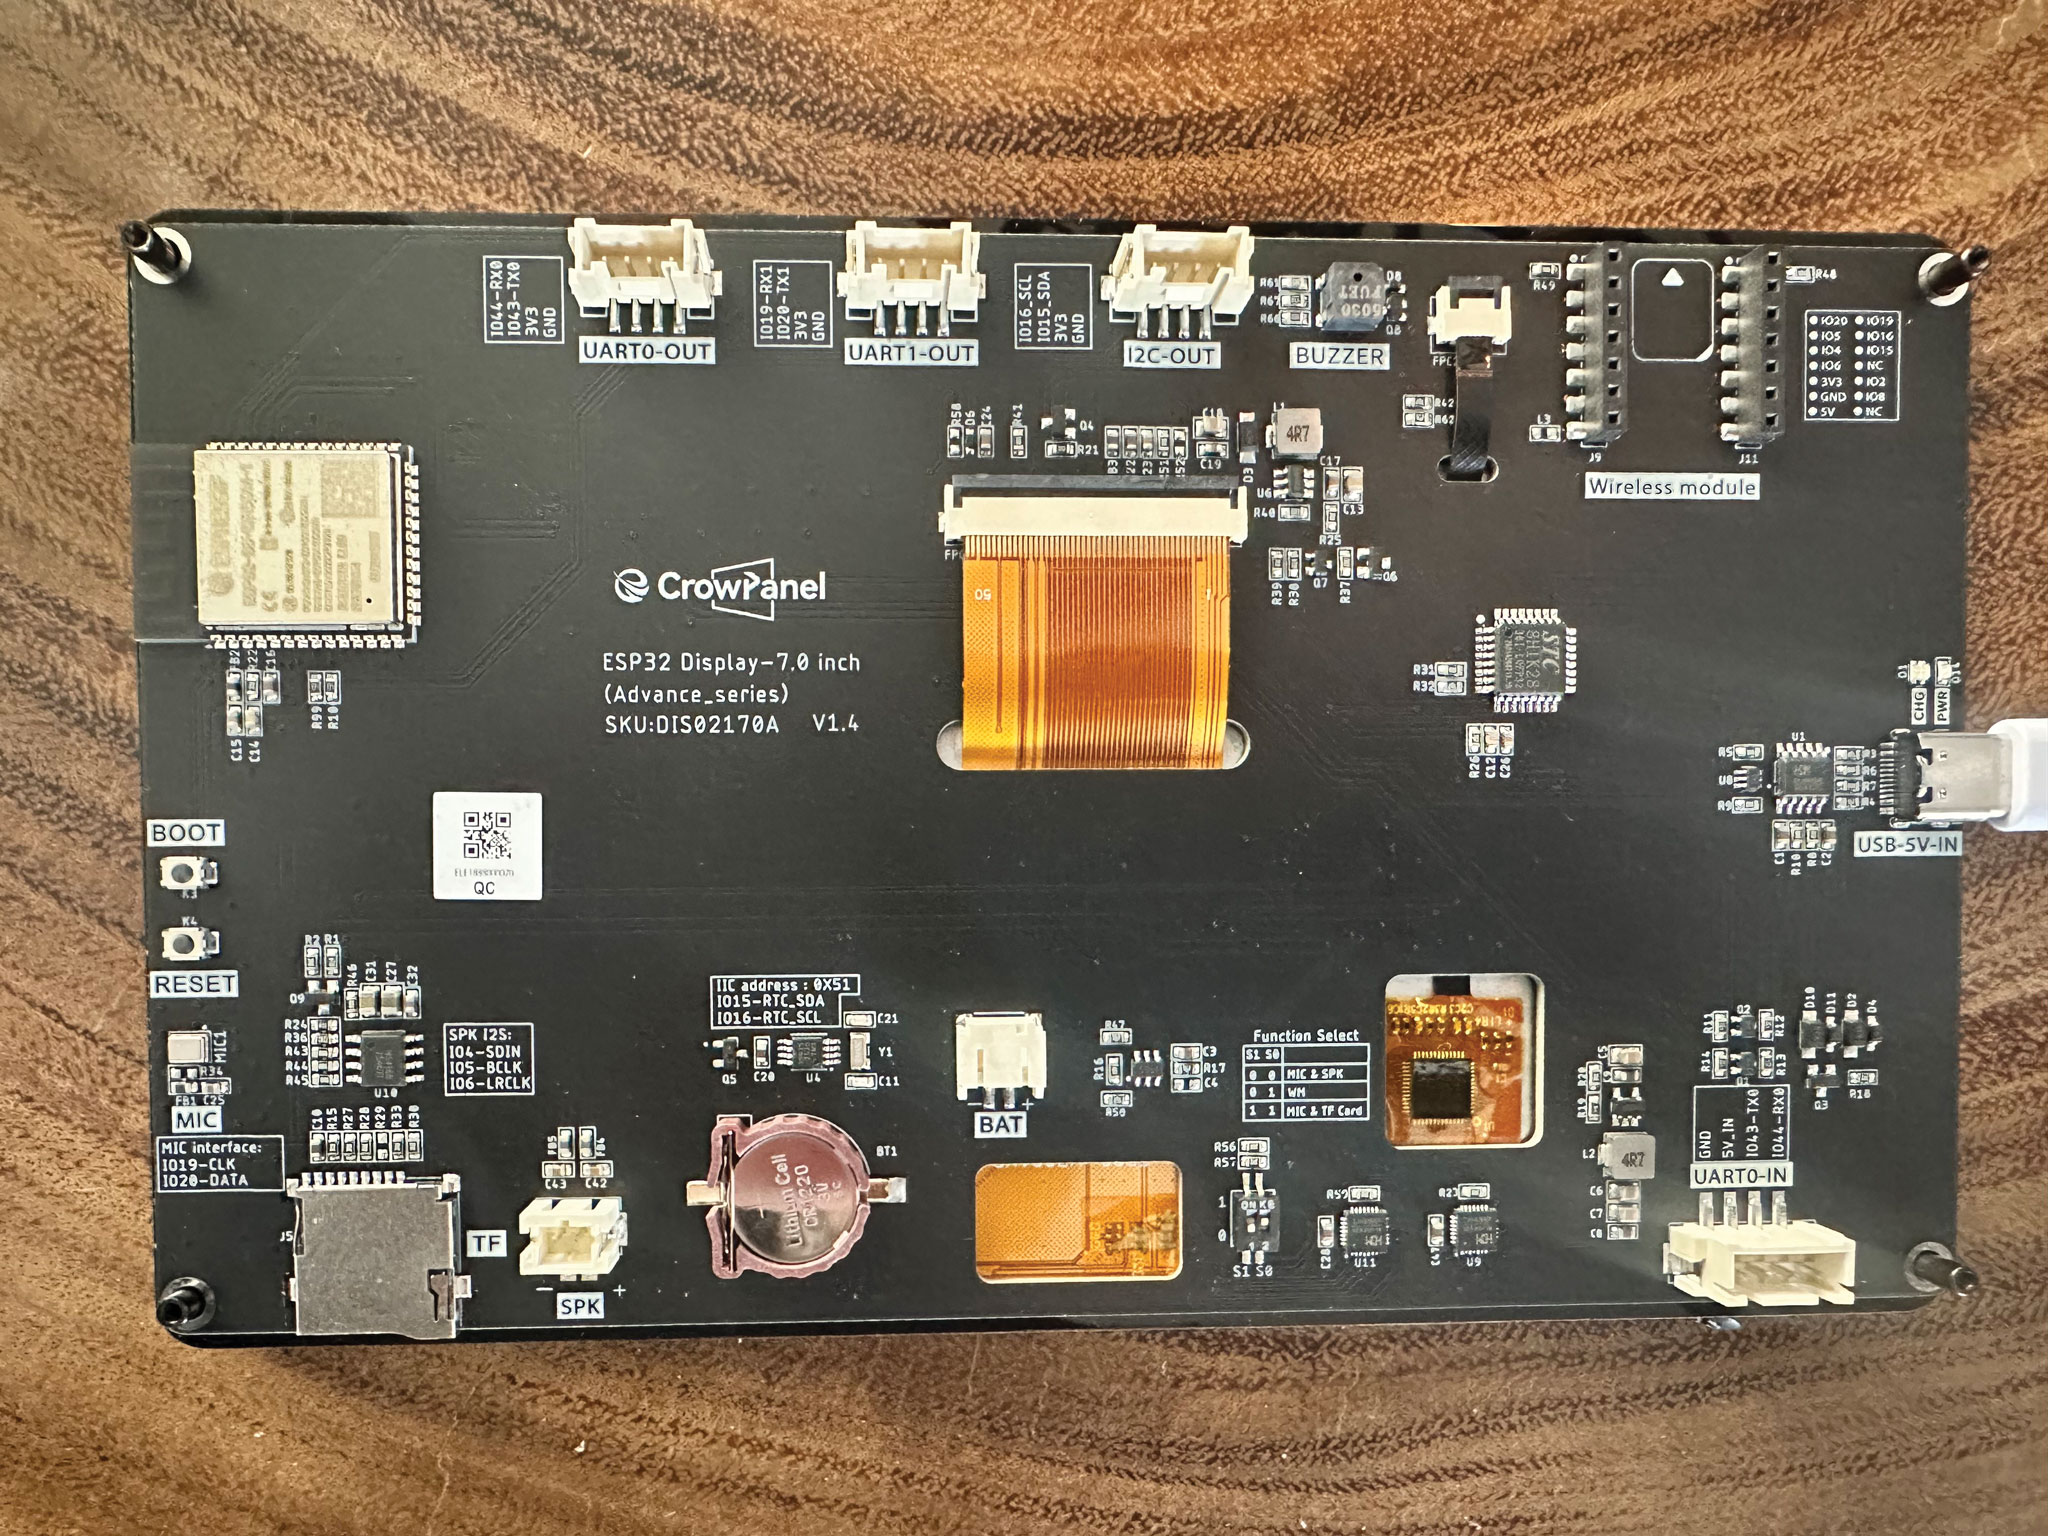
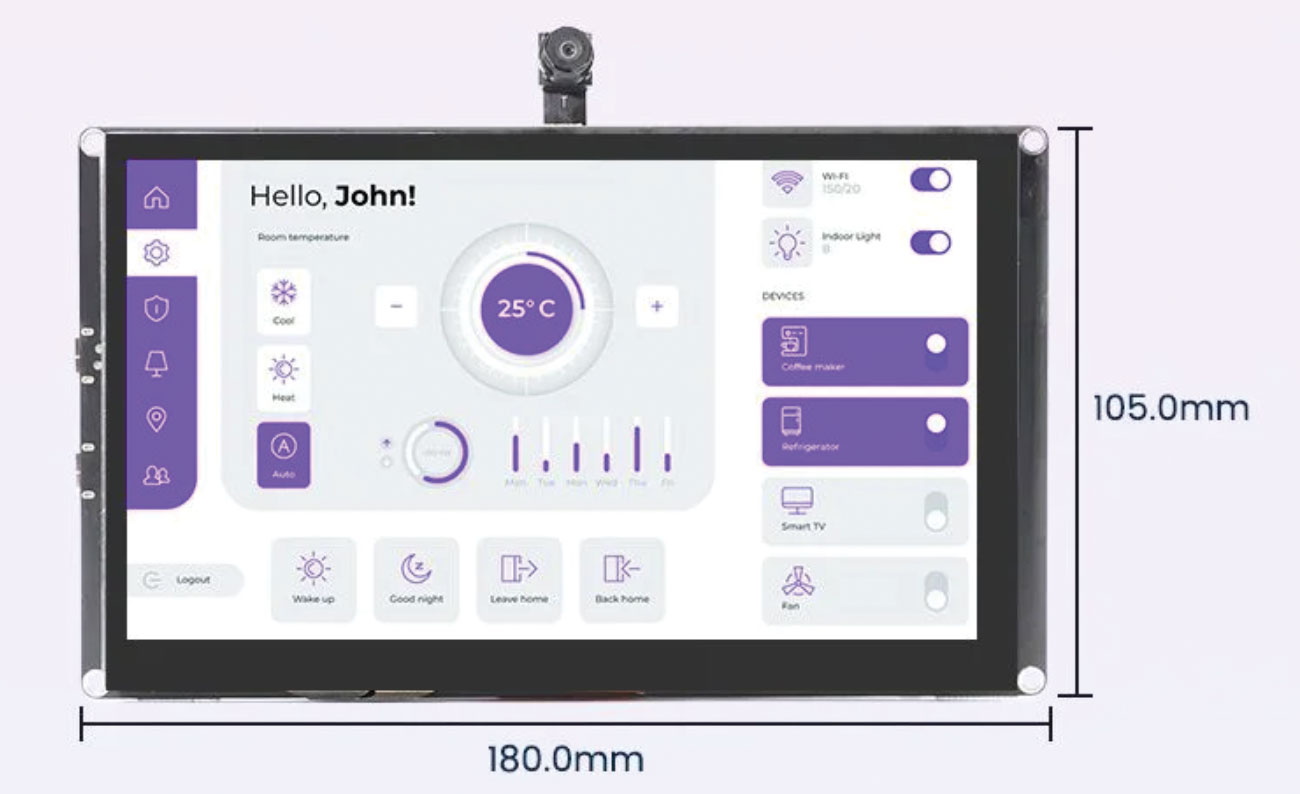
Black board, silkscreen “ESP32 Display-7.0 inch (Advance_series)”, SKU DIS02170A, hardware V1.3 or newer. One USB-C port (USB-5V-IN), used for flashing and normal operation.
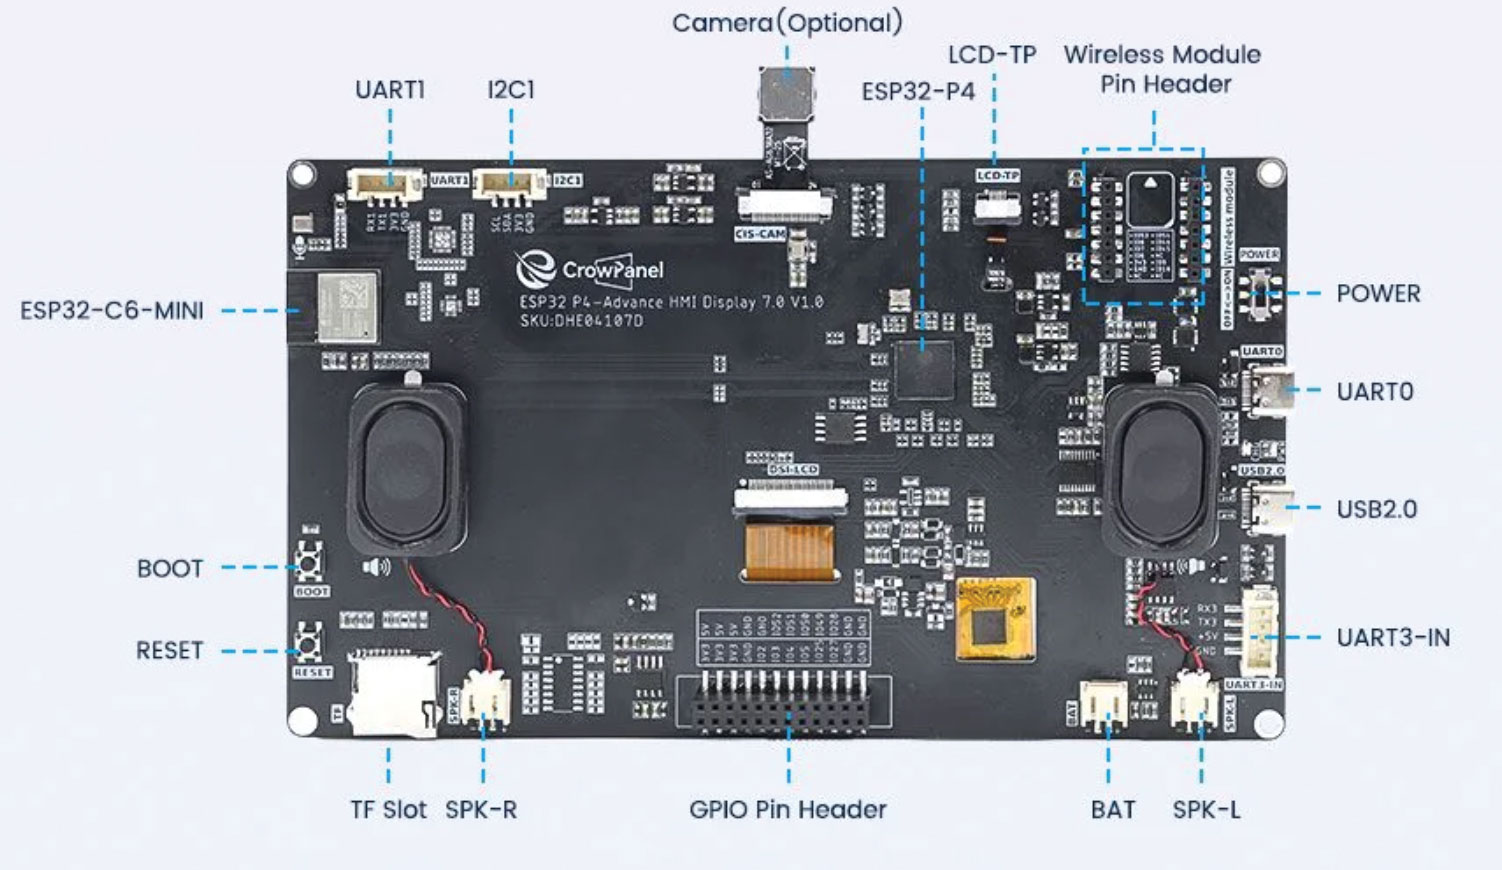
Elecrow CrowPanel Advanced 7″ AI (ESP32-P4), stereo speakers. This board has two USB-C ports — to flash, connect the one labelled UART0 (not USB2.0). After flashing, Sidekick runs over the port labelled USB2.0.
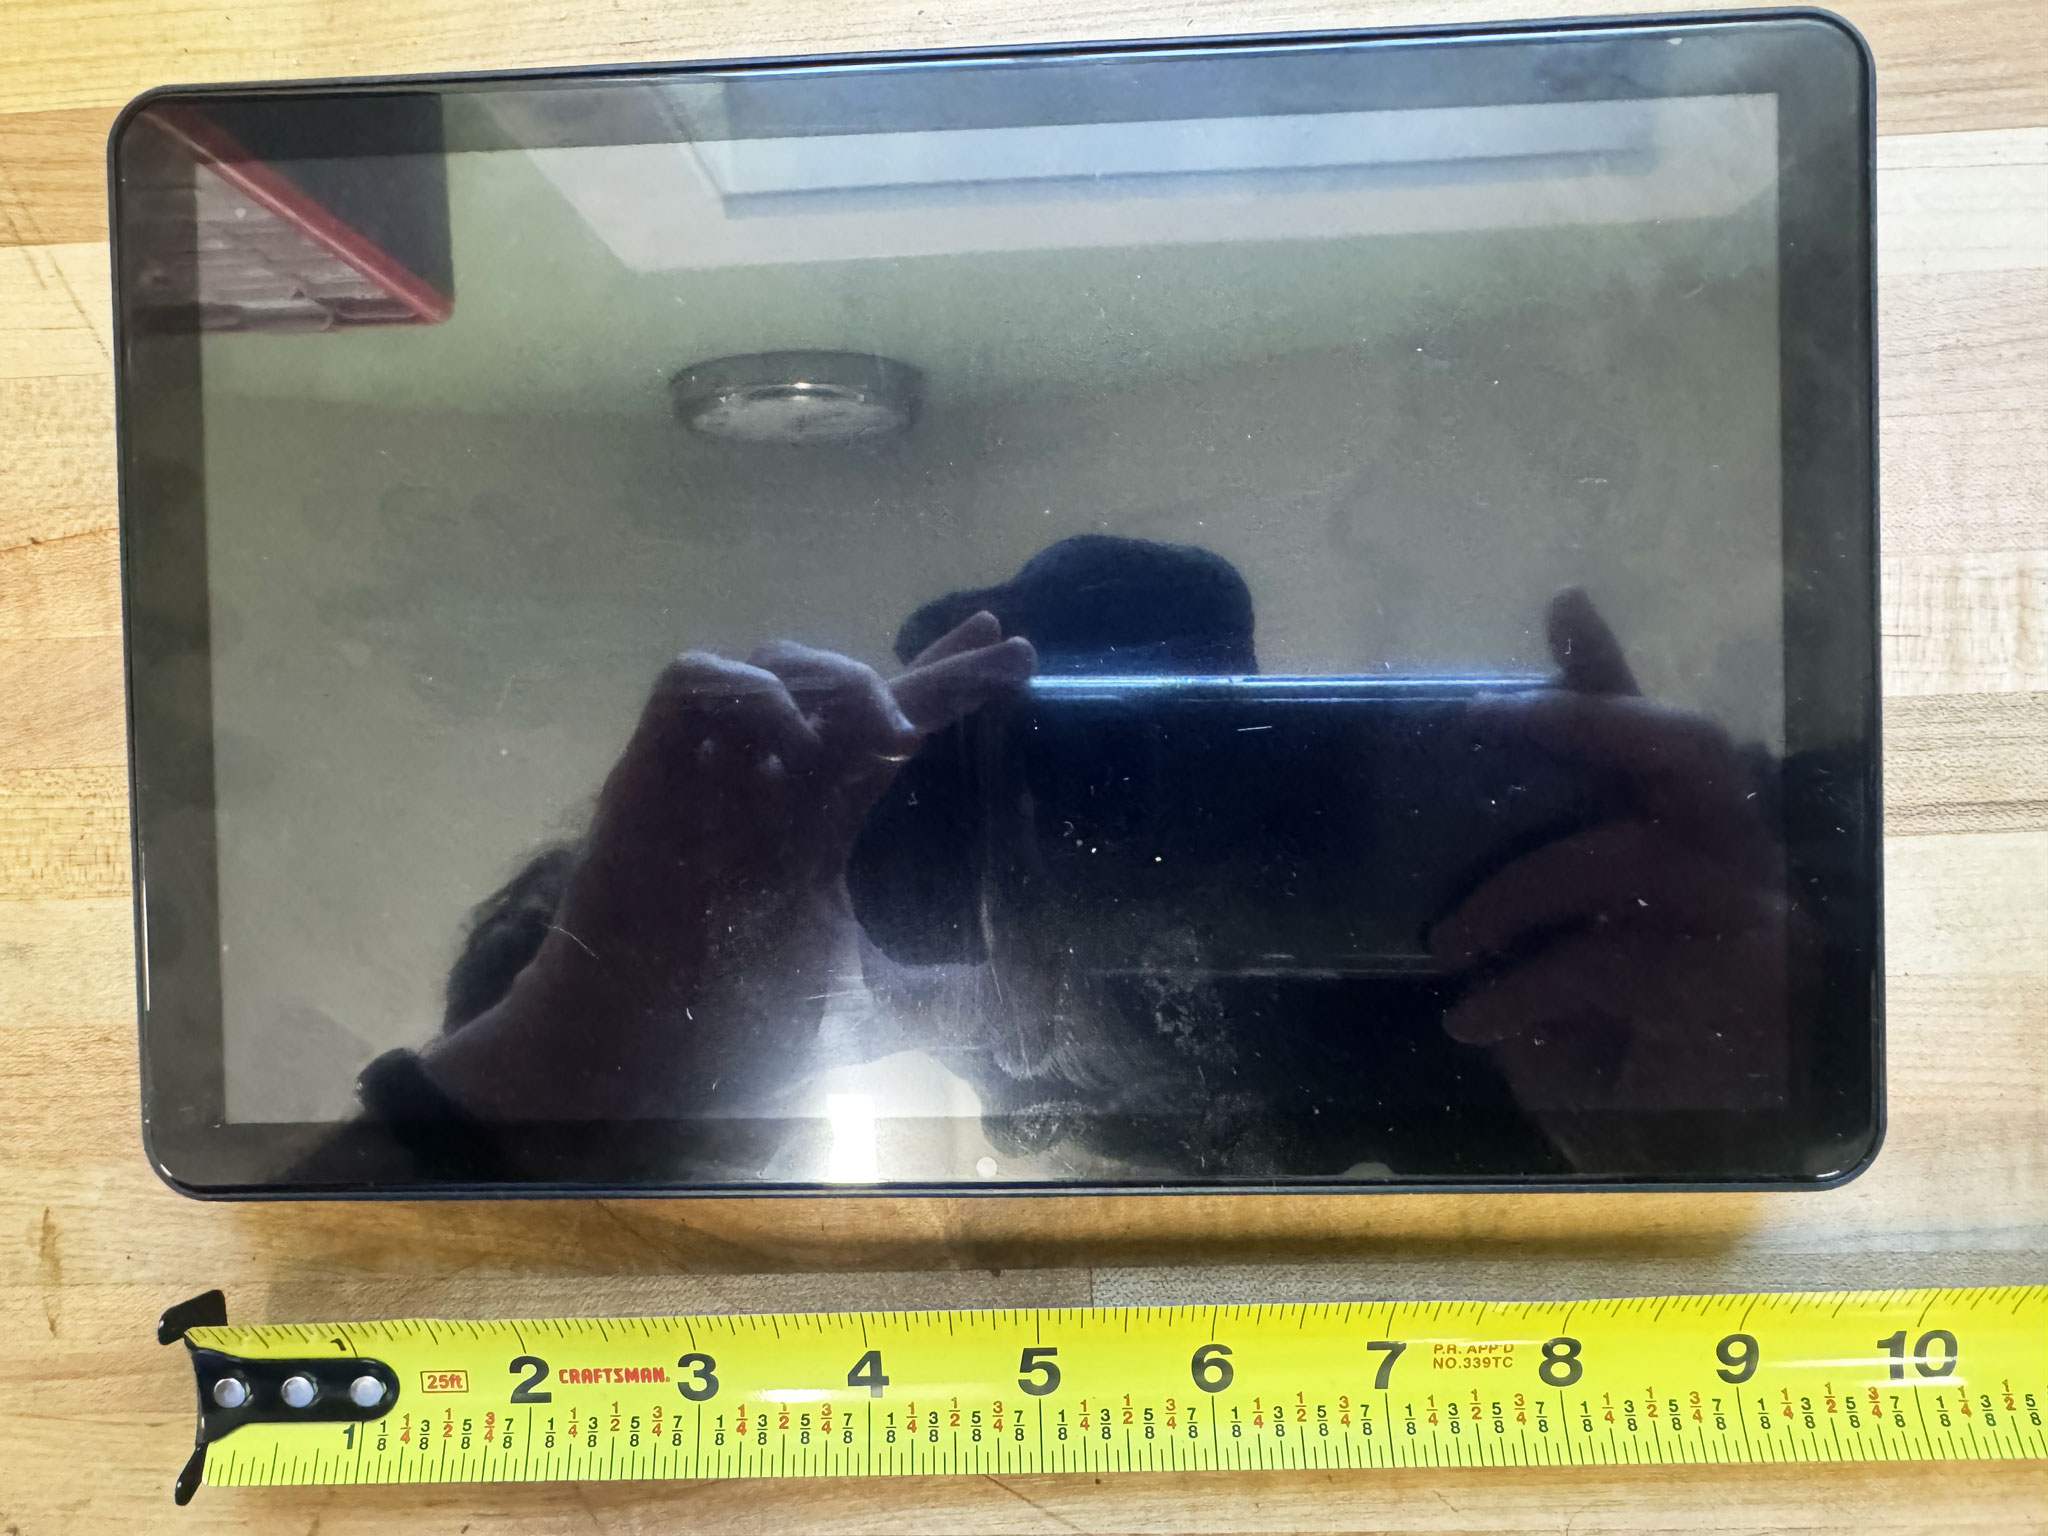
Two versions of this board need different firmware — pick the one that matches yours.
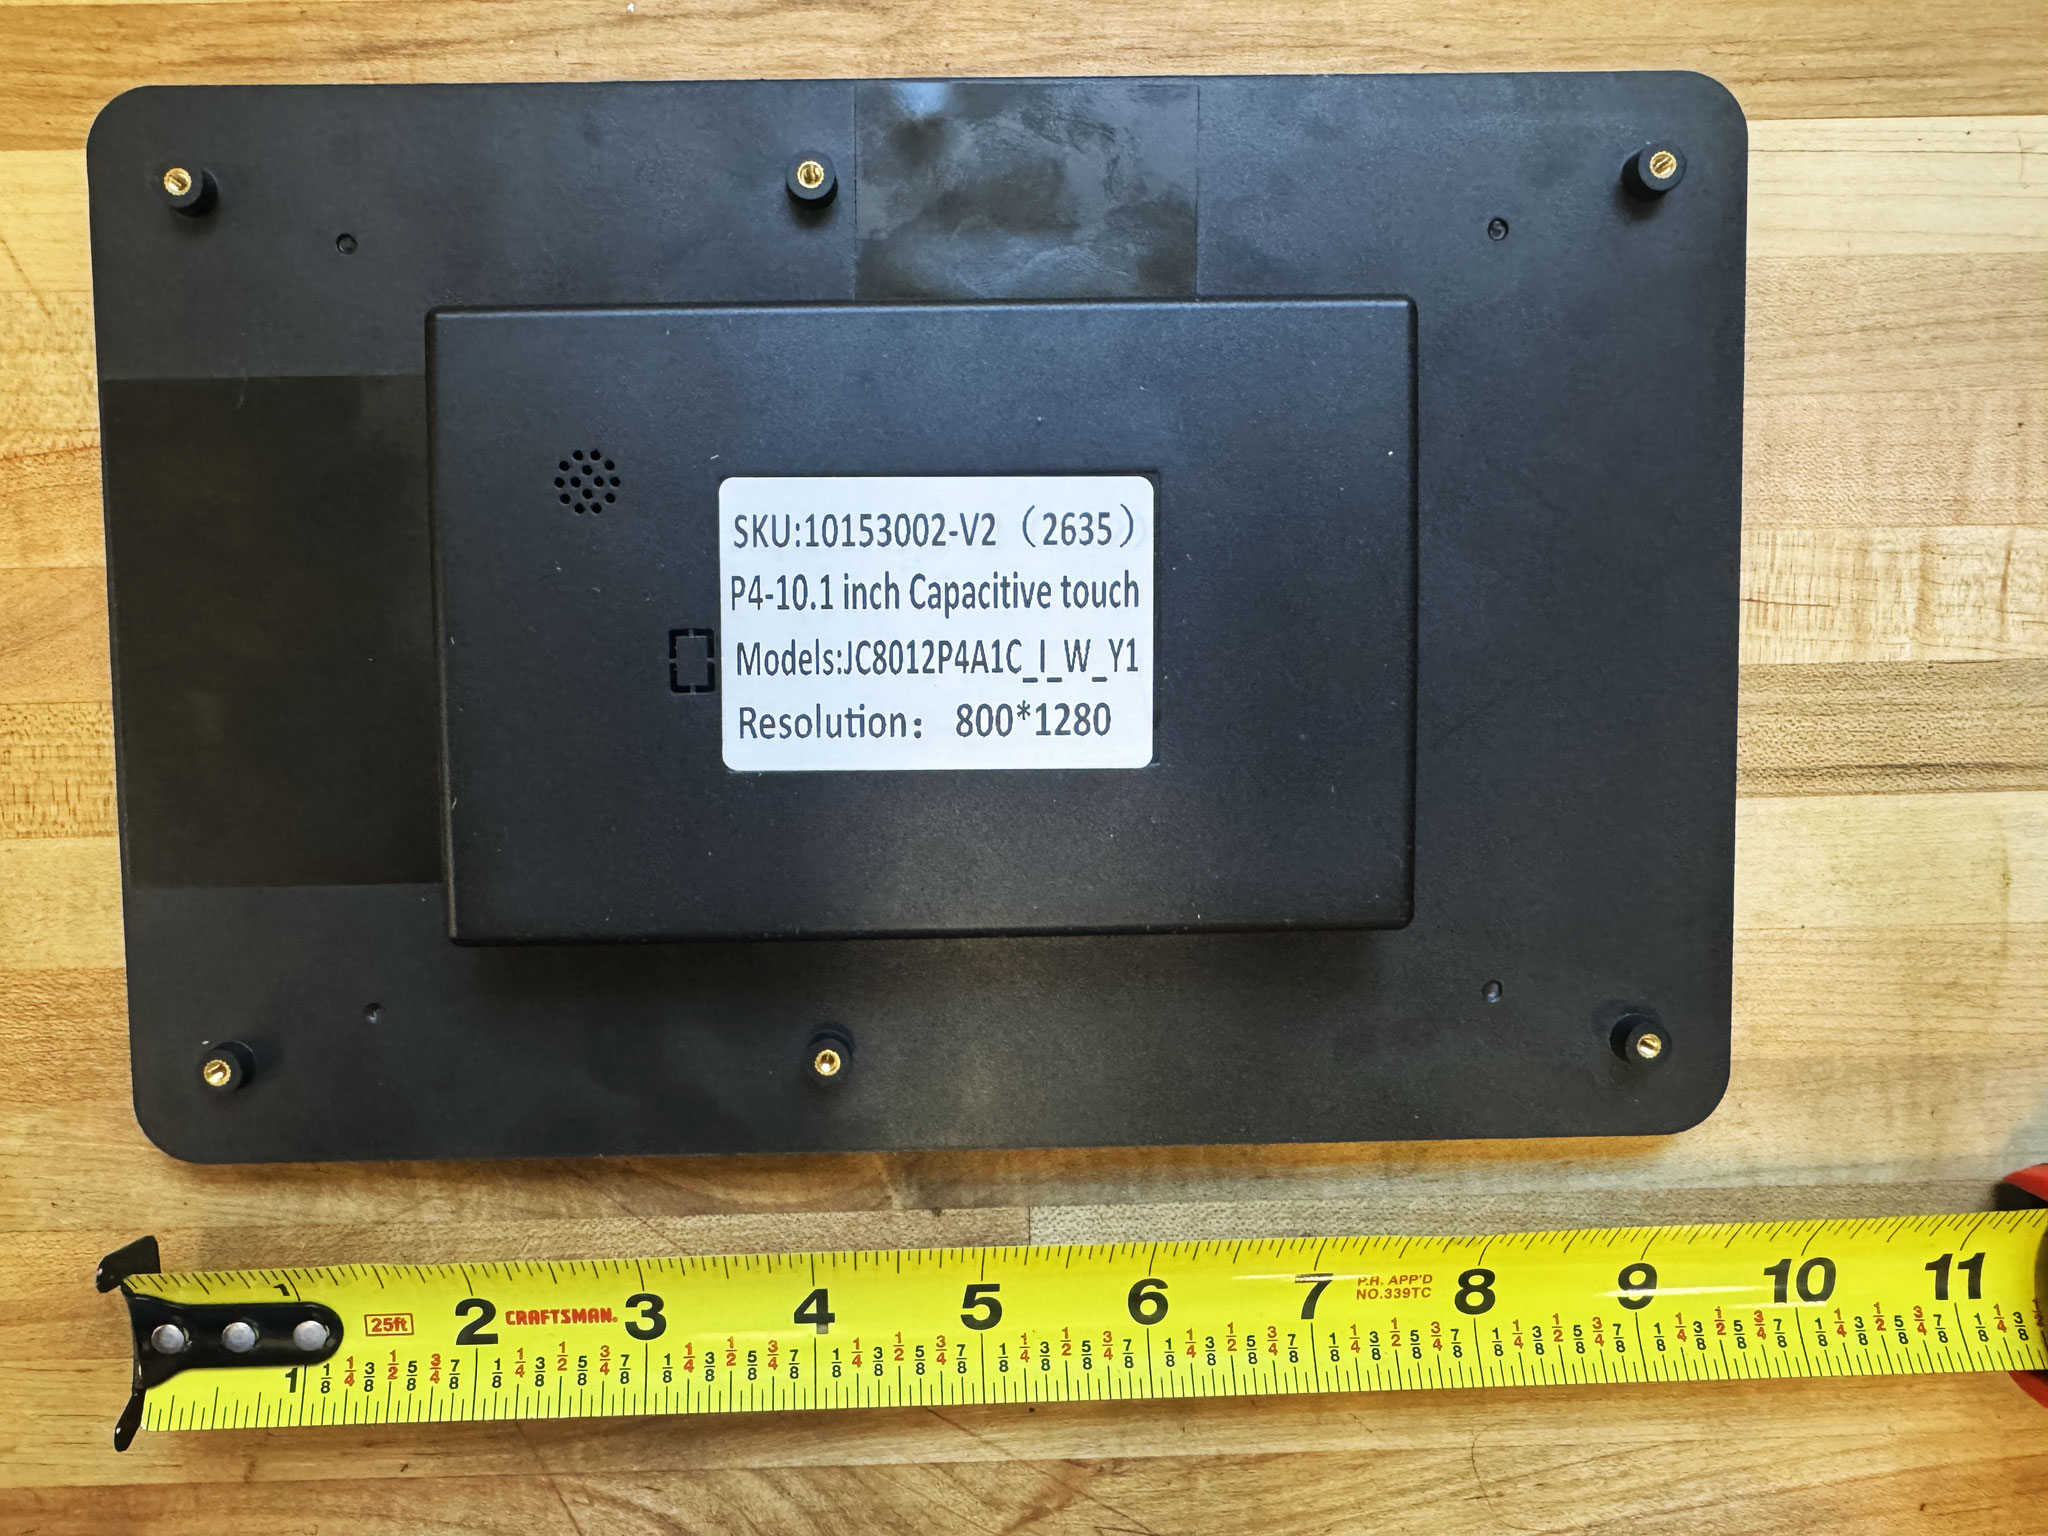
Label on the back says SKU: 10153002-V2 and Models: JC8012P4A1C_I_W_Y1. Speaker. This board has three USB ports — to flash, connect the bottom port labeled UART. After flashing, Sidekick runs over the top USB port. With the wrong version's firmware the screen stays black; just flash the other one.
Label on the back says SKU: 10153001 and Models: JC8012P4A1C_I_W_Y (no “1” at the end, no “-V2”). Speaker. To flash, connect the bottom USB port labeled UART; after flashing, Sidekick runs over the top USB port. With the wrong version's firmware the screen stays black; just flash the other one.
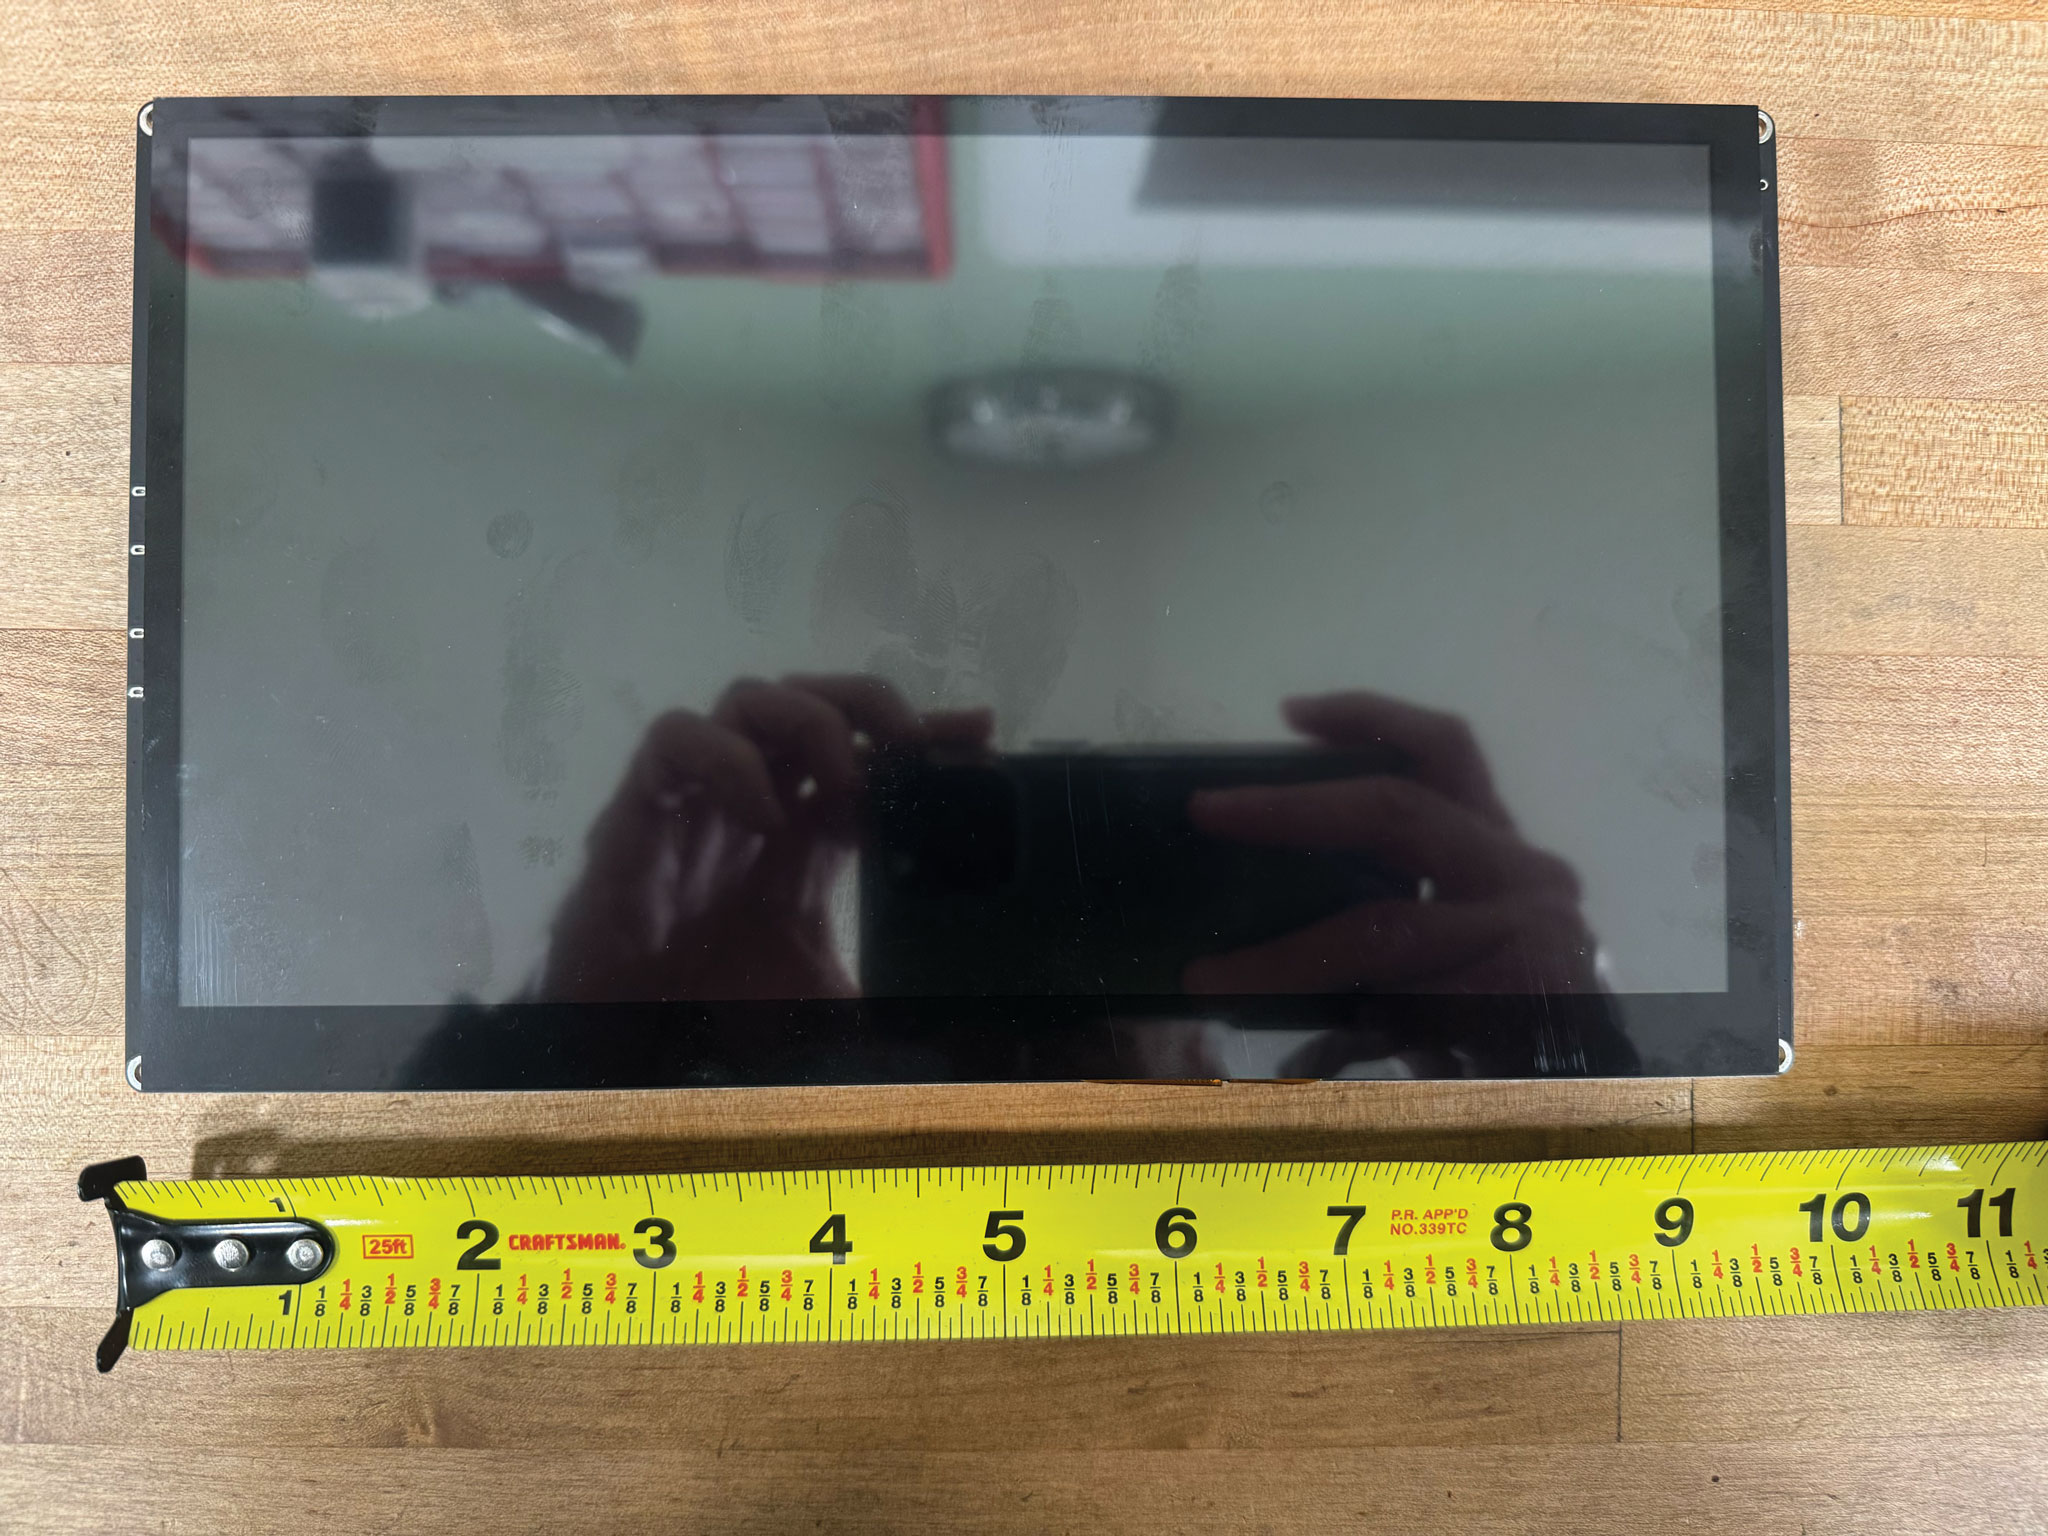
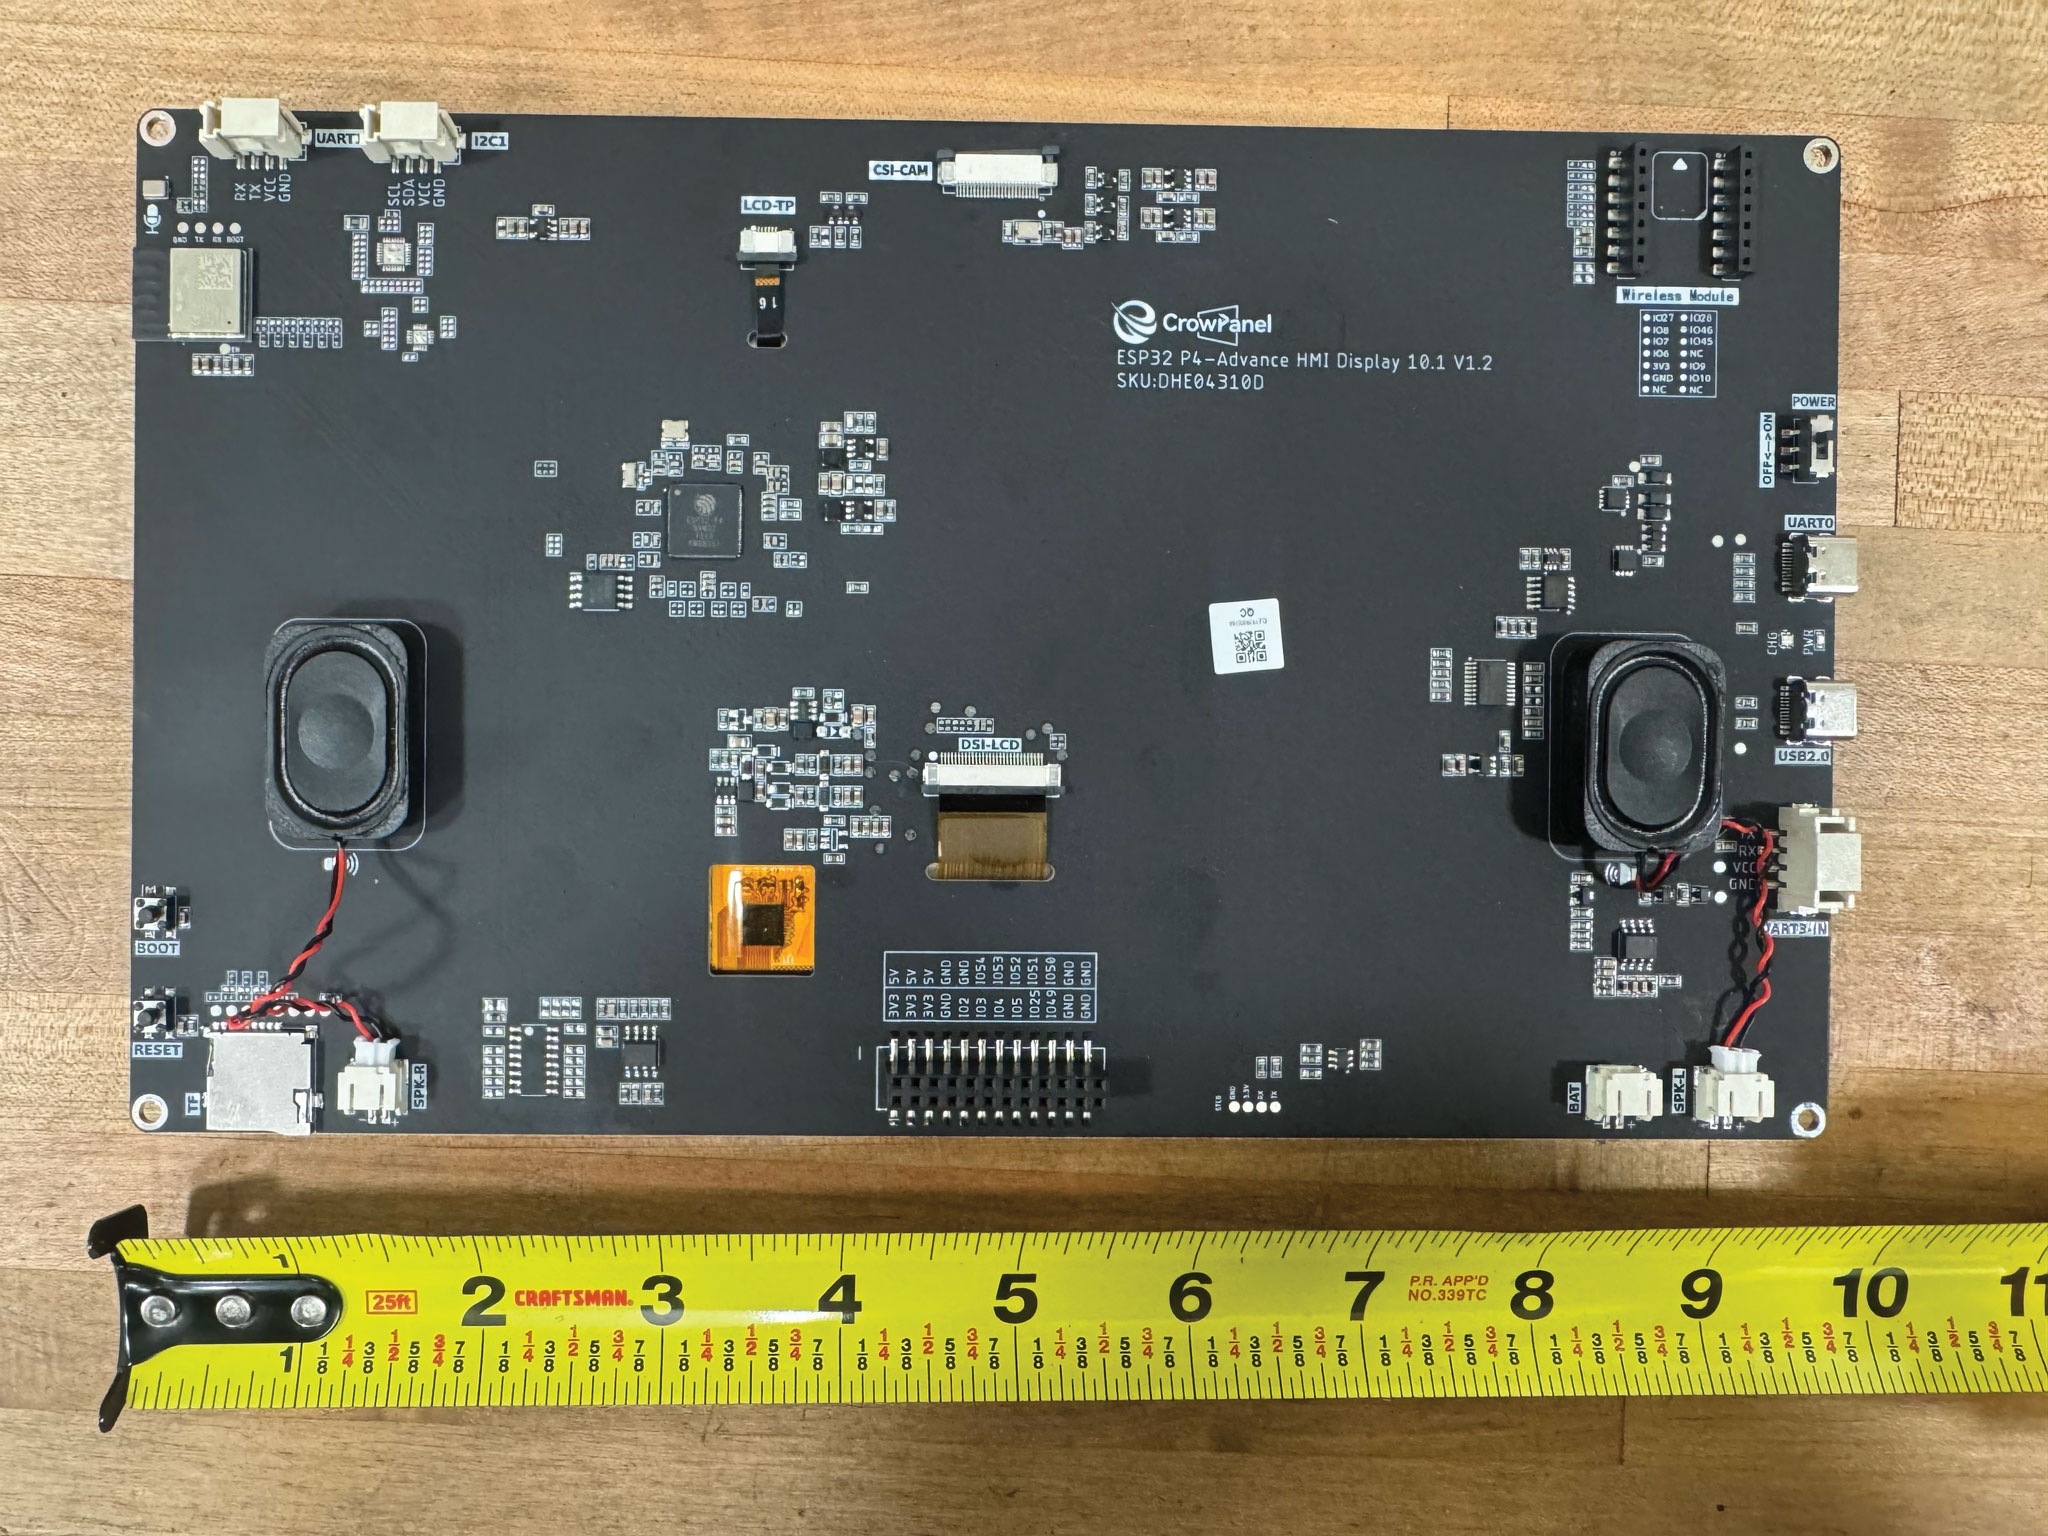
Elecrow CrowPanel Advanced 10.1″ ESP32-P4 HMI, stereo speakers. This board has two USB-C ports — to flash, connect the one labelled UART0 (not USB2.0). After flashing, Sidekick runs over the port labelled USB2.0.